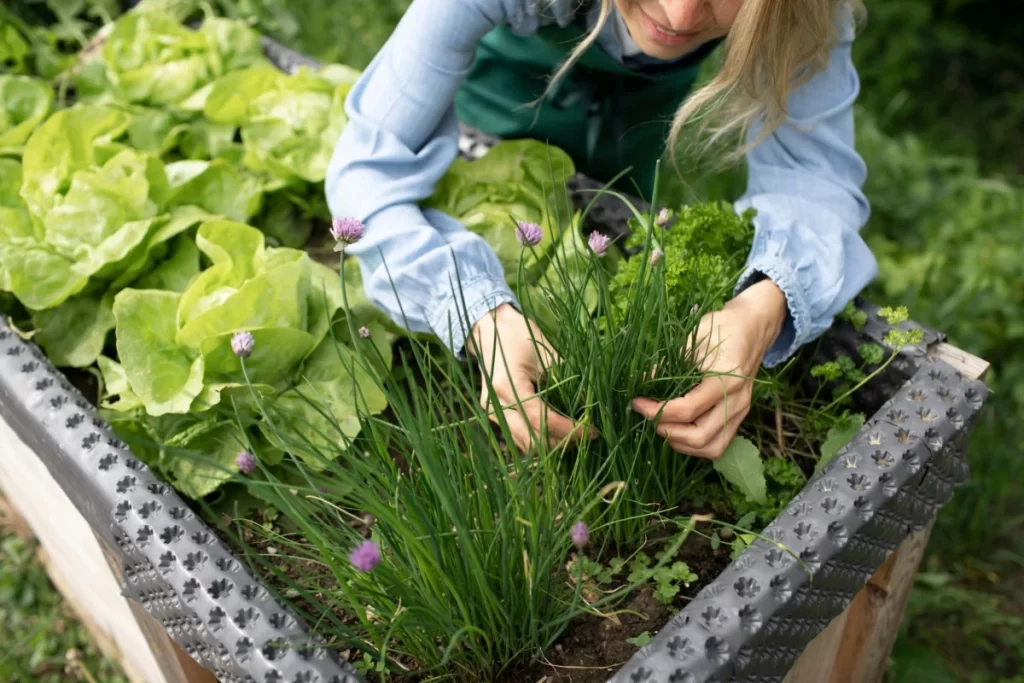
Growing chives at home is one of the most rewarding experiences for any gardener. This fragrant, hardy, and fast-growing herb can transform ordinary meals with its mild onion-like flavor, and the best part? It grows beautifully even in small spaces. But what if you could grow chives without worrying about daily watering, uneven moisture, or wilted plants during heatwaves?
That’s where self-watering pots come in—a clever, low-maintenance solution that keeps your chives hydrated, healthy, and thriving all year long. In this complete 1200-word guide, you’ll learn everything you need to know about growing chives in a self-watering pot, from how these containers work to the step-by-step setup, ongoing care, and expert tips for a lush herb harvest.
Let’s get started!
🌱 Why Grow Chives in a Self-Watering Pot?
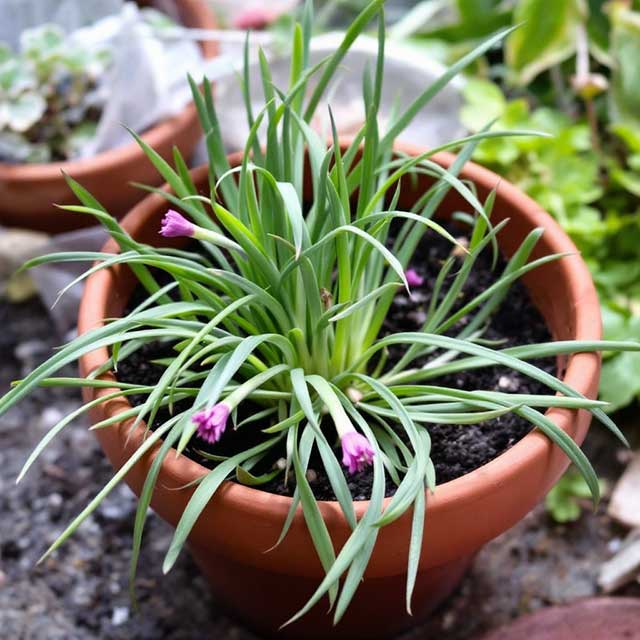
Chives (Allium schoenoprasum) are drought-tolerant herbs, but they grow and produce much better when their soil stays moist, not dry or soggy. A self-watering pot provides exactly that—a consistent supply of water at the roots, without drowning the plant.
Here are the major benefits:
✔ Consistent Moisture
Self-watering pots keep the soil perfectly moist, which helps chives grow thicker, greener, and faster.
✔ Less Maintenance
Busy schedule? Traveling? Forgetful about watering? This method keeps your chives safe even if you skip a few days.
✔ Stronger Roots
With water supplied from below, roots grow downward, creating a stronger and more stable plant.
✔ Reduced Risk of Overwatering
Extra water drains into the reservoir instead of causing root rot.
✔ Perfect for Small Spaces
Whether you live in an apartment, balcony, or patio, a self-watering container allows efficient, compact herb gardening.
🌿 How a Self-Watering Pot Works
A self-watering pot has two essential parts:
1. A Water Reservoir (Bottom Section)
This tank stores water that wicks upward over time.
2. A Growing Chamber (Top Section)
This is where the soil and plant sit. A wick (soil column, rope, or mesh) connects the two sections, gradually pulling moisture upward through capillary action.
Some models also have:
- A watering tube
- A water-level indicator
- Drainage holes to prevent overfilling
You can buy a ready-made pot or make one at home from plastic bottles or buckets.
🌿💧 What You Need to Grow Chives in a Self-Watering Pot
Here’s your setup checklist:
✔ A self-watering pot (DIY or store-bought)
✔ High-quality potting mix (lightweight, well-draining)
✔ Chive seeds or seedlings
✔ Compost or organic fertilizer
✔ Water
✔ A sunny location (4–6 hours per day)
Chives grow exceptionally well in containers because they have shallow roots and prefer loose soil.
🌱 Setting Up Your Pot: Step-by-Step Guide
This section walks you through the entire process with clarity and precision.
🌿 Step 1: Prepare the Reservoir
If using a store-bought pot, simply fill the reservoir through the designated tube.
If using a homemade version:
- Cut a large bottle or container into two parts.
- The bottom half acts as a reservoir.
- In the top half, create the plant chamber.
- Add a wick (cloth, rope, or soil column) so water can travel up.
Make sure your reservoir can hold water for at least 3–4 days.
🌾 Step 2: Mix the Perfect Potting Soil
Chives prefer light, fluffy, nutrient-rich soil.
Mix this for best results:
- 50% potting mix
- 30% coco peat or peat moss
- 20% compost
This ensures good moisture retention without waterlogging.
Avoid heavy garden soil—it compacts easily and blocks oxygen flow.
🌱 Step 3: Planting Chives in the Container
You can grow chives from seeds or divide an existing clump.
If starting from seeds:
- Sprinkle seeds lightly on the soil surface.
- Cover with a thin layer of soil (3–5 mm).
- Mist with water to avoid washing them away.
If planting seedlings:
- Dig small holes in the potting mix.
- Place each seedling about 5–6 cm apart.
- Firm the soil gently around the roots.
Chives grow in clumps, so avoid overcrowding.

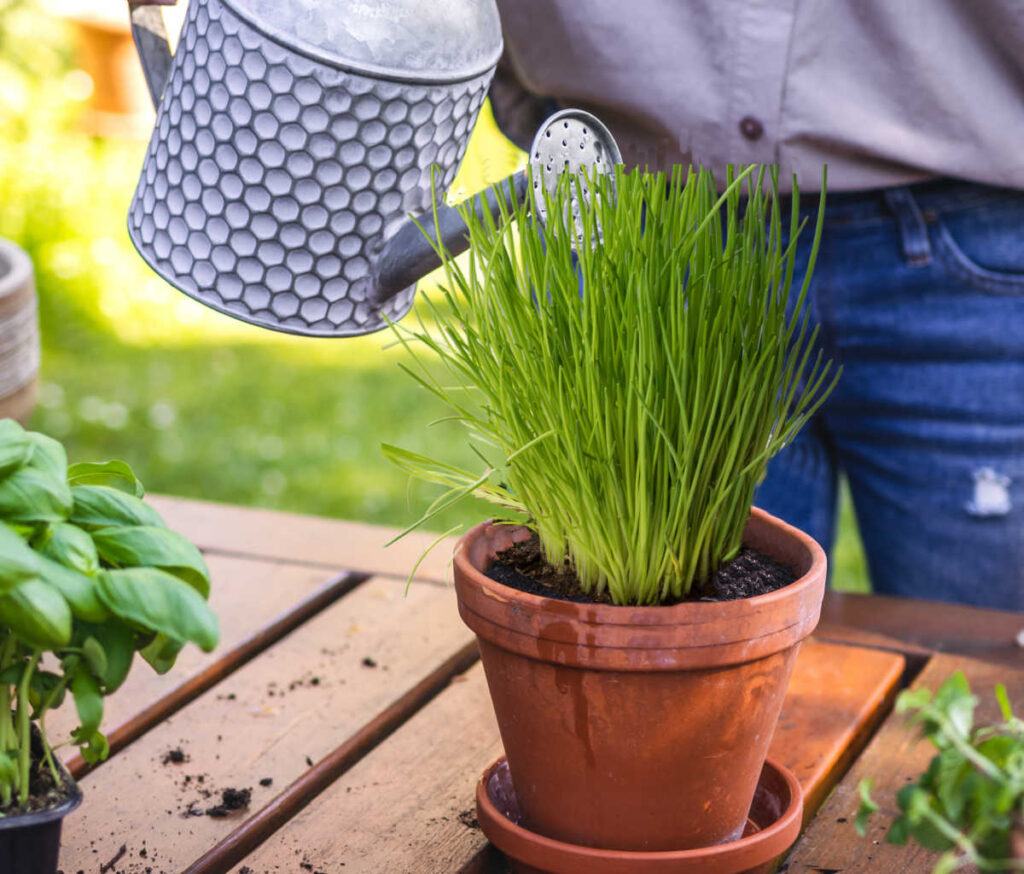
💧 Step 4: Watering and Filling the Reservoir
Before relying on the reservoir, water the top of the soil thoroughly once to help roots establish.
Then:
- Fill the reservoir.
- Let the wick system take over.
- Refill when the water level indicator shows low (or when the pot feels light).
This creates a stable environment for chives to thrive.
🌞 Ideal Growing Conditions for Chives
Chives are hardy but grow best under specific conditions.
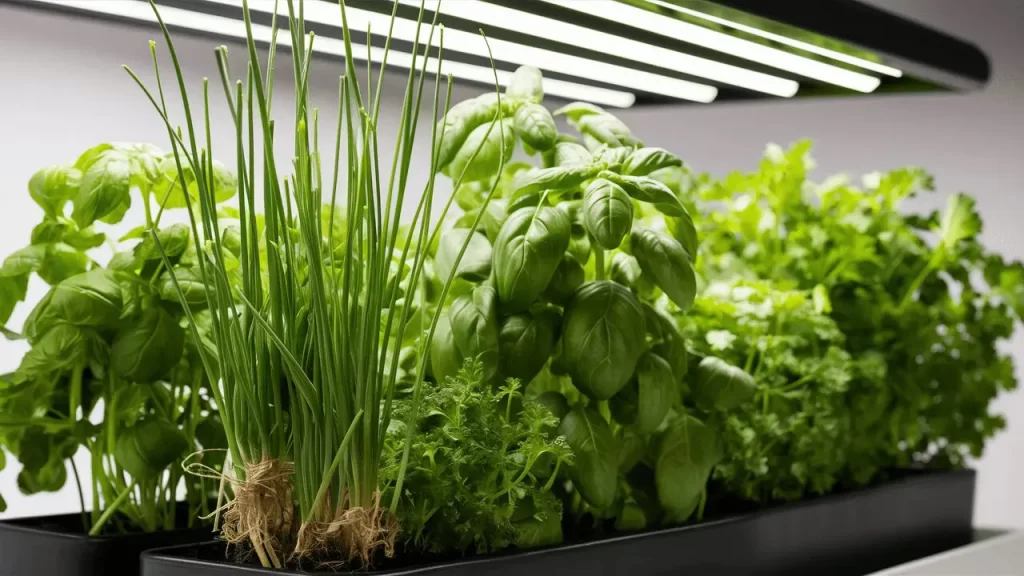
🌤 Light Requirements
Chives love sunlight:
- 4–6 hours of direct sunlight per day
- They grow well indoors beside a bright window
- If growing indoors, rotate the pot weekly for even growth
🌡 Temperature
Chives prefer:
- 15–25°C (59–77°F)
- They tolerate mild heat but may slow down in extreme temperatures
Self-watering pots help regulate moisture during hot weather.
🌱 Fertilizing Schedule
Chives don’t need heavy feeding. Apply:
- A mild organic fertilizer once every 3–4 weeks
- Compost tea or diluted liquid fertilizer works great
- Avoid chemical fertilizers—they can burn tender roots
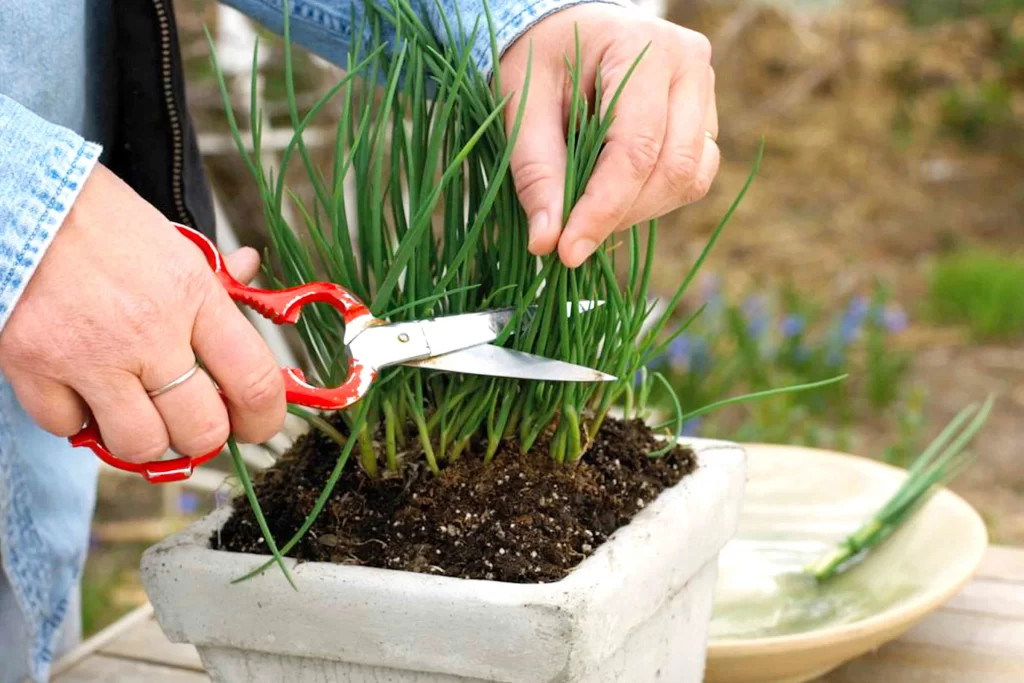
✂ How to Harvest Chives Properly
Chives will be ready to harvest in about 6–8 weeks.
Here’s the correct method:
✔ Cut leaves from the base (2–3 cm above soil)
✔ Use clean scissors
✔ Always leave the central shoots for regrowth
If you harvest correctly, chives will grow back indefinitely.
🌿 Maintenance Tips for Healthy, Thick Chives
To keep your chives lush and productive, follow these expert tips:
🌱 1. Trim Regularly
Frequent cutting encourages new, thicker, and more flavorful growth.
🌿 2. Remove Yellowing Leaves
This prevents waste of nutrients and keeps the clump fresh.
💧 3. Keep the Reservoir Clean
Algae can build up over time.
Clean it every few weeks by:
- Draining old water
- Rinsing the reservoir
- Avoiding exposure to direct sun
🌤 4. Give Your Pot Fresh Air
Although chives tolerate humidity, stagnant air encourages pests.
Good airflow reduces fungal issues.

🪴 5. Divide Every 8–12 Months
Chives grow in clumps; dividing them helps:
- Renew growth
- Prevent overcrowding
- Create more plants for free
Simply lift the clump, split it, and replant.
🌿🪴 Pests and Problems to Watch For
Chives rarely suffer serious issues, but small problems can appear in pots.
Common issues:
- Aphids
- Fungal spots
- Overwatering (rare in self-watering pots)
- Yellowing from nutrient imbalance
Solutions:
- Spray mild soapy water for aphids.
- Remove affected leaves.
- Flush the soil if salts build up.
- Use organic fertilizer sparingly.
🌱 Why Chives Thrive Exceptionally Well in Self-Watering Pots
Chives have consistent moisture needs, and their shallow root system benefits greatly from a stable, controlled supply of water. A self-watering pot:
- Prevents drought stress
- Boosts flavor and leaf production
- Ensures continuous growth
- Simplifies care for beginners and busy gardeners
This method is especially useful in hot climates where herbs often dry out quickly.
🌿✨ Final Thoughts: A Smarter Way to Grow Chives
Growing chives in a self-watering pot is one of the easiest, most efficient gardening methods you can adopt. It guarantees healthier plants, faster growth, thicker leaves, and less daily maintenance. Whether you’re a city gardener, a beginner, or someone who loves fresh herbs at your fingertips, this system delivers consistent success.
With just a bit of setup and minimal care, you’ll enjoy an endless supply of fresh, green, aromatic chives—right from your windowsill, balcony, or kitchen counter.