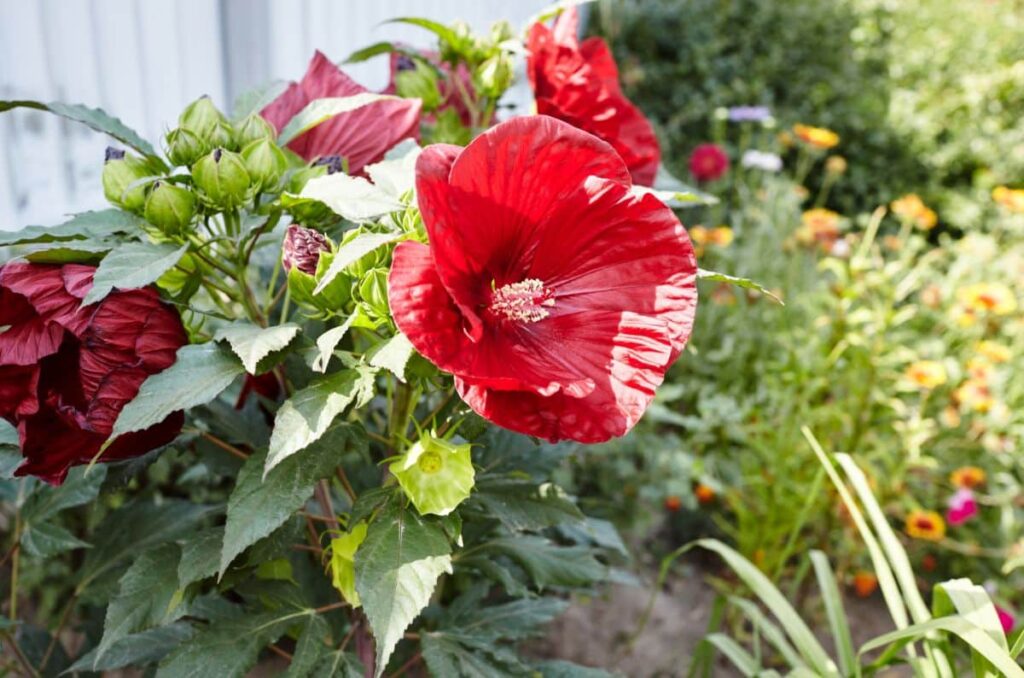
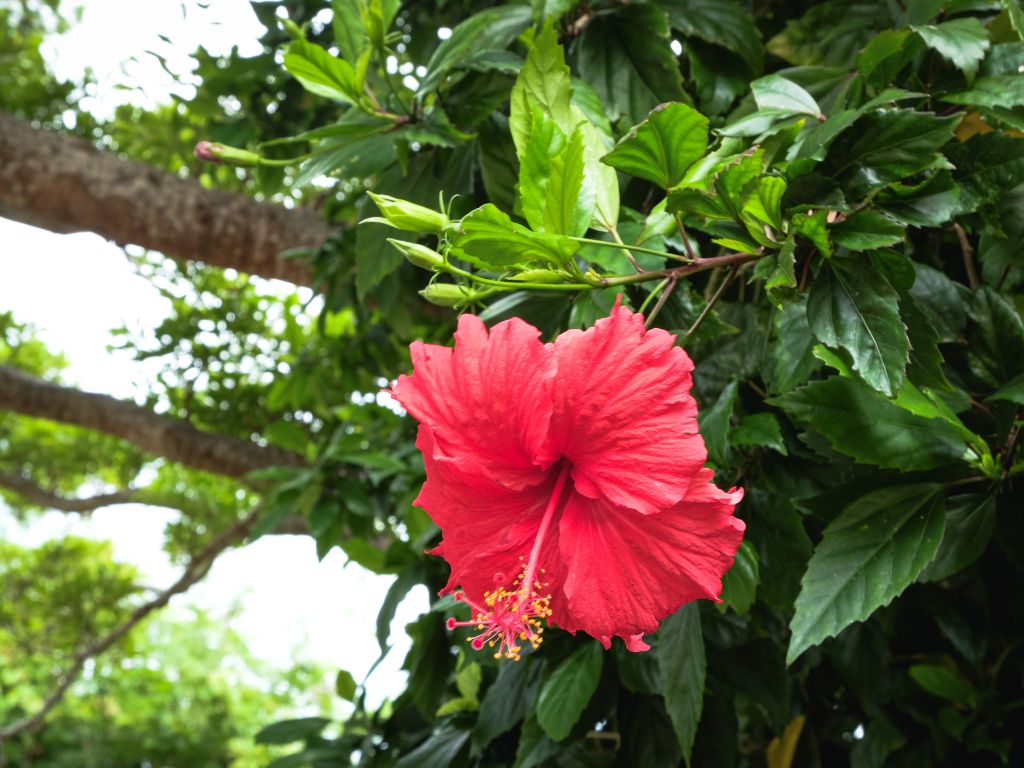
Hibiscus plants are beloved worldwide for their large, vibrant blossoms and lush tropical charm. Whether you grow hardy hibiscus or the more exotic tropical varieties, their breathtaking flowers make them a favorite for home gardeners. But what many people don’t realize is that hibiscus is also surprisingly easy to propagate—especially through cuttings. Propagating hibiscus from cuttings allows you to clone your favorite plant, grow new shrubs at no cost, and expand your garden’s color palette effortlessly.
If you’ve been wanting to multiply your hibiscus collection or gift new plants to friends, this detailed guide will walk you through step-by-step instructions, the best techniques, and the key secrets to achieving a high success rate.
Why Choose Cuttings to Propagate Hibiscus?
Although hibiscus can be grown from seeds, seed-grown plants don’t always resemble the parent plant. Colors may vary, bloom size may change, and hybrids may not remain true. With cuttings, however, you get a genetically identical clone of the plant you love.
Benefits of Propagating via Cuttings
- Fast and reliable method
- Preserves the exact characteristics of the parent plant
- Produces strong, healthy plants
- Can be done almost any time of year (though spring and early summer are best)
- Requires minimal cost and basic tools
- Perfect for home gardeners with limited experience
Best Time to Take Hibiscus Cuttings
Timing is one of the most important factors in successful propagation.
Most Recommended: Late Spring to Early Summer
During this period, hibiscus plants are actively growing. Their stems are semi-soft, full of moisture, and rooted easily.
Avoid: Winter
Dormant or woody stems are slow to root and more prone to rotting.
Ideal Cutting Type: Softwood to Semi-Hardwood
These stems are flexible yet firm enough to support new growth.
Materials You’ll Need
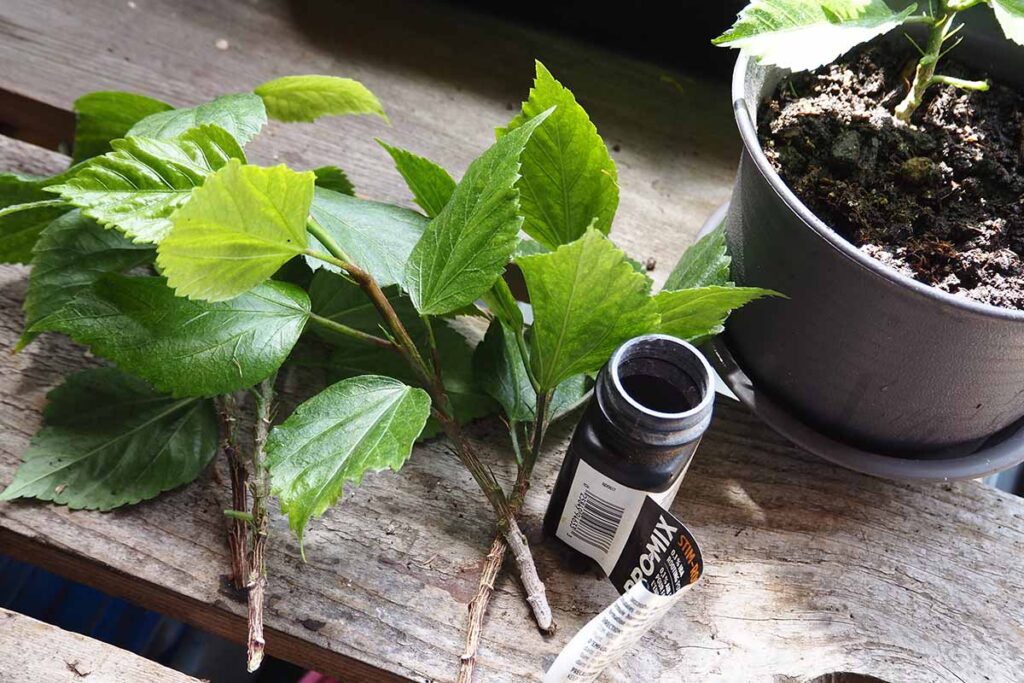
Before you begin, gather the following supplies:
- Sharp, sterilized pruning shears
- Rooting hormone (powder or gel)
- Small pots or seedling trays
- A well-draining potting mix (peat + perlite is ideal)
- A clear plastic bag or humidity dome
- Spray bottle for misting
- Clean water
- A healthy parent hibiscus plant
Preparing these tools ahead of time ensures a smooth and successful propagation process.

Step-by-Step Guide to Propagating Hibiscus from Cuttings
Let’s break down the process into clear, beginner-friendly steps.
Step 1: Select the Right Stem
Choose a healthy, disease-free branch from the parent plant.
Characteristics of a Good Cutting
- About 4 to 6 inches long
- Green or slightly woody (semi-hardwood)
- Has at least 2–3 leaf nodes
- Free from pests, discoloration, or damage
Avoid stems that are:
- Too woody
- Too young and soft
- Flowering or forming buds (flowers drain energy needed for rooting)
If your stem has flower buds, gently pinch them off.
Step 2: Make a Clean Cut
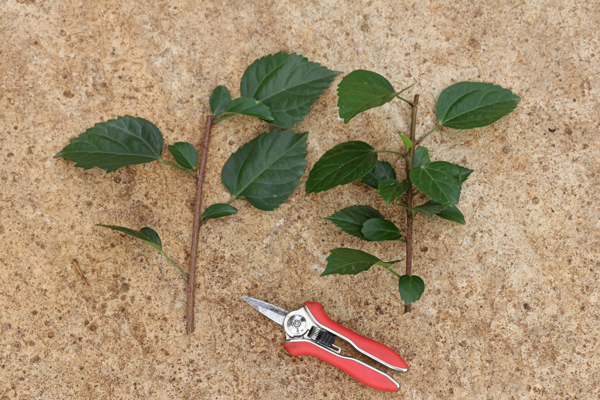
Using sterilized shears, cut the stem just below a leaf node.
This area contains concentrated growth hormones that help the cutting root faster.
Tip: Sterilize Before Cutting
Wipe your shears with rubbing alcohol to prevent bacterial contamination.
Step 3: Remove Lower Leaves
Strip away the leaves on the lower half of the cutting.
Leave only the top 1–2 leaves.
Why Remove Extra Leaves?
They pull moisture out of the stem through transpiration. Fewer leaves = less stress = quicker rooting.
If the remaining leaves are large, cut them in half to reduce moisture loss.
Step 4: Dip in Rooting Hormone
This step is optional, but it significantly increases the chances of success.
Dip the cut end into:
- Rooting powder,
- Or rooting gel,
coating the lower one inch of the stem.
Benefits
- Speeds up root formation
- Reduces the risk of fungal problems
- Encourages strong, healthy roots
Step 5: Plant the Cutting
Prepare a small pot with a light, well-draining mix.
Best Soil Mixes for Hibiscus Cuttings
- 50% peat moss + 50% perlite
- Coconut coir + perlite
- Seed-starting mix
Push the cutting 1–2 inches deep, ensuring the nodes are below the surface.
Gently press the soil around it to remove air pockets.
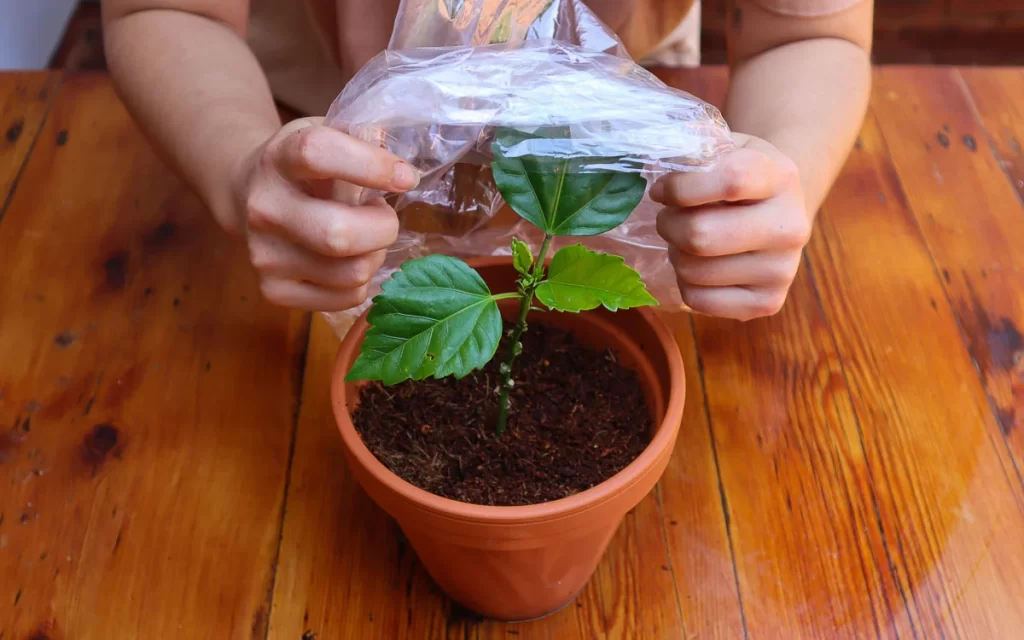
Step 6: Create a Humid Environment
Humidity is crucial for rooting because cuttings cannot absorb water through roots yet.
How to Increase Humidity
- Cover the pot with a clear plastic bag,
- Use a humidity dome,
- Or place the pot inside a plastic container with a loose lid.
Important
Make sure the plastic does not touch the leaves. Use small sticks to keep it raised if needed.
Step 7: Provide Proper Light and Temperature
Hibiscus cuttings root best under warm, indirect light.
Ideal Conditions
- Temperature: 22–27°C
- Light: Bright but indirect sunlight
- Location: A warm balcony, bright room, or filtered greenhouse
Avoid placing the cutting in direct sun—it can overheat and wilt.
Step 8: Water Gently and Maintain Moisture
Water the soil lightly after planting.
Ongoing Care
- Keep soil slightly moist, not soggy
- Mist the cutting every few days
- Open the plastic bag daily for a few minutes for air exchange
Wet soil causes rot, while dry soil slows rooting—aim for balance.
How Long Does It Take for Hibiscus Cuttings to Root?
With ideal conditions, you should see roots developing in 3–5 weeks.
Signs Your Cutting Has Rooted
- New leaves or buds form
- Stem becomes firmer
- You feel resistance when you tug lightly
- Visible roots emerge from drainage holes (in some cases)
Transplanting the Rooted Cutting
Once the cutting has a well-established root system:
- Prepare a larger pot with rich potting soil.
- Gently remove the cutting without damaging roots.
- Plant it into the new container.
- Water lightly.
- Place it in partial shade for the first week.
After a week, slowly transition the plant to more sunlight.
Common Mistakes to Avoid
Many beginners lose cuttings due to simple errors. Avoid these pitfalls:
1. Overwatering
Soggy soil encourages rot.
Always use a well-draining soil mix.
2. Using Old or Woody Cuttings
These root slowly and have low success rates.
3. Poor Hygiene
Dirty tools spread disease.

4. Keeping Cuttings in Direct Sunlight
Heat stress is a leading cause of failure.
5. Not Providing Enough Humidity
Cuttings dry out quickly without a humid environment.
6. Letting the Soil Dry Out Completely
Cuttings without roots cannot survive drought.
Advanced Tips for Higher Success Rates
If you want your propagation results to be even better, try these expert techniques:
1. Use Bottom Heat
Placing the pot on a seedling heat mat speeds up root formation.
2. Add Cinnamon to the Soil Surface
Cinnamon has natural antifungal properties.
3. Propagate Multiple Cuttings at Once
Even with perfect care, some cuttings may fail.
Taking 3–5 cuttings increases your chances.
4. Use Honey as a Natural Rooting Aid
Honey has mild antibacterial properties and can substitute for rooting hormone.
5. Mist with Seaweed Solution
Seaweed extract strengthens the cutting and supports root development.

Caring for Your New Hibiscus Plant
Once your hibiscus cutting is successfully rooted and transplanted:
Light
Provide 4–6 hours of sunlight daily.
Water
Keep soil moist during active growth.
Reduce watering in winter.
Fertilizer
Feed with a balanced liquid fertilizer every 3–4 weeks during the growing season.
Pruning
Pinch back new growth to encourage branching and fuller shape.
Final Thoughts
Propagating hibiscus from cuttings is one of the most rewarding activities for gardeners. It’s simple, cost-effective, and allows you to multiply your favorite flowering plants with ease. By following the proper steps—choosing the right stem, maintaining humidity, and giving the cutting the right environment—you can achieve a high success rate even as a beginner.
Within just a few weeks, you’ll have new hibiscus plants ready to grow, bloom, and brighten your garden or balcony.