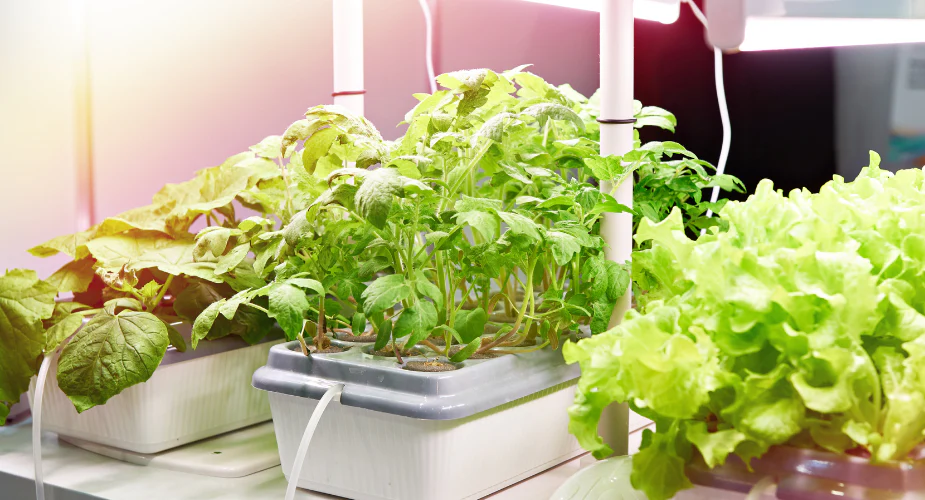
Hydroponics is a modern gardening method that allows plants to grow without soil, using nutrient-rich water instead. It’s efficient, space-saving, and perfect for growing fresh vegetables, herbs, and even flowers indoors. While commercial hydroponic systems can be expensive, you can easily build a simple hydroponic system at home with everyday materials.
This guide will walk you through the process, step by step, showing you how to create a home hydroponic system, choose the right plants, and maintain it for maximum growth and yield.
Why Grow Hydroponically at Home?
Home hydroponics has become increasingly popular for several reasons:
- Faster Growth: Plants absorb nutrients directly from water, allowing quicker growth compared to soil.
- Space-Saving: Perfect for apartments, balconies, or small backyards.
- Water Efficiency: Uses up to 90% less water than traditional soil gardening.
- Fewer Pests and Weeds: No soil means fewer soil-borne diseases and weeds.
- Year-Round Gardening: Grow fresh produce regardless of the season.
- Better Yields: Healthier roots and controlled nutrition often lead to bigger, more productive plants.
Whether you want fresh herbs on your kitchen counter or a small vegetable garden indoors, hydroponics is a smart solution.
Step 1: Choose Your Hydroponic System Type
The first step in building a home hydroponic system is selecting a system that fits your space and gardening goals. Popular DIY hydroponic systems include:
- Deep Water Culture (DWC): Plants float in nutrient-rich water, with an air pump providing oxygen. Ideal for lettuce, spinach, and herbs.
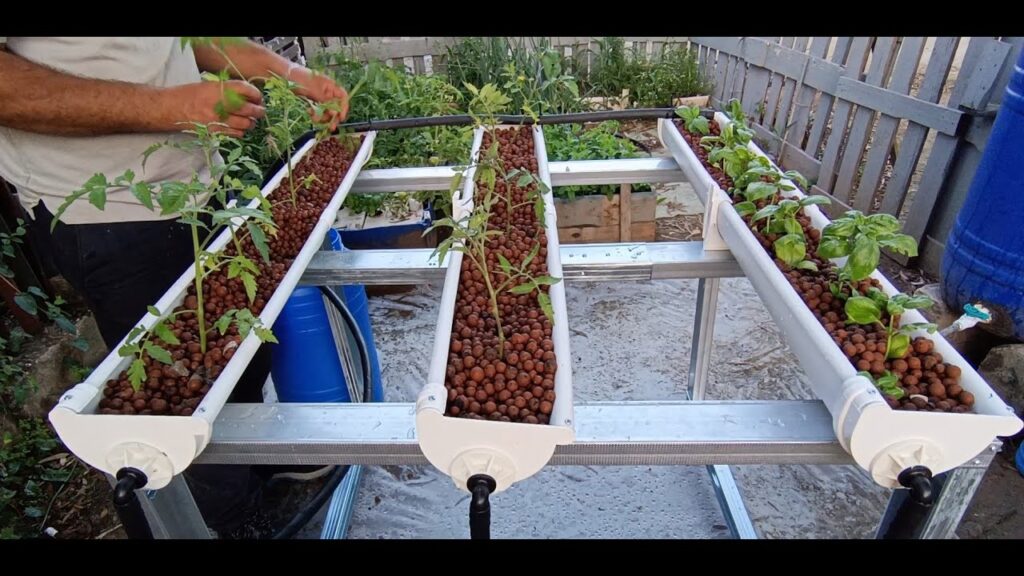
- Nutrient Film Technique (NFT): A thin stream of water flows through channels where plant roots absorb nutrients. Great for leafy greens and strawberries.
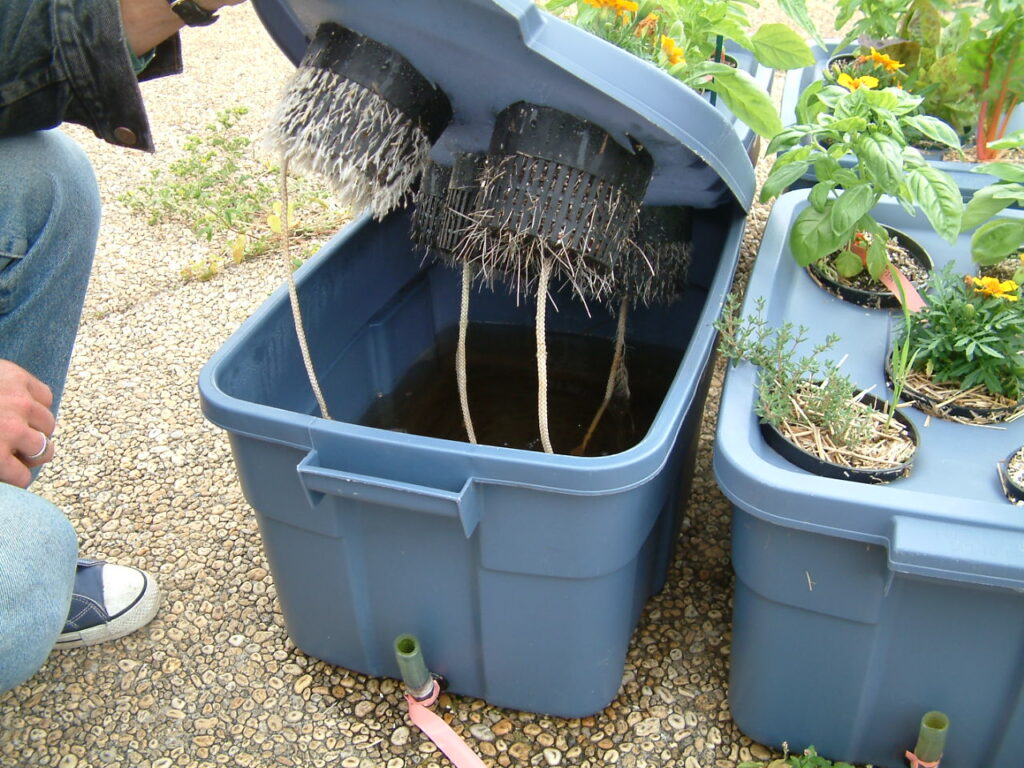
- Wick System: A passive setup where a wick draws water and nutrients to the plant roots. Simple and perfect for beginners.
- Kratky Method: Non-circulating, low-maintenance system where roots grow in a nutrient solution with air exposure. Great for small setups and easy maintenance.
For beginners, the Wick System or Kratky Method is easiest to start with. They require minimal equipment and are cost-effective.
Step 2: Gather Materials
You don’t need expensive tools to start hydroponics at home. Here’s what you’ll need:
- Container or reservoir (plastic bin, bucket, or tray)
- Net pots or small perforated cups to hold plants
- Growing medium (rockwool, clay pellets, perlite, or coco coir)
- Hydroponic nutrient solution (can be purchased or homemade)
- Air pump and air stones (for DWC or NFT systems)
- pH test kit and pH adjusters
- Seeds or seedlings
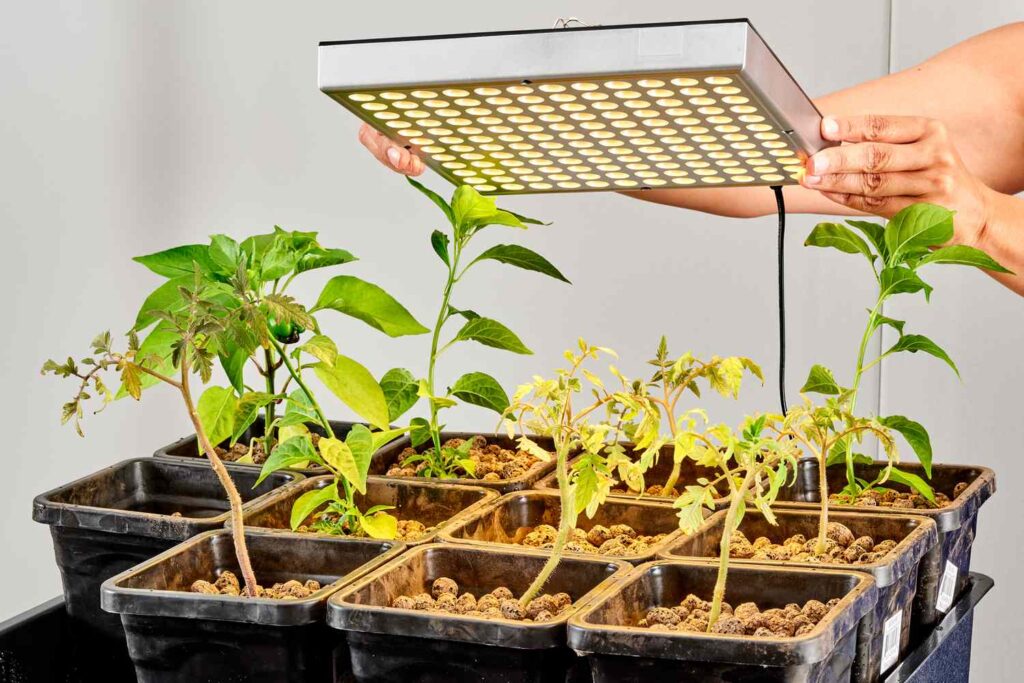
- Optional: LED grow lights for indoor setups
Having all materials ready ensures smooth assembly and faster success.
Step 3: Prepare the Nutrient Solution
Hydroponic plants rely entirely on water and nutrients for growth. The nutrient solution provides:
- Macronutrients: Nitrogen (N), Phosphorus (P), Potassium (K)
- Secondary Nutrients: Calcium, Magnesium, Sulfur
- Micronutrients: Iron, Zinc, Copper, Boron, Manganese, Molybdenum
Mix according to instructions if using commercial fertilizers, or use natural homemade solutions like compost tea, seaweed extract, and minerals.
Secret Tip: Monitor the pH of the solution. Ideal range for most hydroponic plants is 5.5–6.5 for optimal nutrient absorption. Adjust with pH-up or pH-down solutions as needed.
Step 4: Choose Easy Plants for Hydroponics
Begin with plants that are fast-growing and adaptable to hydroponics:
- Leafy Greens: Lettuce, spinach, kale, arugula
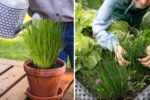
- Herbs: Basil, mint, cilantro, parsley
- Vegetables: Cherry tomatoes, peppers, cucumbers
- Flowers: Marigolds, pansies, petunias (for decorative purposes)
Starting with easy plants gives you quick results, builds confidence, and teaches you the basics of hydroponic care.
Step 5: Planting Seeds or Seedlings
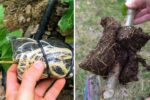
- Germinate Seeds: Use rockwool cubes, cotton, or paper towels to start seeds. Keep moist and warm until roots appear.
- Transfer Seedlings: Place seedlings into net pots with your chosen growing medium. Roots should contact the nutrient solution.
- Spacing: Ensure adequate space between plants to allow proper root and leaf growth.
Proper planting reduces stress and ensures healthy, rapid growth.
Step 6: Setting Up the Hydroponic System
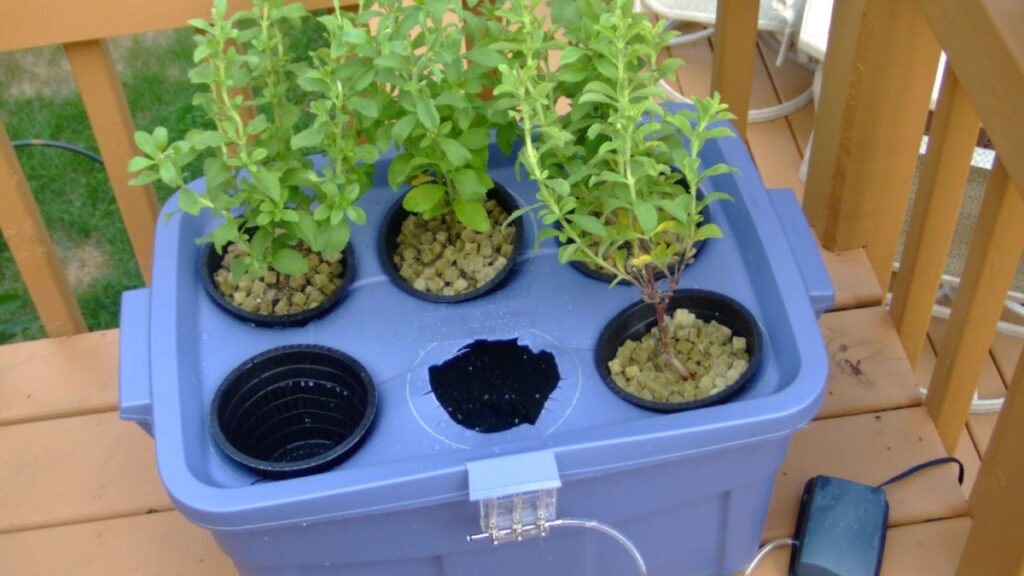
For a basic Kratky or Wick system:
- Fill your container with nutrient solution.
- Insert net pots with seedlings into holes in the lid or foam board.
- Ensure roots are partially submerged in the nutrient solution.
- For DWC: connect an air pump with air stones to oxygenate water.
- Place the system in bright indirect light or under grow lights for 12–16 hours per day.
Correct setup ensures plants get enough nutrients, water, and oxygen to thrive.
Step 7: Maintain Your Hydroponic System
Maintenance is key for long-term success:
- Monitor Nutrients: Check solution levels regularly and top up as needed. Replace solution every 1–2 weeks.
- Check pH: Keep pH in the ideal range to ensure nutrient absorption.
- Airflow: If using DWC, ensure roots receive adequate oxygen.
- Light: Maintain 12–16 hours of light daily for indoor plants.
- Pest Control: Regularly inspect plants and remove pests early.
Consistent care ensures strong growth, healthy plants, and abundant yields.
Step 8: Troubleshooting Common Problems
Even simple hydroponics can encounter issues:
- Yellow Leaves: Usually nitrogen deficiency or incorrect pH. Adjust nutrients accordingly.
- Root Rot: Caused by stagnant water or insufficient oxygen. Use an air pump or change water regularly.
- Algae Growth: Prevent by covering reservoirs and keeping light off water.
- Slow Growth: May indicate nutrient imbalance or insufficient light.
Early detection and correction lead to better results and healthier plants.
Step 9: Harvesting Your Hydroponic Plants
One of the biggest advantages of hydroponics is faster and frequent harvests:
- Leafy Greens: Harvest in 3–4 weeks by picking outer leaves first.
- Herbs: Snip regularly to encourage bushy growth.
- Vegetables: Harvest fruits when fully ripe for best flavor.
Hydroponics allows multiple harvests from the same plants, maximizing productivity.
Step 10: Advanced Tips for Home Hydroponics
Once your system is working, try these tips to boost growth:
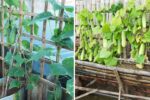
- Vertical Hydroponics: Stack channels or trays to grow more in limited space.
- Companion Planting: Combine compatible plants to improve growth and flavor.
- Automate Lighting and Pumps: Use timers to save effort.
- Experiment with Nutrients: Adjust nutrient ratios as plants mature for optimal health.
- Cloning Plants: Propagate new plants from cuttings directly in your hydroponic system.
These advanced tips help you maximize yields and efficiency in your home hydroponic garden.
Conclusion
Building a hydroponic system at home is easier than it seems. By selecting the right system, preparing nutrient-rich water, planting fast-growing seeds, and maintaining ideal conditions, anyone can enjoy fresh, healthy plants year-round.
Whether you want to grow herbs for your kitchen, leafy greens for salads, or even decorative flowers, DIY hydroponics is a cost-effective and space-saving solution. With patience, careful monitoring, and the right setup, you can transform your home into a thriving, productive garden—no soil required!
Start today, build your home hydroponic system, and experience the joy of growing fresh, nutrient-rich plants indoors.