Composting is one of the simplest and most powerful ways to transform everyday kitchen and garden waste into nutrient-rich soil. Yet many people avoid it because they assume they need expensive equipment or a large backyard. The truth is far simpler: you can create an effective compost bin using basic, inexpensive materials you already have at home. This improvised compost bin works just as well as store-bought versions—sometimes even better!
In this 1200-word guide, you’ll learn step-by-step how to build your own improvised compost bin, how composting works, the best materials to add, and how to maintain your bin for fast, healthy compost.
1. Why Choose an Improvised Compost Bin?
Purchasing a professional compost bin can be costly, especially for beginners. Improvised bins offer the same function at little to no cost, using items like old buckets, plastic containers, wooden crates, or even cardboard.
Benefits of an improvised compost bin:
- ✔ Low-cost or completely free
- ✔ Custom size depending on your space
- ✔ Recycled materials reduce waste
- ✔ Easy to move, modify, or expand
- ✔ Perfect for balconies, small yards, and indoor spaces
Composting doesn’t require perfection—what matters is having a container that provides the right airflow, moisture, and environment for microorganisms to break down organic matter.
2. What You Need to Build Your DIY Compost Bin
You can improvise a compost bin from almost anything, but the best containers share three characteristics:
- Sturdy enough to hold waste
- Ventilated to allow airflow
- Large enough for decomposition (20–100 liters is ideal)
Common materials you can use:
- Old plastic bucket with a lid
- Large paint bucket or detergent bucket
- Plastic drums
- Styrofoam boxes
- Wooden crates or pallets
- Plastic storage boxes
- Broken laundry baskets
- Metal drums (with rust protection)
Tools you might need:
- Drill or screwdriver
- Hammer or nails (if using wood)
- Knife or heated metal rod to make holes
- Net or mesh for insect control
Remember—your compost bin doesn’t have to look fancy. It just has to work!
3. Building a Simple Improvised Compost Bin (Step-by-Step)
Here’s one of the easiest designs you can make using a plastic container or bucket.
Step 1: Clean and Prepare Your Container
Wash it to remove chemicals or residues. A 20–40 liter bucket works well for beginners.

Step 2: Create Air Holes
Using a drill or heated nail, make holes:
- On the sides (10–15 holes)
- On the lid (6–10 holes)
- On the bottom (6–8 holes) for drainage
Airflow is key. Without oxygen, your compost becomes smelly and begins anaerobic decomposition.
Step 3: Elevate the Bin
Place it on bricks or pieces of wood so water can drain out and air can flow underneath.
Step 4: Add a Base Layer
Start with a 5–10 cm layer of:
- Dry leaves
- Small twigs
- Coconut husk
- Shredded paper
This improves drainage and airflow.
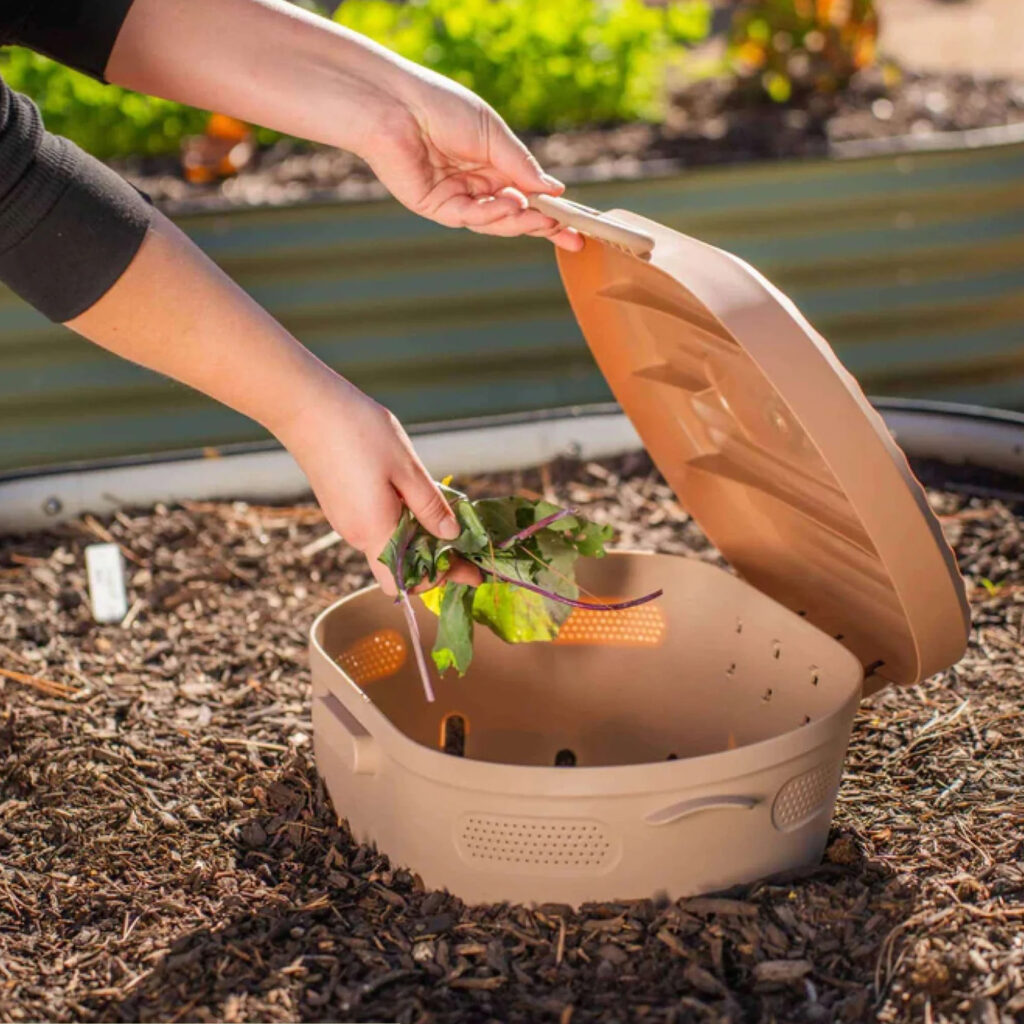
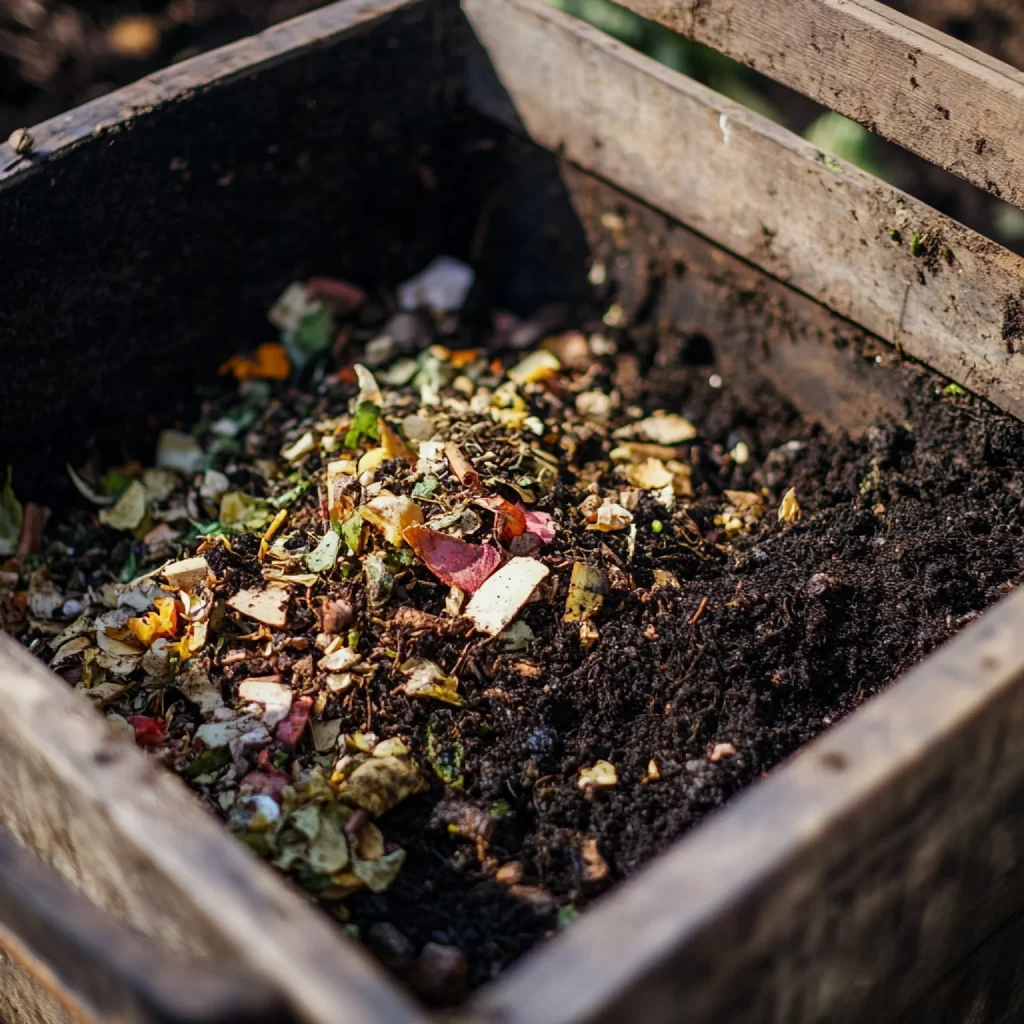
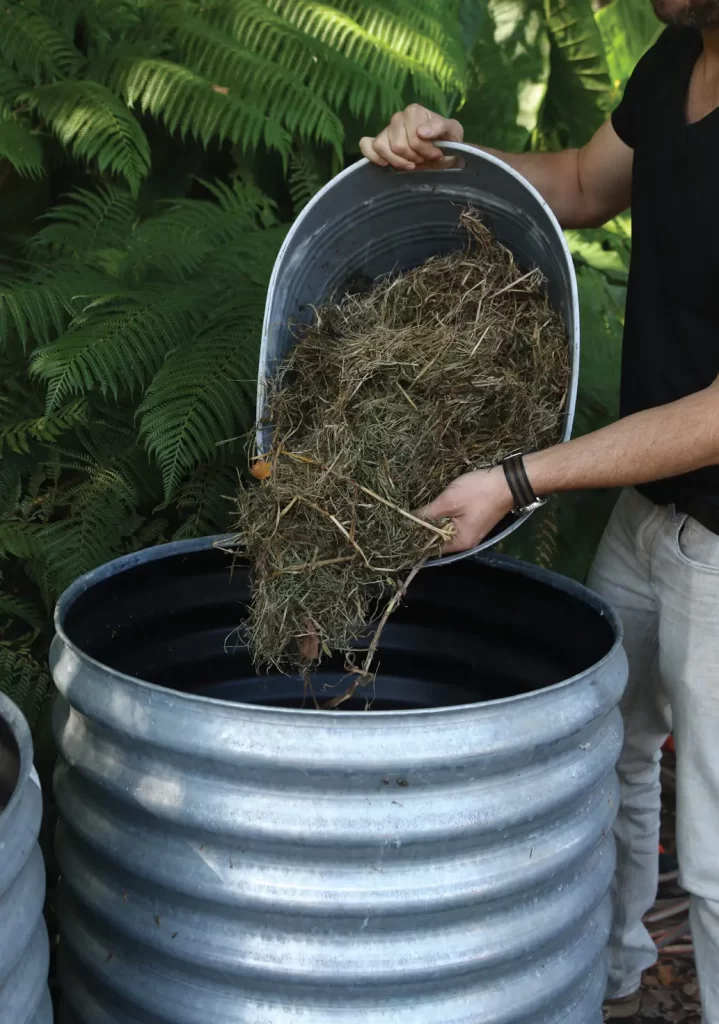
Step 5: Add Compost Ingredients
Alternate between green materials (wet) and brown materials (dry).
4. What to Put in Your Improvised Compost Bin
Not everything belongs in your compost. Follow the “Green + Brown” formula.
🌿 Green (Nitrogen-rich materials)
These create heat and feed the microbes:
- Fruit scraps
- Vegetable peels
- Coffee grounds
- Tea leaves
- Fresh grass
- Plate leftovers (non-oily)
- Eggshells (crushed)
🍂 Brown (Carbon-rich materials)
These help absorb moisture and reduce smell:
- Dry leaves
- Cardboard
- Shredded newspaper
- Sawdust (untreated)
- Coconut fiber
- Straw
- Corn husks
❌ Do NOT add:
- Meat or fish
- Oily foods
- Dairy
- Diseased plants
- Pet waste
- Synthetic materials
These attract pests or cause foul odors.
5. Maintaining Your Improvised Compost Bin
Improvised bins work extremely well, but they need simple maintenance to keep decomposition fast and odor-free.
1. Turn the Compost Regularly
Every 7–10 days, stir or shake your bin to add oxygen. This speeds up composting and prevents bad smells.
2. Keep the Moisture Balanced
Your compost should feel like a wrung-out sponge—moist but not dripping.
If it’s too wet, add:
- Dry leaves
- Cardboard
- Sawdust
If it’s too dry, sprinkle:
- Water
- Green kitchen waste
3. Add More Browns Than Greens
Improvised bins tend to get soggy, so always add a handful of browns after every layer of greens.

4. Keep It Covered
Use a tight lid or cloth to:
- Retain moisture
- Keep insects away
- Prevent rodents
6. Troubleshooting Common Problems
Even the best composters run into problems. Here’s how to fix them easily.
❌ Bad Smell
Cause: Too many green materials or lack of airflow
Fix: Add more dry materials + increase air holes
❌ Flies or Insects
Cause: Exposed food scraps
Fix: Cover each layer with dry leaves or cardboard
❌ Compost Not Decomposing
Cause: Too dry, cold, or lacking greens
Fix: Add fresh greens + mix thoroughly
❌ Too Wet or Leaking
Cause: Excessive kitchen waste
Fix: Increase ventilation + add shredded paper
7. Different Types of Improvised Compost Bins
Depending on your space and needs, here are different DIY designs.
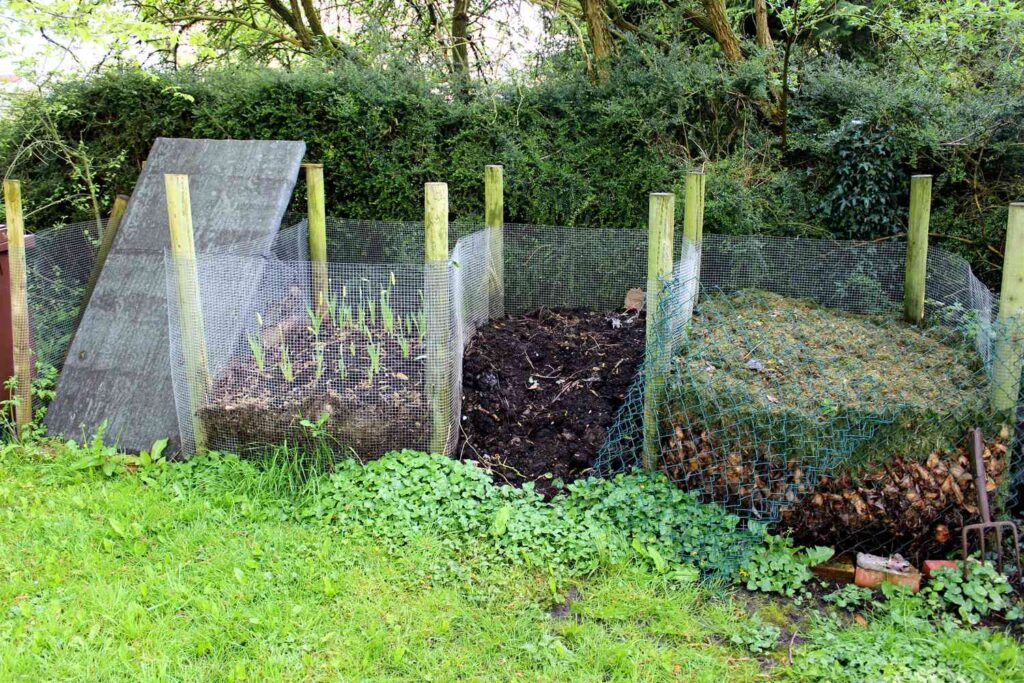
🪵 1. Wooden Crate Bin
Perfect for outdoors:
- Great airflow
- Large capacity
- Adds rustic garden charm
Line the inside with mesh if the gaps are too large.
🧺 2. Laundry Basket Compost Bin
Surprisingly effective!
- Has built-in holes
- Needs a liner
- Works well on balconies
🛢 3. Plastic Drum Compost Bin
For large families or gardens:
- Can hold 50–200 liters
- Drill large holes
- Can be converted into a tumbler
📦 4. Cardboard Box Bin
For temporary composting:
- Biodegradable
- Good airflow
- Best for dry climates
Line with paper to slow breakdown.
🧊 5. Styrofoam Box Bin
Keeps compost insulated and warm:
- Great for colder climates
- Easy to modify
- Light and portable
8. When Will Your Compost Be Ready?
Depending on your climate and materials, compost takes 30–90 days in warm weather and 3–6 months in cooler climates.
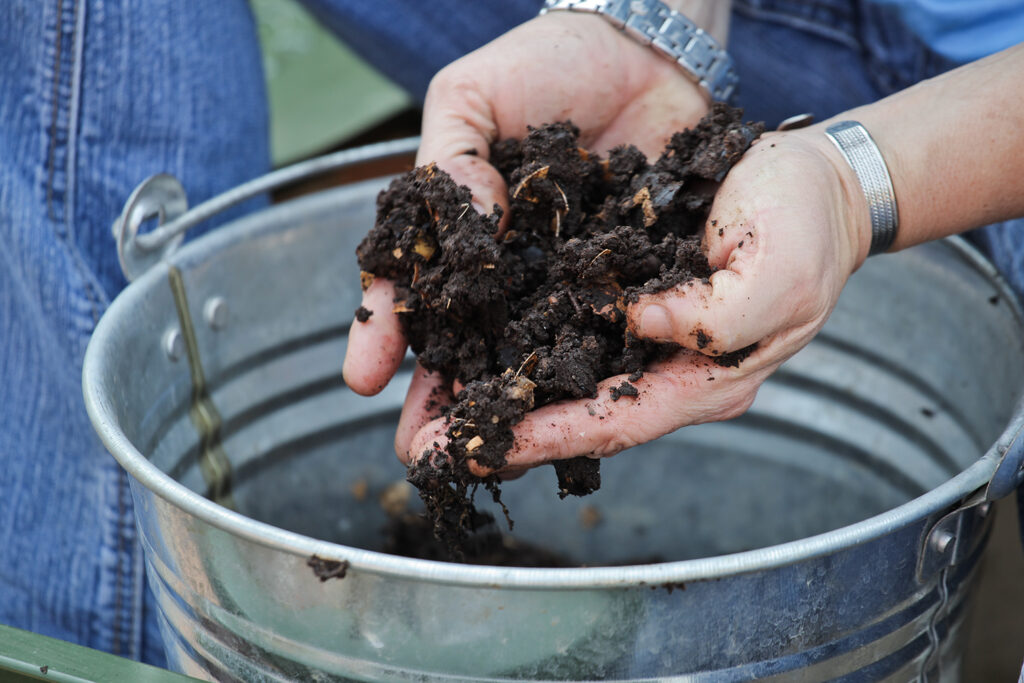
Your compost is ready when:

- It smells earthy
- It looks dark and crumbly
- You can’t recognize the original materials
Use it for:
- Vegetable gardens
- Flower beds
- Fruit trees
- Indoor plants
- Seed starting mixes (mixed with soil)
9. Benefits of Using Homemade Compost
Your improvised bin doesn’t just reduce waste—it improves your entire garden.
🌱 Benefits include:
- Reduces chemical fertilizer use
- Boosts plant growth
- Improves soil texture
- Adds beneficial microbes
- Helps retain moisture
- Promotes healthier roots
- Saves money
Your plants will love the natural nutrition and balanced structure compost provides.
10. Final Thoughts
Building an improvised compost bin is one of the easiest DIY projects you can do at home. With minimal effort and everyday materials, you can turn kitchen scraps into rich, fertile compost that benefits all your plants. Whether you’re gardening indoors, on a balcony, or in a large backyard, this homemade solution works incredibly well and brings you closer to a more sustainable lifestyle.
Remember: composting is simple, natural, and always adaptable. Start with what you have, maintain it regularly, and watch your waste transform into black gold!