Growing your own vegetables, herbs, and fruits becomes dramatically easier and more productive when you use raised beds. These elevated garden spaces provide ideal soil conditions, better drainage, easier access, and healthier plants—all while making your garden look beautifully organized. Raised beds are perfect for beginners, home gardeners with limited space, and anyone who wants bigger harvests with less effort.
In this detailed 1200-word guide, you’ll learn how to create raised beds from scratch, what materials to use, soil mixes, layout tips, planting strategies, and long-term maintenance. By the end, you’ll be ready to transform any yard, balcony, or rooftop into a thriving crop-growing paradise.
Let’s dig in!
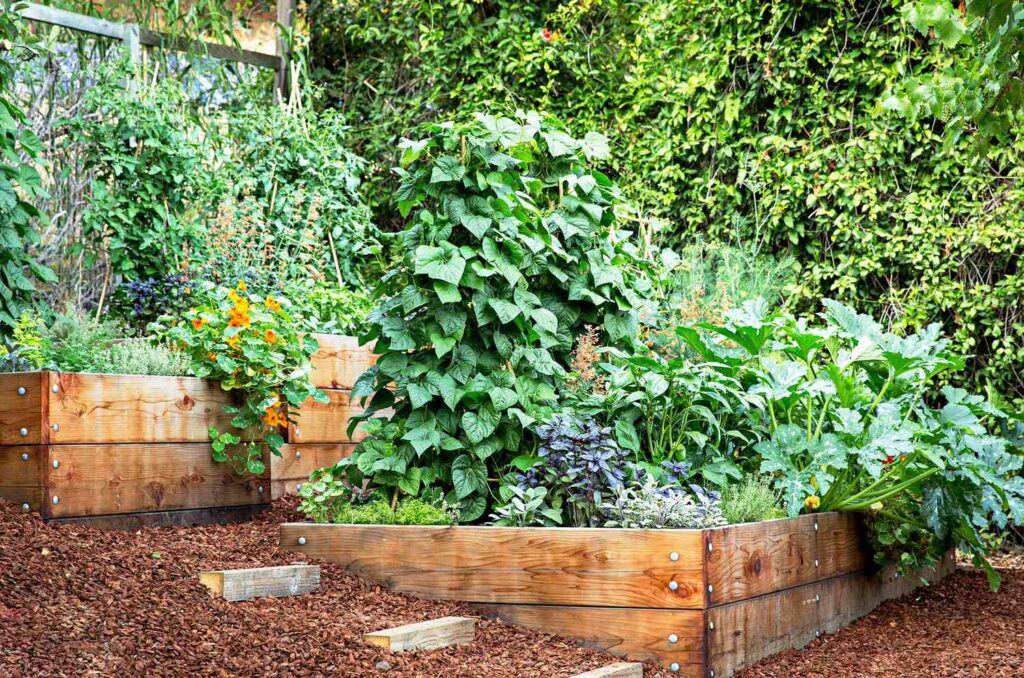
🌿 What Are Raised Beds?
Raised beds are elevated gardening boxes filled with high-quality soil. They can be made from wood, bricks, metal, bamboo, or even recycled materials. The soil sits above ground level—usually 15 to 60 cm high—making it easier to control plant growth conditions.
Raised beds are used worldwide because they create an ideal environment for growing vegetables, fruits, flowers, and herbs.
🌱 Benefits of Growing Crops in Raised Beds
Before learning how to build them, here’s why raised beds are so valuable for home gardeners:
✔ Better Drainage
Water drains rapidly, preventing root rot and soil compaction.
✔ Healthy, Fertile Soil
You choose the soil mix, meaning no rocks, pests, or poor native soil interfere.
✔ Higher Yields
Plants grow faster, stronger, and produce more.
✔ Reduced Weeds
Weeds are fewer and easier to remove.
✔ Easier Access
Less bending makes raised beds perfect for seniors and people with mobility issues.

✔ Extended Growing Season
The soil warms earlier in spring, boosting early growth.
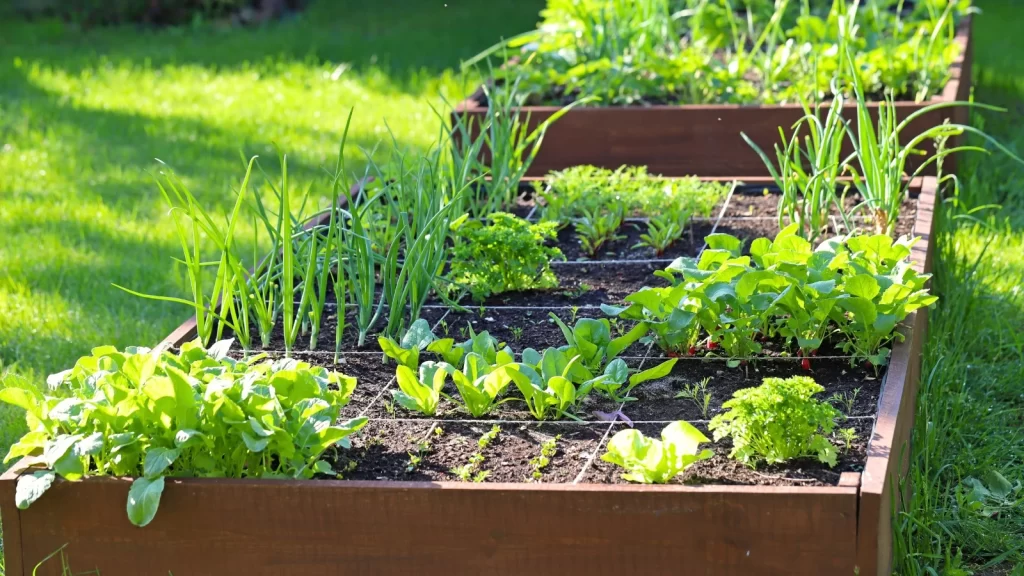
✔ Neat and Organized Garden Layout
Everything looks clean, structured, and beautiful.
Whether you’re growing tomatoes, onions, beans, spinach, or even fruit shrubs, raised beds make gardening simpler and more rewarding.
🛠 What You Need to Create a Raised Bed
You don’t need expensive supplies. Basic materials include:
Materials
- Wood planks (cedar, teak, pine, hardwood)
- Bricks or concrete blocks
- Corrugated metal sheets
- Bamboo / recycled plastic boards
- Screws or nails
- Soil and compost
- Cardboard or landscape fabric
Tools
- Saw
- Drill or hammer
- Measuring tape
- Level
- Shovel
- Wheelbarrow
Choose materials based on your budget and climate. Wood is the most popular, while metal and brick last longer.
📏 Step 1: Choose the Right Location
Plants in raised beds thrive best when placed in an ideal spot.
✔ Sunlight Requirement
Most vegetables need 6–8 hours of direct sunlight daily.
Root crops and leafy greens can tolerate partial shade.
✔ Flat & Stable Ground
Choose a level surface to avoid uneven water flow.
✔ Access to Water
Place beds near a hose or water source for convenience.
✔ Avoid Waterlogging Areas
Raised beds improve drainage, but putting them in a swampy area defeats the purpose.
📐 Step 2: Decide the Size and Shape of the Raised Bed
The best part of raised beds is flexibility—you can customize them based on space.
👍 Recommended Dimensions:
- Width: 3–4 feet (easy to reach the center from both sides)
- Length: 6–12 feet
- Height: 12–24 inches (deeper beds are great for root crops)
Shapes You Can Use:
- Rectangular (most common)
- Square
- L-shaped
- Circular pots
- Tiered levels for decorative gardens
Make sure you can walk around it comfortably.
🔨 Step 3: Build the Raised Bed Frame
Here’s how to construct a simple wooden raised bed:
1. Cut the Wood
Measure and cut the planks according to your desired dimensions.
2. Assemble the Sides
Use screws or nails to attach the corners. Reinforce them with corner blocks if you want extra strength.
3. Level the Frame
Place the frame on the ground and ensure it sits evenly.
4. Optional: Add Support Stakes
Hammer wooden stakes into the soil at the corners and screw the frame to keep it stable.
If you’re using bricks or concrete blocks, simply stack them in place without mortar.
If using metal, screw panels into corner posts.
🧹 Step 4: Prepare the Ground
Before filling the bed, prepare the soil beneath it.
✔ Remove Weeds & Grass
Clear the area so weeds don’t grow up into your bed.
✔ Add a Barrier
Line the bottom with:
- Thick cardboard
- Newspaper
- Landscape fabric
This smothers weeds and improves moisture balance.
✔ Optional: Add Gravel Layer
A 2–3 cm gravel base improves drainage, especially in rainy areas.

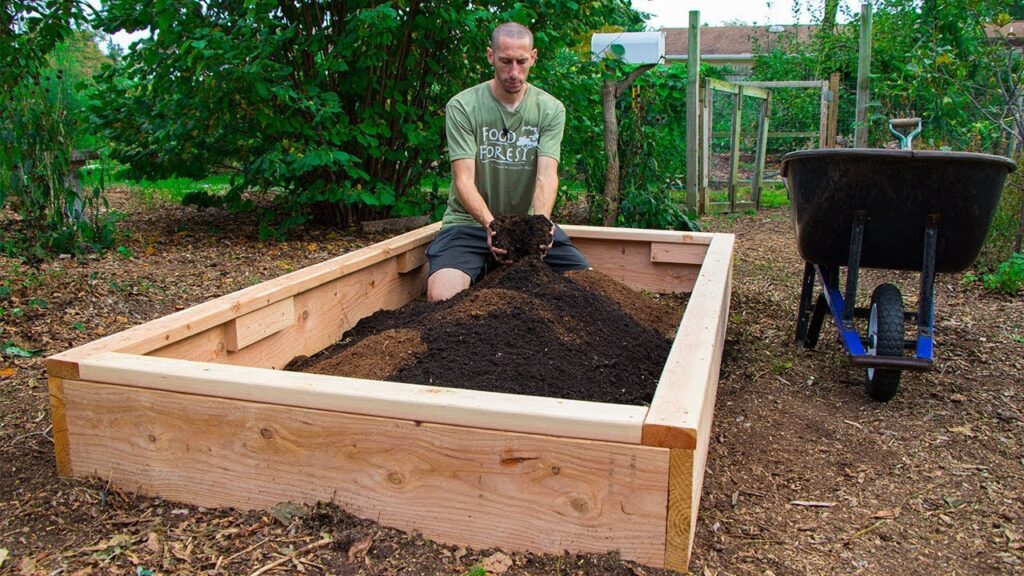
🌱 Step 5: Fill the Raised Bed With the Perfect Soil Mix
The key to productive raised beds is nutrient-rich, well-draining soil.
⭐ Best Soil Mix for Raised Beds:
40% garden soil
30% compost (vermicompost, cow dung, homemade compost)
20% coco peat or peat moss
10% sand or perlite
This blend ensures:
- Excellent aeration
- Moisture retention
- Nutrient richness
- Loose soil for root expansion
Optional Additives:
- Bone meal (for root crops)
- Neem cake (pest protection)
- Wood ash (potassium boost)
- Worm castings (super nutrient booster)
Once filled, water the soil to help it settle.
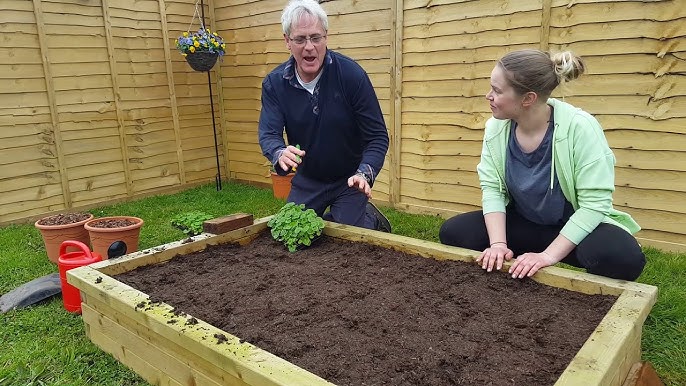
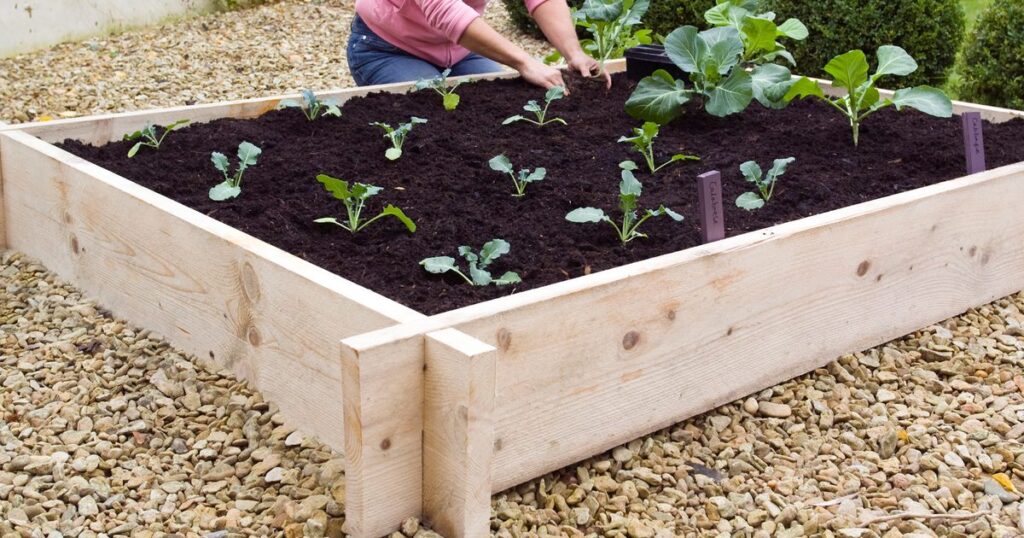
🌾 Step 6: Planting Your Crops in Raised Beds
Now it’s time to grow!
🌿 Best Crops for Raised Beds
- Tomatoes
- Peppers
- Onions
- Carrots
- Beans
- Cucumbers
- Lettuce
- Spinach
- Potatoes
- Herbs
Raised beds are especially great for root vegetables because soil stays loose and rock-free.
🌱 Planting Tips
1. Follow Spacing Rules
Even though raised beds grow more, plants still need room to breathe.
2. Use Companion Planting
Pair crops that benefit each other:
- Tomatoes + basil
- Carrots + onions
- Cucumbers + dill
- Beans + corn
3. Mulch the Surface
Use straw, dry leaves, or wood chips to:
- Reduce evaporation
- Prevent weeds
- Keep soil cool
4. Install Trellises for Climbers
Add stakes or cages for cucumbers, tomatoes, and beans.
💧 Step 7: Watering Techniques for Raised Beds
Raised beds dry faster than ground soil, so proper irrigation is essential.

✔ Daily Watering for New Seeds
Keep the top layer moist until germination.
✔ Deep Watering for Mature Plants
Water 2–3 times a week depending on climate.
✔ Best Watering Methods:
- Drip irrigation
- Soaker hoses
- Early morning watering
Avoid overhead sprinklers to reduce leaf diseases.
🛡 Step 8: Maintain Your Raised Bed Garden
A well-maintained raised bed produces crops for years. Here’s how to care for it:
✔ Add Compost Regularly
Top up with compost every 20–30 days.
✔ Rotate Crops Annually
Grow different crops each season to prevent soil nutrient depletion.
✔ Remove Dead Leaves
Prevents fungal infections and pests.
✔ Refill Soil Each Season
Beds settle over time—top up as needed.
✔ Protect From Pests
Use:
- Neem oil
- Garlic spray
- Netting
- Organic pesticides
Raised beds naturally have fewer pests, but prevention is key.
🌸 Decorative & Space-Saving Raised Bed Ideas
You can create beautiful raised beds with creativity:

🌿 Wooden Beds with Corner Posts
Classic, durable, and attractive.
🎍 Bamboo Raised Beds
Eco-friendly and visually stunning.
🧱 Brick or Stone Beds
Long-lasting and great for permanent gardens.
🥕 Tiered Raised Beds
Perfect for root crops, strawberries, and flowers.
🪴 Small Balcony Beds
Use small raised planters for urban gardening.
Raised beds aren’t just practical—they can enhance the beauty of your entire home.
🌼 Final Thoughts: A Raised Bed Is a Garden That Gives Back
Creating raised beds is one of the most effective ways to grow healthy crops at home. With complete control over soil quality, drainage, and layout, you’re giving your plants the best possible environment to thrive. Whether you’re a beginner or an experienced gardener, raised beds offer convenience, beauty, and bigger harvests.
By following this guide—selecting the right materials, preparing the soil, choosing the right crops, and maintaining your beds—you’ll enjoy a lush, productive garden that rewards you season after season.