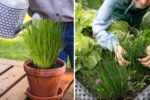
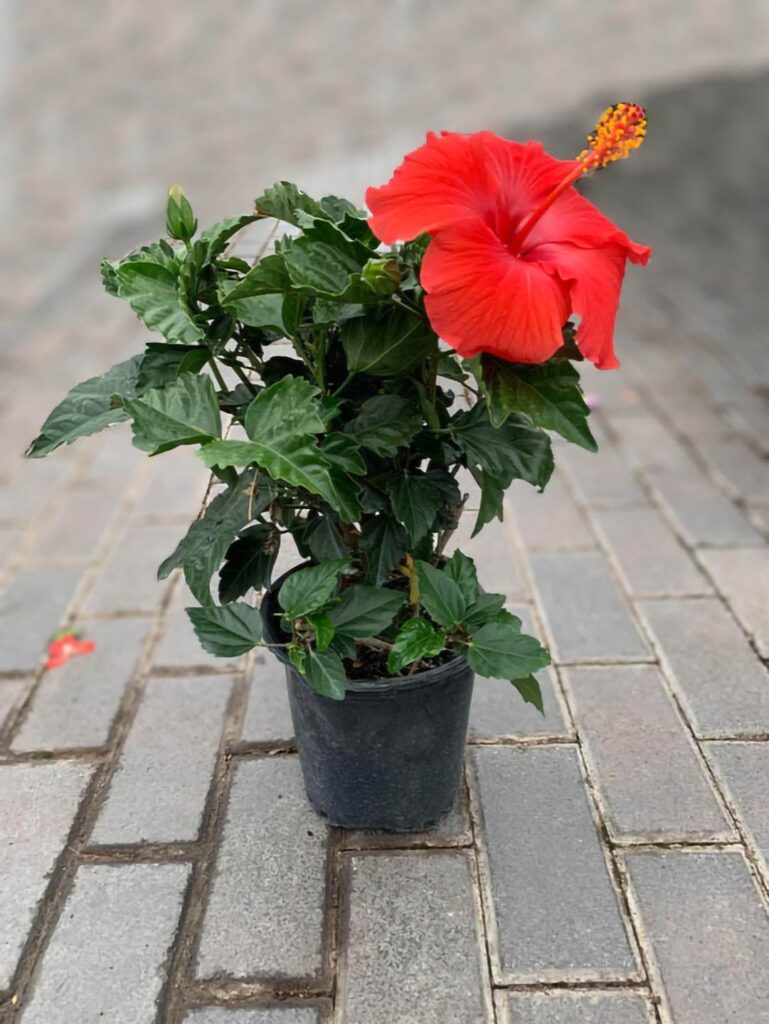
Hibiscus is one of the most stunning flowering plants you can grow at home. With its large trumpet-shaped blooms, vibrant colors, and tropical look, hibiscus instantly transforms any garden, balcony, or patio into a paradise. While many people grow hibiscus from cuttings or buy nursery plants, growing them from seeds is a rewarding and exciting experience—especially because seed-grown hibiscus plants can surprise you with new colors, patterns, and bloom sizes!
If you’ve ever dreamed of growing hibiscus from tiny seeds all the way to a flowering plant, this complete guide will walk you through every step—from sowing to blooming—with full seasonal updates and easy instructions.
Why Grow Hibiscus From Seeds?
Growing hibiscus from seeds has many benefits:
Creates new unique flower colors
More affordable than buying mature plants
Great learning experience
Ideal for hybrid lovers
Strong and disease-resistant plants
Seed-grown hibiscus may take longer to bloom than cuttings, but the reward is worth the wait.
Step 1: Choosing the Right Seeds
You can grow hibiscus from:
- Hardy hibiscus seeds
- Tropical hibiscus seeds
- Hybrid or mixed-color varieties
Look for fresh seeds—darker and heavier seeds usually have better germination power.
Before sowing, gently rub seed coat with sandpaper or a nail file (just lightly) to thin the outer shell. This process is called scarification and helps seeds germinate faster.
Step 2: Soak Seeds Before Planting
Place the seeds in warm water for 12–24 hours.
You will notice some seeds sink and some float. The sinking seeds have higher germination chances, but floating seeds can still grow.
Optional: Add a pinch of hydrogen peroxide to prevent fungus.
Step 3: Prepare the Best Soil Mix
Hibiscus seeds need soft, well-draining soil.
Ideal germination mix:
- 40% Cocopeat
- 30% Perlite or river sand
- 20% Garden soil
- 10% Compost or vermicompost
Make sure the soil is sterile and light. Overly heavy soil prevents germination.
Fill small pots or seed trays and moisten slightly—not soaking wet.
Step 4: Sowing the Seeds
Place each seed on the soil surface and gently press it about 1 cm deep. Cover lightly with soil.
Spray water instead of pouring to avoid disturbing seeds.
Cover the pot with plastic wrap or a humidity dome to maintain moisture.
Place the tray in bright indirect sunlight—not direct sun.
Germination Timeline (FULL UPDATE)
| Stage | Time (Approx.) | What Happens |
|---|---|---|
| Day 1–7 | Seeds remain dormant | No visible change |
| Day 7–21 | Sprouting begins | Small leaves (cotyledons) appear |
| 1 Month | Seedlings develop true leaves | Stronger growth |
| 3–6 Months | Plant thickens and branches | Ready for pruning |
| 8–12 Months | First bloom may appear | Some hybrids bloom earlier |
Be patient—tropical hibiscus may take up to a year to flower.
Step 5: Light Requirements
Seedlings need:
- Bright filtered sunlight for first 3–4 weeks
- After that, move them to 4–6 hours of sunlight daily
More sunlight = more flowers and better plant shape.
Step 6: Watering Seedlings
Seedlings are sensitive to overwatering.
Follow this watering rule:
Water only when the top soil feels dry.
Use a spray bottle to keep soil moist but not soggy.
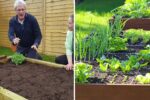
Step 7: Transplanting Seedlings

When seedlings grow 3–4 true leaves and roots become visible, move them into larger pots.
Ideal pot progression:
3-inch → 6-inch → 10–14-inch (final pot)
Use a soil mix like:
- 40% Garden soil
- 30% Compost
- 20% Cocopeat
- 10% Sand
Add neem cake powder to prevent pests.
Step 8: Fertilizing for Better Growth
Hibiscus loves food — especially after transplanting.
Best fertilizers:
Vermicompost
Seaweed extract
NPK 19-19-19 (monthly)
Banana peel fertilizer for blooms
Potassium-rich fertilizer during flowering season
Avoid high nitrogen continuously; it creates leaves, not flowers.
Step 9: Pruning for Bushy Growth
After 3–4 months, pinch the growing tips to encourage branching. More branches = more flowers.
Prune lightly every 4–5 months for shape.
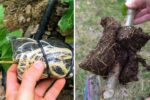
Pest Control (FULL UPDATE)
Common pests:
- Aphids
- Whiteflies
- Mealybugs
- Spider mites
Control with:
- Neem oil spray (weekly)
- Soap spray (optional)
- Good airflow and sunlight
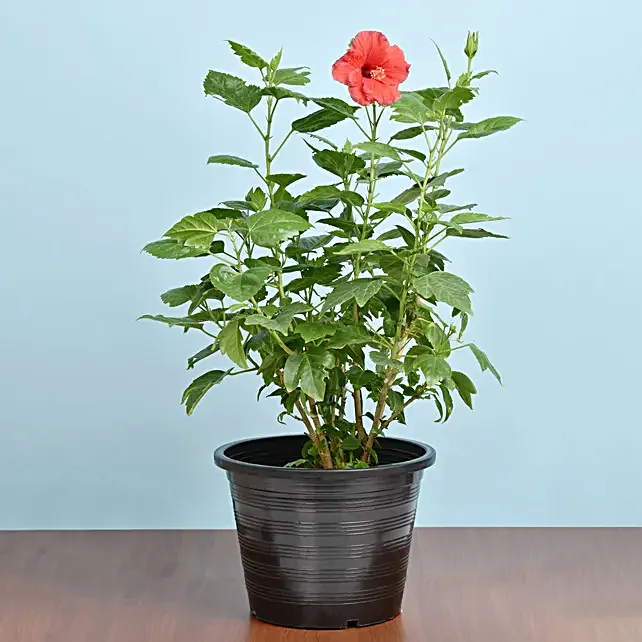
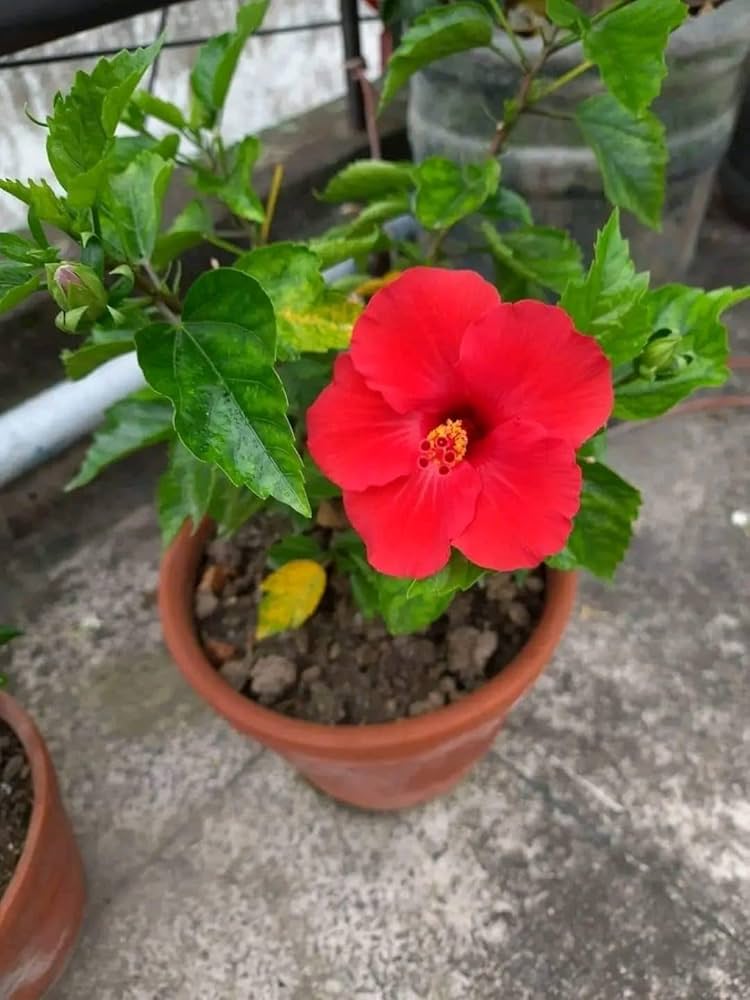
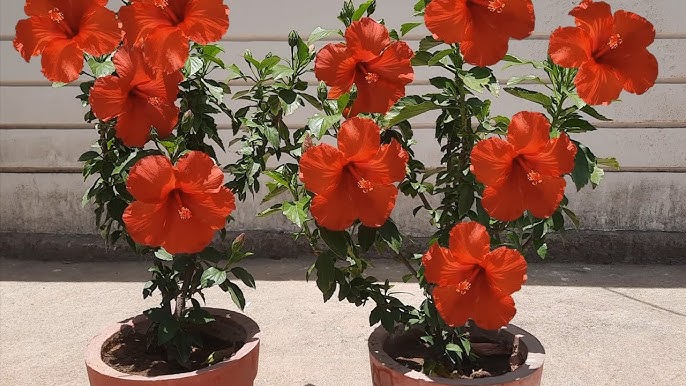
Flowering Stage: What to Expect
Seed-grown hibiscus blooms may:
Surprise you with new hybrid patterns
Grow larger over time
Change color with temperature and season
The first flower is sometimes small; later blooms become bigger and brighter.
Seasonal Care Chart
| Season | Care Requirements |
|---|---|
| Summer | Water daily, provide fertilizer, full sun |
| Rainy | Reduce watering, prevent fungal infection |
| Winter | Keep warm, avoid overwatering, no heavy pruning |
Tips for Faster Blooming
Use potassium-rich fertilizer
Ensure 6 hours of sun
Keep slightly root-bound before final pot
Avoid overwatering
Prune regularly
Final Thoughts
Growing hibiscus from seeds is a journey—from watching seeds sprout, to nurturing seedlings, and finally seeing that first bloom burst open with color. Each seed-grown hibiscus is unique, making your garden one-of-a-kind.
With patience, care, and the tips in this guide, you can grow strong, healthy hibiscus plants that bloom beautifully year after year.