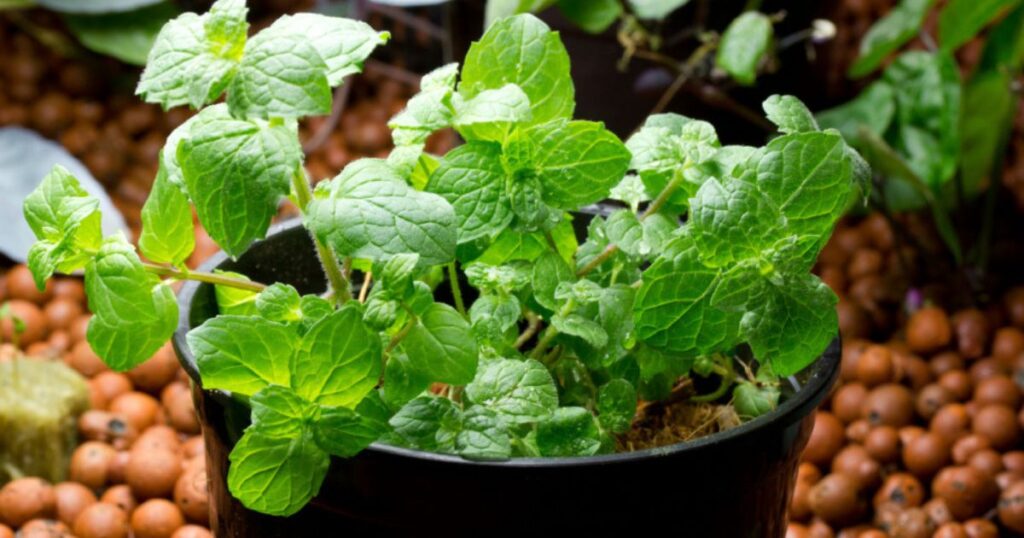
Mint is one of the easiest, fastest, and most refreshing herbs you can grow at home. Whether you want it for tea, chutney, salads, smoothies, or garnishing dishes — fresh mint tastes so much better than store-bought leaves. While many gardeners grow mint from cuttings, growing it from seeds is rewarding and allows you to cultivate unique varieties like spearmint, peppermint, chocolate mint, and apple mint.
If you’ve been dreaming of a lush mint plant sprouting right from tiny seeds all the way to a mature harvest-ready herb, then you’re in the right place. This guide includes full growth updates, care tips, and the exact conditions mint needs to grow successfully.
Why Grow Mint from Seeds?
Growing mint from seeds gives you several benefits:
Affordable way to grow multiple plants
Access to rare varieties
Strong root system & healthier growth
Fun, educational and rewarding experience
Mint is one of the easiest herbs for beginners — so let’s start!
Step 1: Selecting the Right Seeds

Choose seeds depending on the variety you want to grow. Popular types include:
- Spearmint
- Chocolate Mint
- Peppermint
- Apple Mint
- Refreshing Ice Mint
- Garden Mint
Make sure seeds are fresh, because old mint seeds have lower germination rates.
Step 2: Prepare the Soil Mix
Mint loves soft, airy, moisture-retentive soil.

Perfect seed-starting mix:
- 40% Cocopeat
- 30% Compost or vermicompost
- 20% Garden soil
- 10% Sand or perlite
Make sure the soil is not sticky or clay-like. Mint seeds are tiny, so sowing them in heavy soil will slow growth.
Step 3: Sowing the Seeds
Mint seeds need light exposure to germinate, so do NOT bury them deeply.
How to sow:
Fill a pot or seed tray with soil mix.
Sprinkle the seeds evenly on the surface.
Press lightly using your hand or a book — do not cover completely.
Spray water gently.
Cover the pot with plastic wrap or a humidity dome to keep moisture in.
Best Placement for Germination
Place the pot in:
- Bright indirect light
- Warm temperature (18–25°C)
- Away from harsh direct sunlight
Mint germinates slowly — patience is key.
Germination Timeline (FULL UPDATE)
| Time | Stage | Notes |
|---|---|---|
| Day 1–7 | Seeds stay dormant | Keep soil moist |
| Day 7–21 | Small green sprouts appear | Do not overwater |
| 1 Month | Baby mint seedlings with true leaves | Start removing dome |
| 2–3 Months | Plants thicken and spread | Ready for transplant |
| 4–6 Months | Harvest stage | Leaves full flavor |
Mint can take 2–4 weeks to sprout — don’t worry if it seems slow!
Watering Requirements
Mint loves moisture but hates soggy roots.
Follow this rule:
Keep soil moist — never waterlogged.
Water using a spray bottle during early growth. Once mature, water deeply but only when the top soil feels dry.
Light Requirements
Mint grows best in:
- 4–6 hours of sunlight
- Rest of the day in partial shade
Too much heat will scorch the leaves, while too little light will make it tall and weak.
For indoor growing, place it near a sunny window.
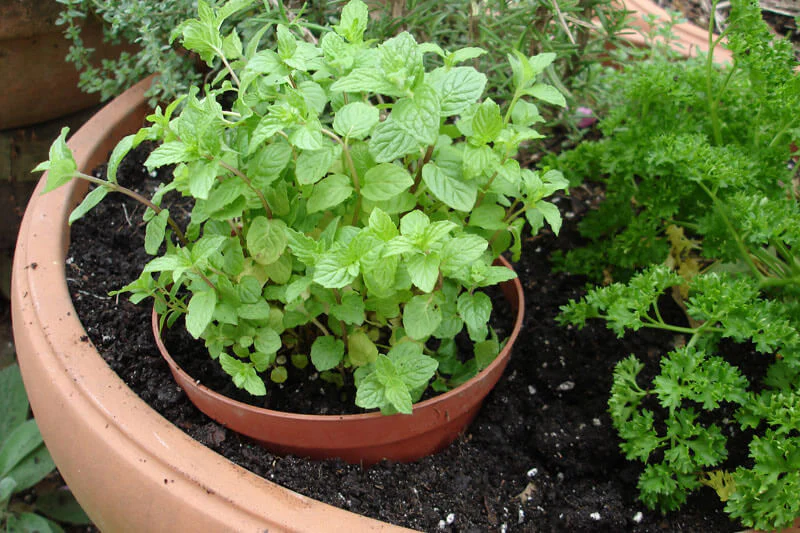
Step 4: Transplanting Seedlings
Once mint seedlings have 4–6 true leaves, transplant them into a bigger pot.
Ideal pot size:
- 8–12 inches wide
- With drainage holes
Mint spreads aggressively — a wider pot helps the plant grow bushy.
Fertilizing the Mint Plant
Mint doesn’t need heavy fertilizing. Too much fertilizer weakens flavor.
Best fertilizer options:
Vermicompost
Seaweed solution (once a month)
Compost tea or cow dung water
Avoid strong chemical fertilizers.
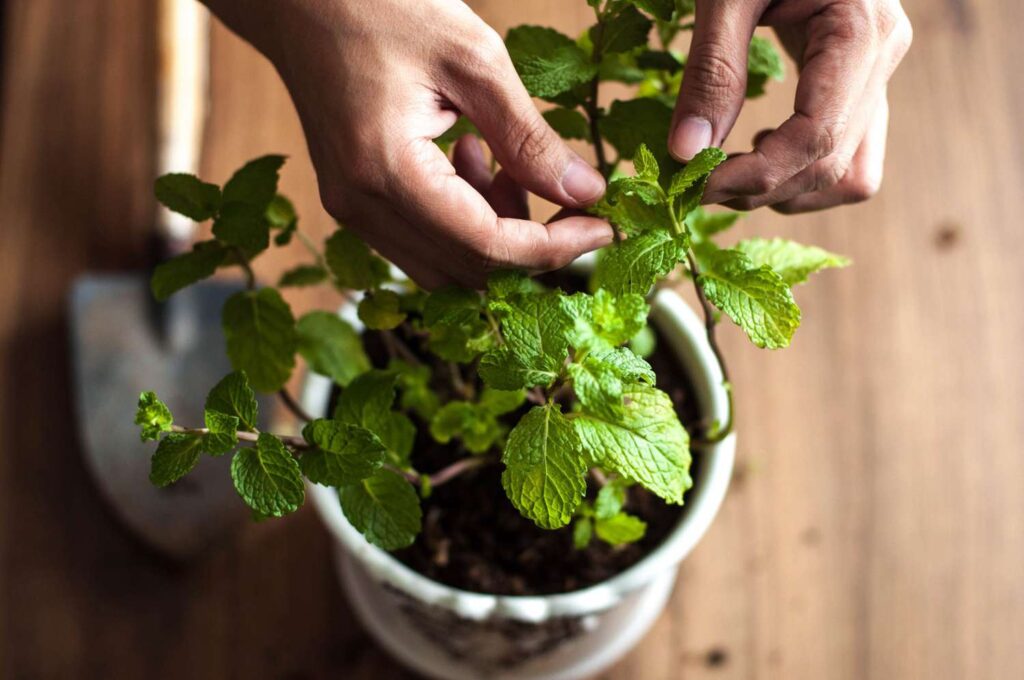
Step 5: Pruning for Bushy Growth
Once mint grows 6–8 inches tall, begin pinching the growing tips.

This helps:
More branching
Bushier plant
Faster leaf production
Always cut above a leaf node.
How and When to Harvest
You can start harvesting mint 8–12 weeks after sowing.
Harvest tips:
- Pick only the top 2–3 inches
- Leave bottom leaves to regrow
- Never cut more than 40% at once
Morning harvest gives the freshest aroma.
Seasonal Care Guide
| Season | Tips |
|---|---|
| Summer | Keep in partial shade & water more often |
| Monsoon | Watch for fungus; improve airflow |
| Winter | Growth slows; place in sunny area |
Mint is hardy and survives most climates with minimal effort.
Common Problems & Solutions
| Problem | Cause | Solution |
|---|---|---|
| Yellow leaves | Overwatering | Let soil dry |
| Slow growth | Low light | Move to brighter area |
| Mold on soil | Poor airflow | Remove top layer + add sand |
| Leggy plant | No pruning | Trim regularly |
Spray neem oil monthly to avoid pests like aphids and whiteflies.

Propagation Update
Once your mint grows large and healthy, you don’t need more seeds — simply propagate using:
Stem cuttings
Root division
This gives faster-growing new plants.
Bonus Uses of Homegrown Mint
Fresh tea
Detox water
Salads
Mint lemonade
Ayurvedic remedies
Chutneys & garnishing
Mint is multipurpose and always useful!
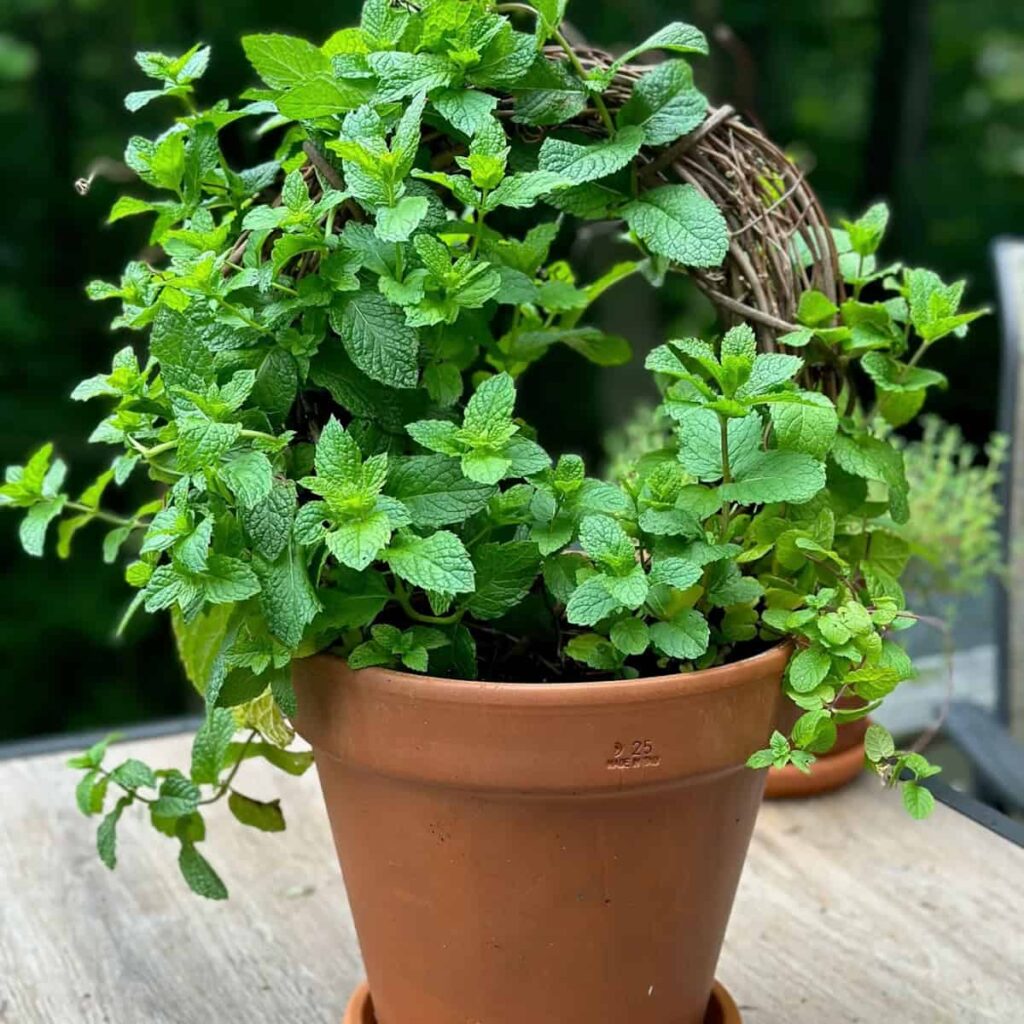
Final Thoughts
Growing mint from seeds may start slow, but once established, mint becomes one of the most rewarding, fast-growing herbs in your garden. It’s beginner-friendly, endlessly useful, and perfect for both indoor and outdoor gardening.
With the steps and updates in this guide, you’ll soon have a continuous supply of fresh, fragrant mint — right from your own garden.