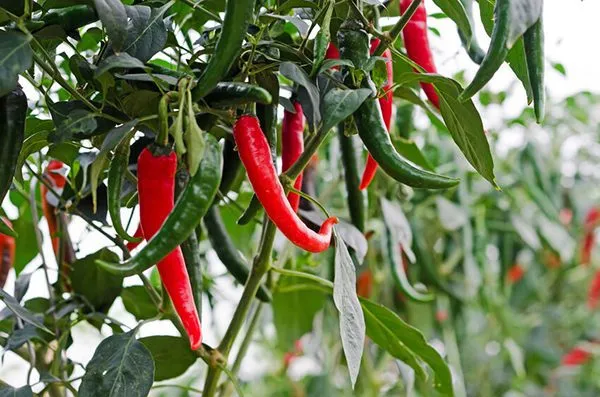
Imagine plucking fresh, fiery chillies straight from your own home garden—vibrant red, green, or yellow, bursting with flavor. Growing chillies at home is not only rewarding but also surprisingly easy if you follow the right steps. With proper care, a single plant can produce over 100 chillies, offering a bountiful harvest for cooking, preserving, or sharing. This guide provides a complete seed-to-harvest plan for home gardeners to grow chillies successfully and maximize yield.
1. Why Grow Chillies at Home?
Home-grown chillies come with numerous benefits:
- Freshness and flavor: Nothing beats the taste of fresh chillies straight from the plant.
- Health benefits: Chillies are rich in vitamins A and C, antioxidants, and capsaicin.
- Cost-effective: Growing your own chillies saves money compared to buying from stores.
- Sustainable gardening: Reduce carbon footprint by producing food at home.
- High yield potential: With proper care, each plant can produce over 100 chillies.
Whether you have a balcony, terrace, or garden, home-grown chillies add beauty and functionality to your space.
2. Selecting the Right Chilli Variety
Choosing the right variety is crucial for high yield and suitability to your space:
- Bird’s Eye Chilli: Small but very hot; prolific yield.
- Jalapeno: Medium-sized, moderately hot; ideal for cooking.
- Cayenne: Long, fiery chillies; high yield potential.
- Local varieties: Often adapt better to local conditions and are disease-resistant.
Select varieties according to your climate, taste preferences, and growing space.
3. Starting Chillies from Seeds
Growing chillies from seeds gives you a head start:
- Seed quality: Buy fresh seeds from trusted sources for higher germination.
- Pre-soaking: Soak seeds in lukewarm water for 6–8 hours to soften the outer coat and improve germination.
- Sowing medium: Use a well-draining seed-starting mix. Avoid heavy garden soil.
- Containers: Use seed trays, small pots, or cell packs for germination.
Chilli seeds usually germinate in 7–14 days, depending on variety and conditions.
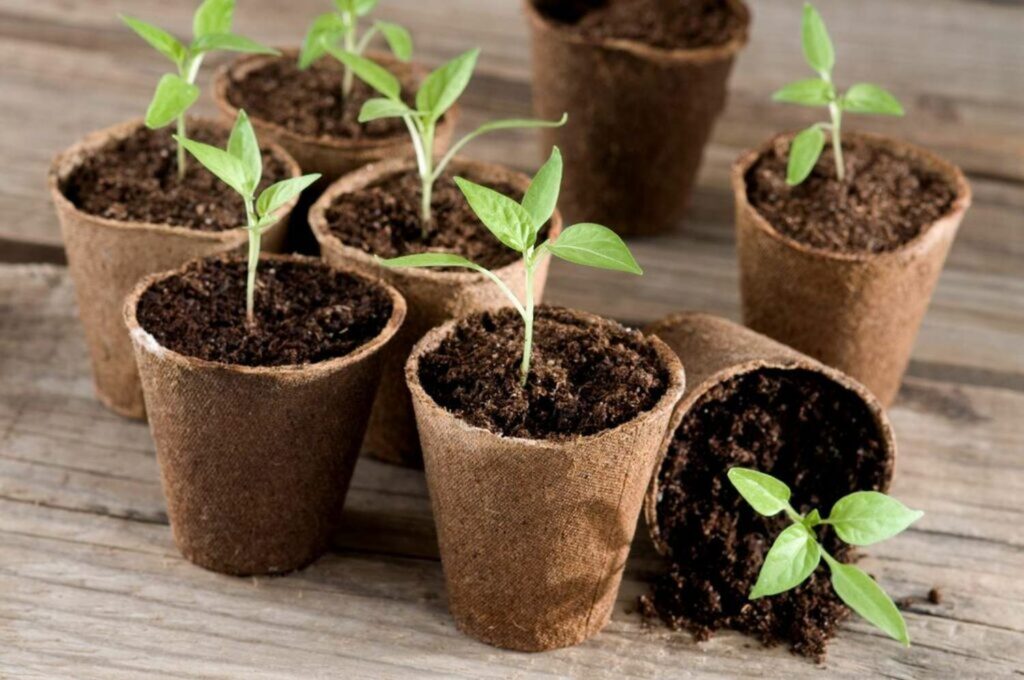
4. Germination and Seedling Care
Proper care during the seedling stage ensures strong, healthy plants:
- Temperature: Maintain 20–30°C (68–86°F) for optimal germination.
- Light: Provide bright, indirect light or 12–16 hours under grow lights.
- Watering: Keep soil moist but not soggy. Overwatering can rot seeds.
- Thinning: Once seedlings develop two sets of true leaves, thin them to one seedling per pot to prevent overcrowding.
Strong seedlings lay the foundation for high-yielding plants.
5. Transplanting Chilli Seedlings
After 4–6 weeks, seedlings are ready to move to larger pots or garden beds:
- Hardening off: Gradually expose seedlings to outdoor conditions for 5–7 days to prevent transplant shock.
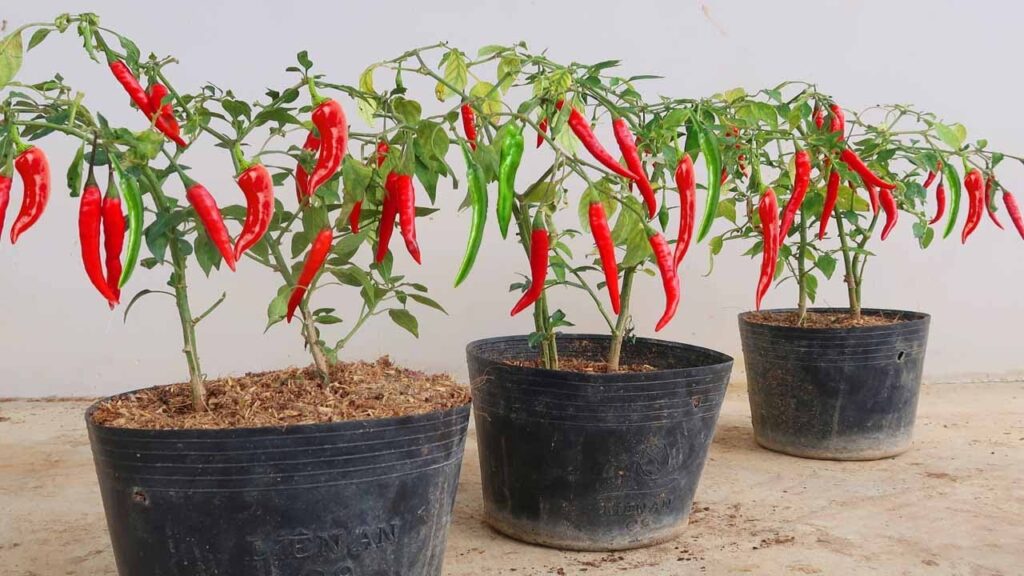
- Pot selection: Choose large pots (10–15 inches) with drainage holes or well-prepared garden beds.
- Soil requirements: Use rich, well-draining soil with a mix of compost or organic matter.
- Spacing: Maintain 18–24 inches between plants for good airflow and growth.
Proper transplanting ensures vigorous growth and prepares the plant for high yields.
6. Sunlight and Temperature Requirements
Chillies thrive in warm conditions with plenty of sunlight:
- Sunlight: 6–8 hours of direct sunlight daily for optimal growth.
- Temperature: Ideal growing range is 20–35°C (68–95°F). Chillies do not tolerate frost.
- Indoor care: If growing indoors or on a balcony, place plants near a sunny window or use grow lights.
Adequate sunlight and warmth accelerate flowering and fruiting.
7. Watering and Fertilization
Balanced water and nutrients are key to producing 100+ chillies per plant:
- Watering: Keep soil consistently moist but not waterlogged. Water deeply once or twice a week, adjusting for temperature and rainfall.
- Fertilization:
- Use nitrogen-rich fertilizer during vegetative growth to encourage leafy growth.
- Switch to phosphorus and potassium-rich fertilizers during flowering and fruiting for better yields.
- Organic options like compost, vermicompost, and fish emulsion work well.
- Mulching: Apply mulch to retain moisture and reduce weed growth.
Proper care boosts plant vigor and ensures a bountiful harvest.
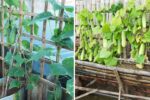
8. Pruning and Plant Training
Pruning helps maximise yield and plant health:
- Tip pruning: Pinch off the growing tips once the plant reaches 12–18 inches to encourage branching.
- Removing yellow leaves: Prevent disease and improve airflow.
- Support: For tall varieties, use stakes or cages to prevent stem breakage under heavy fruit load.
Pruned plants are bushier, healthier, and more productive.
9. Flowering and Fruit Setting
Chillies produce flowers first, which later turn into fruits:
- Pollination: Most chilli varieties are self-pollinating. Lightly shaking flowers or using a soft brush can improve fruit set.
- Patience: Flowers appear 6–8 weeks after transplanting. Fruits develop 2–3 weeks after flowering.
- Fruit care: Avoid excessive nitrogen during fruiting; focus on potassium and phosphorus to increase size and number.
Healthy flowers lead to higher fruit set and a potential harvest of 100+ chillies per plant.
10. Pest and Disease Management
Chillies can face common pests and diseases:

- Pests: Aphids, whiteflies, thrips, and red spider mites. Use neem oil, insecticidal soap, or natural predators.
- Diseases: Fusarium wilt, leaf spot, and root rot. Ensure good drainage, proper spacing, and healthy soil.
- Preventive care: Rotate crops, maintain cleanliness, and monitor plants regularly.
Timely intervention ensures a healthy, high-yielding plant.
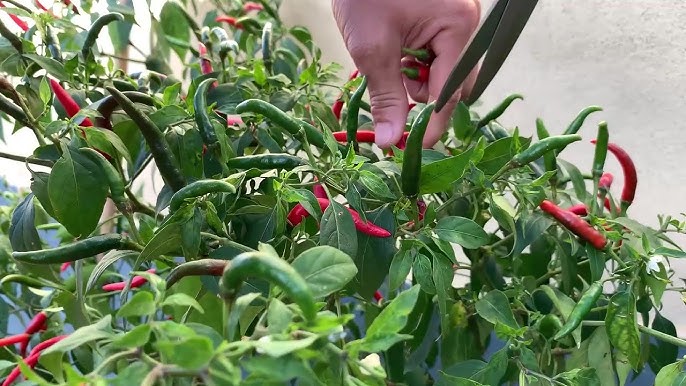
11. Harvesting Chillies
Knowing when and how to harvest ensures maximum flavor and prolonged productivity:
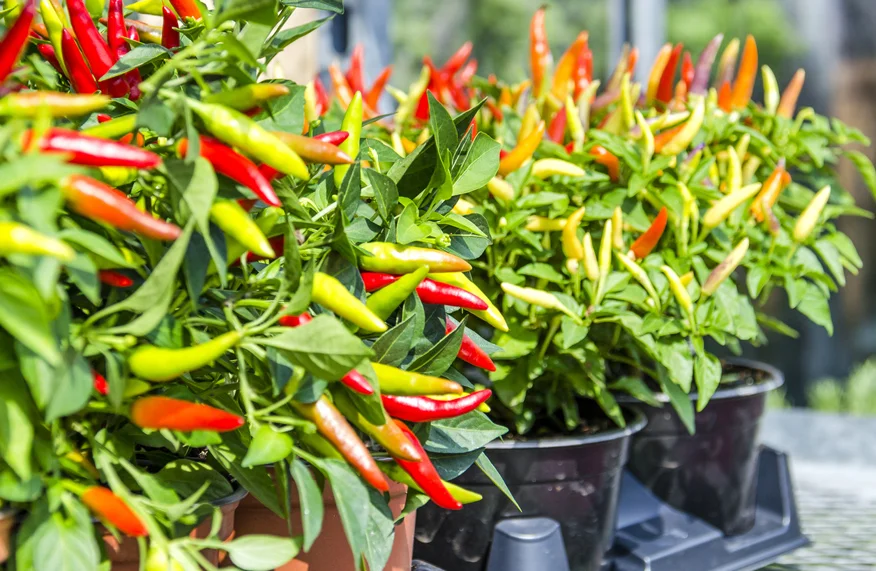
- Maturity: Chillies can be harvested green or left to ripen to red, yellow, or orange depending on the variety.
- Harvest method: Use scissors or fingers to gently pluck fruits without damaging stems.
- Continuous harvesting: Regular picking encourages the plant to produce more fruits.
With proper care, a single plant can yield 100+ chillies in a season.
12. Storing and Using Home-Grown Chillies
Home-grown chillies can be stored and used in various ways:
- Fresh use: Add to curries, sauces, or salads.
- Drying: Sun-dry or oven-dry for long-term storage.
- Freezing: Wash, dry, and store in airtight containers.
- Pickling or preserving: Homemade pickles or sauces enhance shelf life and flavor.
Growing chillies at home ensures a constant supply for cooking and culinary experiments.

13. Tips for Maximizing Chilli Yield
- Consistent watering and fertilization: Critical for high yields.
- Prune regularly: Promotes bushy plants with more flowering branches.
- Sunlight exposure: Ensure plants receive adequate sunlight.
- Companion planting: Plant basil, coriander, or marigolds nearby to deter pests naturally.
- Patience and care: Chillies take time to mature; regular attention pays off in abundant harvests.
Following these tips helps you grow productive, high-yielding chilli plants.
Conclusion
Growing chillies at home is an enjoyable, rewarding, and productive gardening activity. By selecting the right variety, starting from high-quality seeds, providing proper light, water, nutrients, and maintaining routine care, you can harvest over 100 chillies per plant.
This complete seed-to-harvest guide ensures that even beginners can successfully cultivate chillies at home, enjoy fresh, flavorful fruits, and experience the satisfaction of growing their own spicy bounty. Start today, and watch your garden thrive with vibrant, fiery chillies!