Watering plants seems simple—until you realize that many common problems like yellowing leaves, root rot, stunted growth, and inconsistent fruiting all trace back to irregular watering. Not enough water, and your plants struggle. Too much, and they drown. The key lies in consistent, slow, deep hydration.
That’s why a drip irrigation system is one of the most powerful tools in gardening. But the good news? You don’t need to buy an expensive setup. You can create an improvised dripper at home using simple materials—often from items you already have. This DIY solution not only saves water but also ensures your plants receive a steady supply of moisture directly at the roots.
In this article, you’ll learn how to make an improvised dripper, the science behind why it works, and how to use it for different types of plants—vegetables, fruit trees, potted herbs, and even indoor plants.
Why an Improvised Dripper Works So Well
Plants thrive when they receive water slowly and consistently. Traditional watering methods like hoses or sprinklers dump large amounts of water at once. The soil cannot absorb it fast enough, so much of it evaporates or runs off.
A dripper solves these problems because it provides:
✔ Slow Water Release
Water enters the soil drop by drop, ensuring deeper penetration.
✔ Improved Root Development
Plants grow stronger, deeper roots because water stays where the roots need it.
✔ Reduced Evaporation
Especially in hot climates, slow-release watering ensures less water is wasted.
✔ Prevention of Fungal Issues
Watering at the base instead of overhead reduces leaf moisture and prevents disease.
✔ Significant Water Savings
Ideal for drought-prone regions or gardeners wanting a more sustainable approach.
Materials You Can Use for an Improvised Dripper
The beauty of this project is that you can make it from everyday items such as:
- Plastic bottles (500 ml, 1L, or 2L)
- Small containers or jars
- Old IV bags (if unused and clean)
- Plastic jugs
- Recycled food-grade containers
The most common and effective version uses a plastic bottle, so let’s begin with that.
Method 1: The Plastic Bottle Dripper (Simple & Effective)
What You Need
- 1 empty plastic bottle
- A sewing needle or thumbtack
- A lighter or candle (optional)
- A small piece of cloth or cotton
- String or wire (optional for hanging)
Step-by-Step Instructions
1. Heat the needle (optional)
Heating the needle slightly makes it easier to pierce tiny, precise holes.
2. Make small holes in the cap
Poke 1–3 small holes in the bottle cap.
- One hole = very slow drip
- Two to three holes = moderate drip
Keep the holes tiny to prevent water from flowing too quickly.
3. Add a cotton filter
Place a small piece of cotton inside the cap to:
- Slow the flow
- Prevent soil from clogging the holes
- Keep out insects
4. Fill the bottle with water
You can also mix in:
- Liquid fertilizer
- Compost tea
- Diluted seaweed solution
for slow, continuous feeding.
5. Bury or position the bottle
There are two main ways to install it:
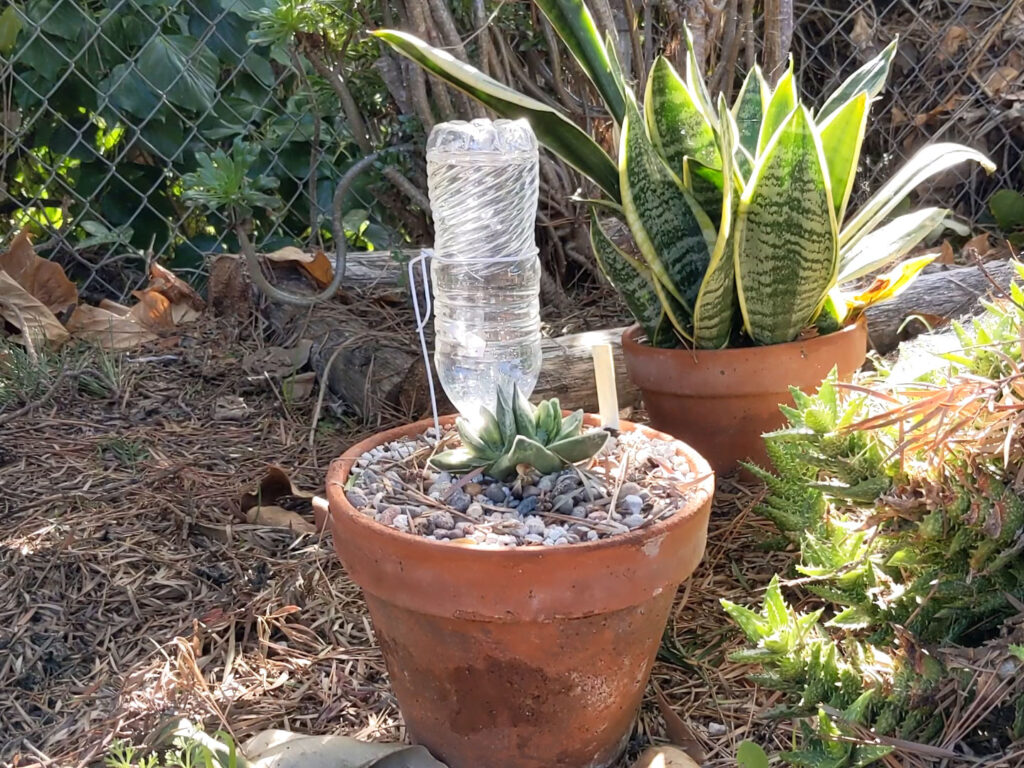
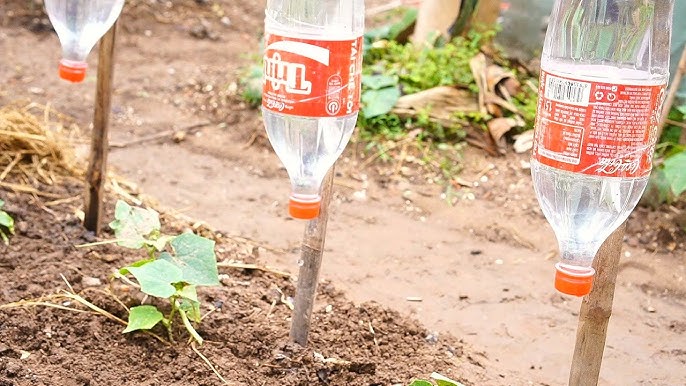
Option A – Bury the bottle upside down
- Bury the bottle neck-deep near the plant.
- The water will drip directly into the root zone.
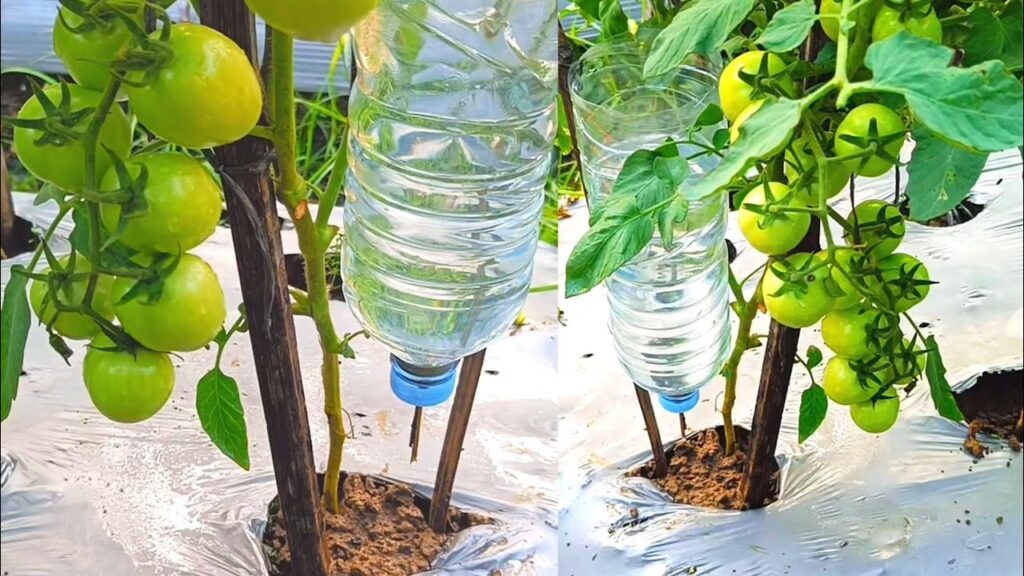
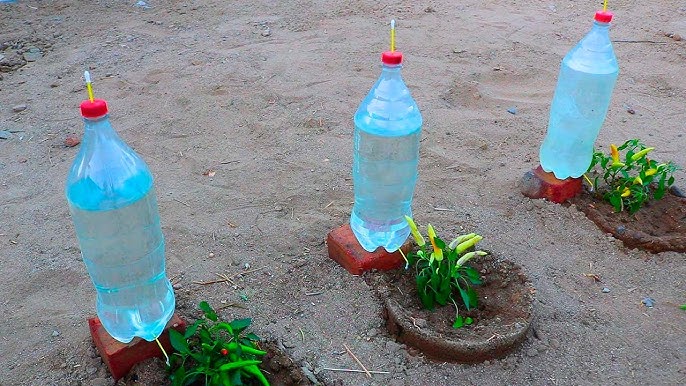
Option B – Leave the bottle above ground
- Poke holes at the bottom or sides.
- Place the bottle next to the plant.
- This is useful for plants in pots or raised beds.
6. Adjust the drip rate
If the water empties too fast:
- Use fewer holes
- Push soil around the bottle for resistance
If it drips too slowly:
- Enlarge the holes very slightly
Method 2: Clay Pot + Bottle Dripper (Super Slow Release)
This method is excellent for hot climates or plants that prefer constant moisture.
How It Works
A sealed clay pot (olla) naturally wicks water slowly into the soil. Combining a bottle with it extends watering duration.
Steps
- Place an unglazed clay pot near the plant roots.
- Fill a bottle with water and invert it into the pot’s opening.
- Water slowly seeps from the pot into the soil over many days.
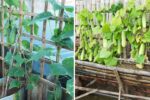
Great for:
- Tomatoes
- Cucumbers
- Melons
- Fruit trees
- Flower beds
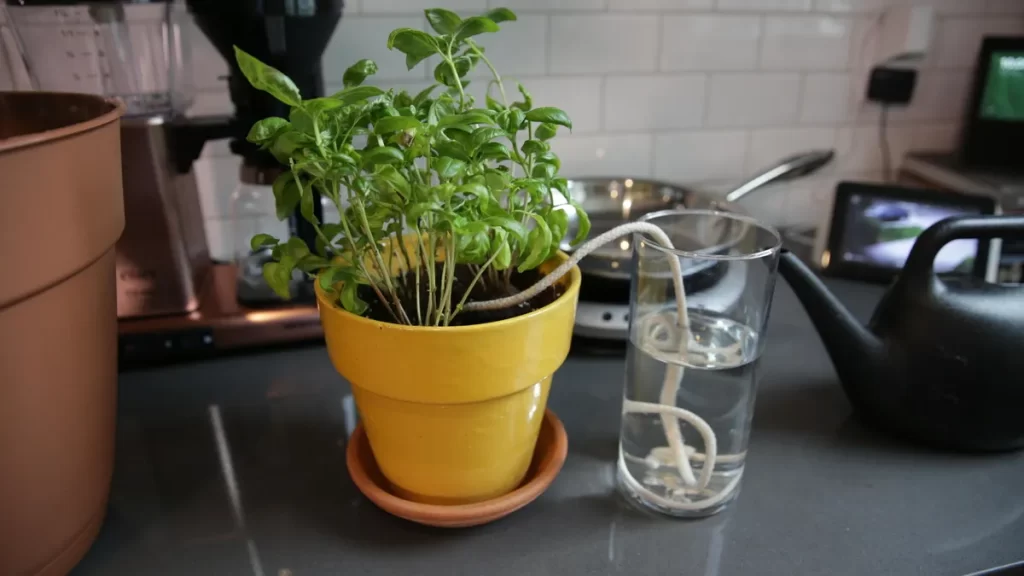
Method 3: Hanging Bottle Dripper for Potted Plants
Perfect for balconies, indoor plants, and hanging baskets.
Steps
- Take a small bottle (250–500 ml).
- Make one tiny hole in the cap.
- Hang it above the pot using string or wire.
- Aim the drip directly at the base of the plant.
This is especially helpful for:
- Ferns
- Orchids
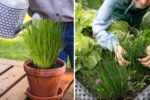
- Herbs
- Spider plants
- Peace lilies
Where Improvised Drippers Are Most Useful
🌱 Seedlings
Young plants cannot tolerate inconsistent watering. A dripper ensures gentle and stable moisture.
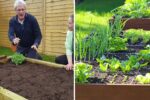
🍅 Vegetable beds
Crops like tomatoes, peppers, cucumbers, and beans respond extremely well to steady hydration.
🌳 Fruit trees
Deep watering is essential for healthy root systems and early fruiting.
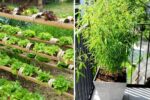
🪴 Container gardens
Potted plants dry out faster than garden soil, making drip irrigation ideal.
🌼 Flower beds
Your flowers stay vibrant longer with consistent moisture.
🌿 During vacations
A dripper keeps your plants watered while you’re away—no need for a caretaker!
Tips to Make Your Improvised Dripper Even Better
1. Use Mulch
Covering the soil with leaves, straw, or wood chips slows evaporation and increases watering efficiency.
2. Add a Shut-Off Valve
You can buy a small tap and attach it to the bottle for adjustable flow.
3. Install Multiple Drippers for Large Beds
Use 2–4 bottles spaced around plants with large root zones.
4. Add Fertilizer Occasionally
A dripper can deliver nutrients slowly—ideal for organic feeding.
5. Clean Bottles Regularly
Prevents algae, bacteria, and mold buildup.
Common Mistakes to Avoid
❌ Holes too large
This turns your dripper into a fast-flowing fountain.
❌ Placing the bottle too far from the plant
Keep it close to the root zone for maximum effectiveness.
❌ Using dirty or sugary bottles
Residue attracts pests and clogs holes. Always rinse thoroughly.
❌ Ignoring soil type
- Sandy soil needs slower drip
- Clay soil needs carefully spaced drips to avoid waterlogging
Benefits You’ll Notice Within Weeks
✔ Healthier, deeper roots
✔ Less wilting during hot days
✔ Bigger yields in fruits and vegetables
✔ Reduced water bills
✔ Freer schedule (fewer manual watering sessions)
Your plants will not only survive—they’ll flourish.
Conclusion: A Simple Tool That Transforms Your Garden
An improvised dripper is one of the simplest, cheapest, and most effective ways to improve plant health. With just a plastic bottle or recycled container, you can create a watering system that delivers steady moisture exactly where your plants need it.
Whether you’re growing vegetables, fruit trees, ornamental plants, or herbs, this DIY dripper ensures:
- Better soil hydration
- Efficient water usage
- Stronger plant growth
- Higher yields
You don’t need to be an expert gardener. You just need curiosity and a willingness to try a simple, powerful technique.