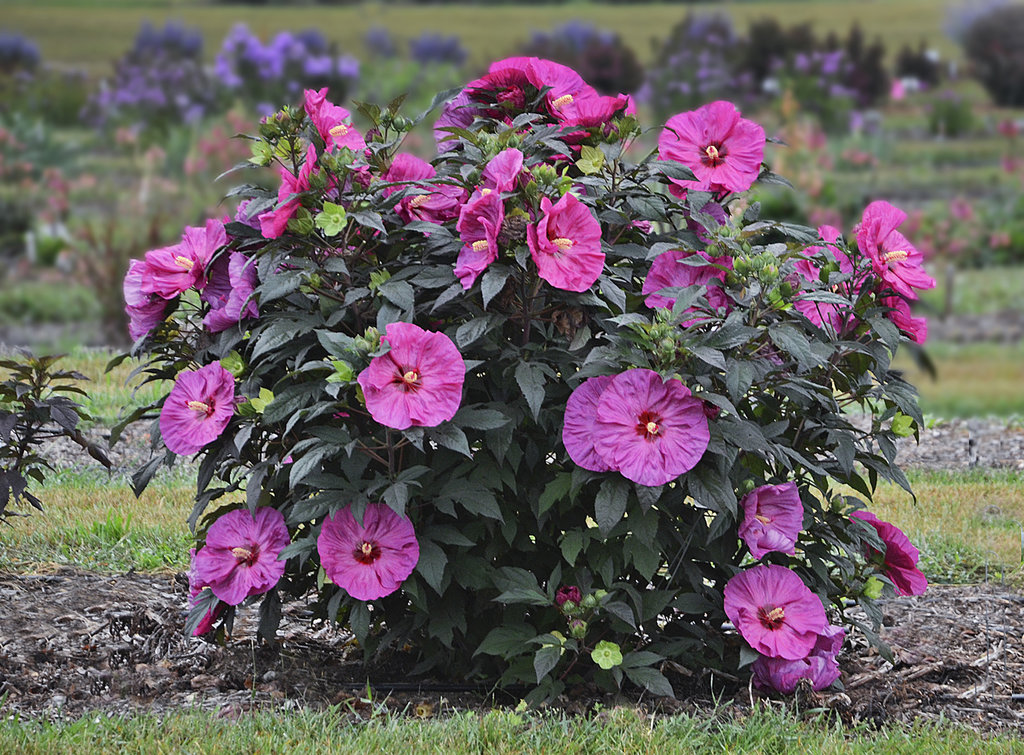
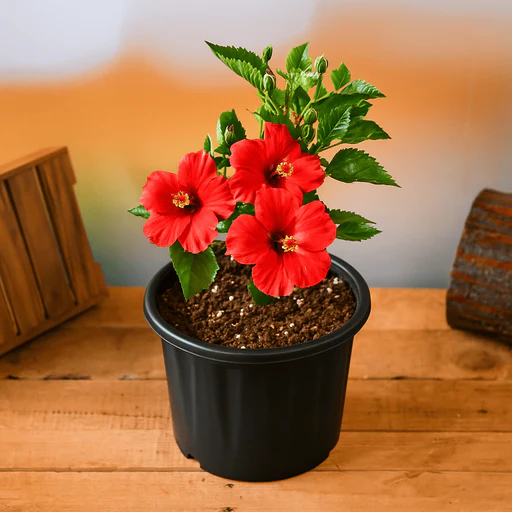
Hibiscus is one of the most popular flowering plants worldwide, admired for its vibrant, trumpet-shaped flowers and tropical charm. Whether grown in gardens, balconies, or patios, hibiscus plants add a splash of color and elegance to any space. While buying mature plants is an option, propagating hibiscus at home is easy, cost-effective, and highly rewarding. With the right techniques, you can grow multiple plants from a single parent plant, ensuring continuous blooms throughout the year.
This guide will show you the easiest and most effective method to propagate hibiscus, along with essential tips for nurturing healthy plants.
Why Propagate Hibiscus at Home?
There are many reasons to propagate hibiscus:
- Cost-Effective: Multiply plants without purchasing new ones.
- Guaranteed Quality: You know exactly how the new plants were grown, free of chemicals.
- Faster Flowering: Propagated plants from cuttings bloom sooner than seeds.
- Preserve Varieties: Maintain your favorite hibiscus variety for years.
- Easy and Fun: A simple gardening activity suitable for beginners.
Best Conditions for Hibiscus Propagation

Hibiscus is a tropical plant that grows well under warm, sunny conditions. Optimal conditions for propagation include:
- Temperature: 20°C–30°C (68°F–86°F) encourages rooting.
- Sunlight: Partial sunlight is ideal during propagation; too much direct sun can stress cuttings.
- Soil: Well-draining soil enriched with organic matter or a mix of sand and cocopeat.
- Humidity: Moderate humidity supports root development.
Materials Needed
To propagate hibiscus successfully, gather the following items:
- Healthy parent hibiscus plant
- Sharp, clean pruning shears or knife
- Rooting hormone (optional but accelerates rooting)
- Small pots or containers with drainage holes
- Potting mix (a combination of garden soil, sand, and compost works well)
- Clear plastic bag or plastic bottle (for creating humidity)
- Watering can or spray bottle
Step-by-Step Guide to Propagating Hibiscus
Step 1: Selecting the Parent Plant
Choose a healthy hibiscus plant with strong, disease-free stems. Avoid plants with signs of pest infestation, yellowing leaves, or weak growth. The parent plant should be actively growing, preferably in the spring or early summer for faster propagation.
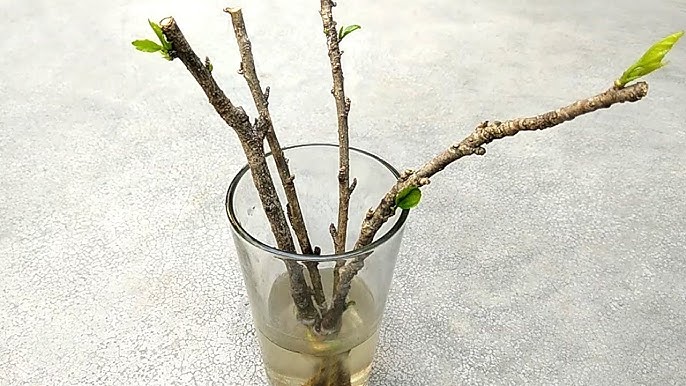
Step 2: Taking the Cutting
- Identify a semi-hardwood stem (not too young or too old) about 4–6 inches long.
- Cut the stem just below a leaf node using a clean, sharp tool.
- Remove the lower leaves, leaving 2–3 healthy leaves at the top.
- If the stem has flowers or buds, remove them to focus the plant’s energy on root development.
Step 3: Applying Rooting Hormone (Optional)
- Dip the cut end of the stem into a rooting hormone powder or gel.
- Rooting hormones encourage faster root formation and increase success rates.
- If you don’t have rooting hormone, propagation can still succeed naturally, though it may take slightly longer.
Step 4: Preparing the Pot
- Fill a small pot with a well-draining potting mix, ideally a combination of sand, cocopeat, and garden soil.
- Make a hole in the soil using a pencil or stick to gently insert the cutting.
Step 5: Planting the Cutting
- Insert the cutting about 2–3 inches deep into the soil.
- Firmly press the soil around the cutting to remove air pockets.
- Water lightly to settle the soil without over-saturating it.
Step 6: Creating a Humid Environment
- Cover the pot with a clear plastic bag or a cut plastic bottle to maintain humidity.
- Ensure the cover does not touch the leaves.
- Open the cover occasionally to allow air circulation and prevent mold growth.
Step 7: Caring for the Cutting
- Place the pot in bright, indirect sunlight. Avoid direct afternoon sun, which can scorch the cutting.
- Keep the soil consistently moist but not waterlogged.
- Mist the cutting daily to maintain humidity.
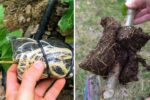
Step 8: Rooting Period
- Roots typically develop within 3–6 weeks.
- You can gently tug the cutting to check for resistance, indicating root formation.
- Once roots are well-established, remove the plastic cover gradually.
Step 9: Transplanting
- After the cutting has developed strong roots, transplant it to a larger pot or garden bed.
- Use fertile, well-draining soil and provide partial to full sunlight.
- Water regularly for the first few weeks to help the plant establish in its new location.
Tips for Successful Hibiscus Propagation
- Choose Healthy Cuttings: Strong, disease-free stems produce the best results.
- Use Semi-Hardwood Stems: Young stems root faster than older, woody stems.
- Maintain Humidity: Covering cuttings helps prevent water loss and encourages root growth.
- Avoid Overwatering: Excess water can cause rot. Keep soil moist, not soggy.
- Fertilize Carefully: Once the plant establishes, use diluted liquid fertilizer to encourage growth.
Advantages of Hibiscus Propagation by Cuttings
- Faster Blooming: Plants from cuttings flower sooner than seed-grown plants.
- Genetic Consistency: The new plant is identical to the parent, preserving color and characteristics.
- Cost Savings: Grow multiple plants from a single parent, reducing expenses.
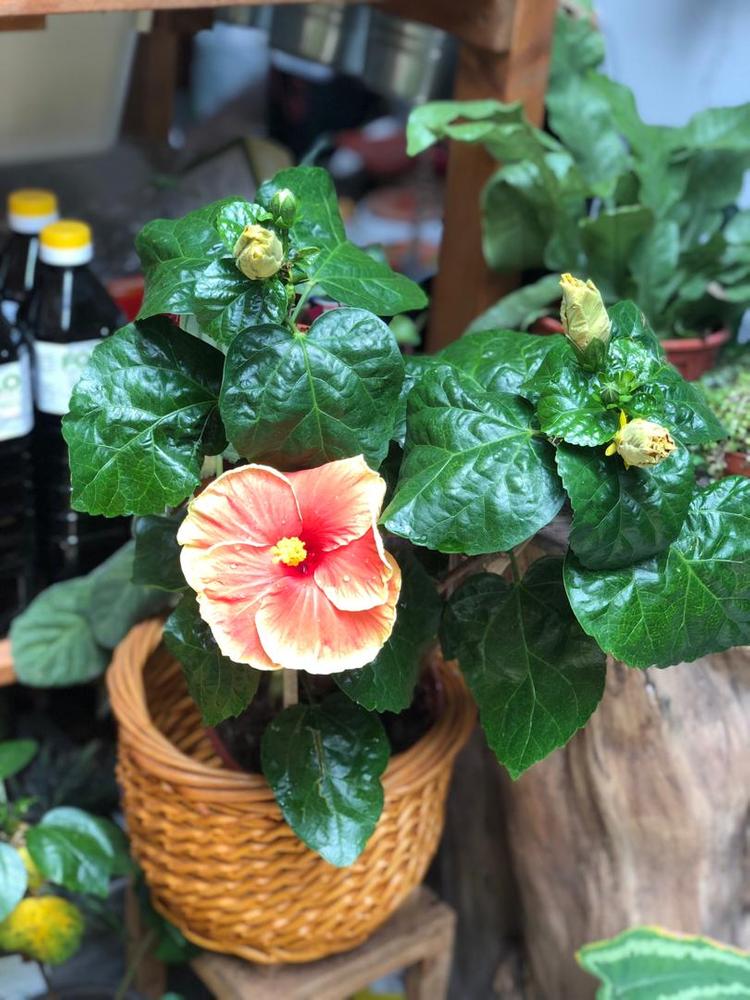
- Adaptability: Suitable for pots, balconies, or gardens, making it perfect for urban gardening.
Common Mistakes to Avoid
- Using Weak or Diseased Stems: Leads to poor rooting and plant failure.
- Overwatering: Causes root rot and fungal infections.
- Excessive Sunlight: Can stress cuttings; indirect light is best initially.
- Neglecting Humidity: Cuttings may dry out and fail to root.
- Rushing Transplanting: Wait until roots are strong; premature transplantation can damage the cutting.
Benefits of Growing Hibiscus at Home
- Decorative Appeal: Large, colorful flowers brighten gardens and balconies.
- Medicinal Uses: Hibiscus flowers and leaves can be used in teas to support heart health, lower blood pressure, and improve skin.
- Pollinator Friendly: Flowers attract bees, butterflies, and hummingbirds, enhancing garden biodiversity.
- Easy Maintenance: Once established, hibiscus plants are hardy and require minimal care.
Conclusion
Propagating hibiscus is one of the easiest and most rewarding gardening activities. By following this step-by-step method – selecting healthy cuttings, providing a humid environment, and giving consistent care – you can grow multiple beautiful hibiscus plants quickly and easily. Not only will your garden be filled with vibrant flowers, but you’ll also enjoy the satisfaction of multiplying your favorite plants at home.
Start today, and with a little patience and care, your home will bloom with stunning hibiscus flowers that bring color, fragrance, and joy throughout the year.