There’s something incredibly satisfying about eating food you’ve grown yourself — and few vegetables reward your effort quite like potatoes. These earthy, versatile tubers are a cornerstone of countless delicious homemade meals, from golden roasted wedges to creamy mashed potatoes and hearty soups. The good news? Growing your own potatoes is easier than you might think.
With a bit of garden space, patience, and care, you can harvest baskets of fresh, flavorful potatoes right from your backyard. Whether you’re an experienced gardener or a beginner, this detailed guide will walk you through everything you need to know to grow, harvest, and enjoy your own homegrown potatoes — the secret ingredient for truly mouthwatering homemade meals.
1. Why Potatoes Deserve a Place in Your Garden
Potatoes are among the most popular and rewarding crops for home gardeners. They’re hardy, adaptable to different soils and climates, and they yield abundantly. A single seed potato can produce up to 10 pounds of harvest — that’s a lot of homemade fries or casseroles!
Here are a few reasons why you should start growing potatoes this season:
- Incredible Flavor: Freshly dug potatoes have a sweetness and creaminess that store-bought ones can’t match. The flavor difference is remarkable.
- Cost-Effective: With minimal investment, you can produce a large harvest, saving money over time.
- Chemical-Free: Growing your own means total control over fertilizers and pesticides — you can keep your potatoes 100% organic.
- Satisfying and Fun: Digging up your first batch feels like unearthing buried treasure. It’s rewarding for adults and a fun, educational activity for kids.
And best of all, nothing beats the feeling of turning your garden-grown potatoes into a warm, comforting homemade meal.
2. Choosing the Right Potato Variety for Your Kitchen
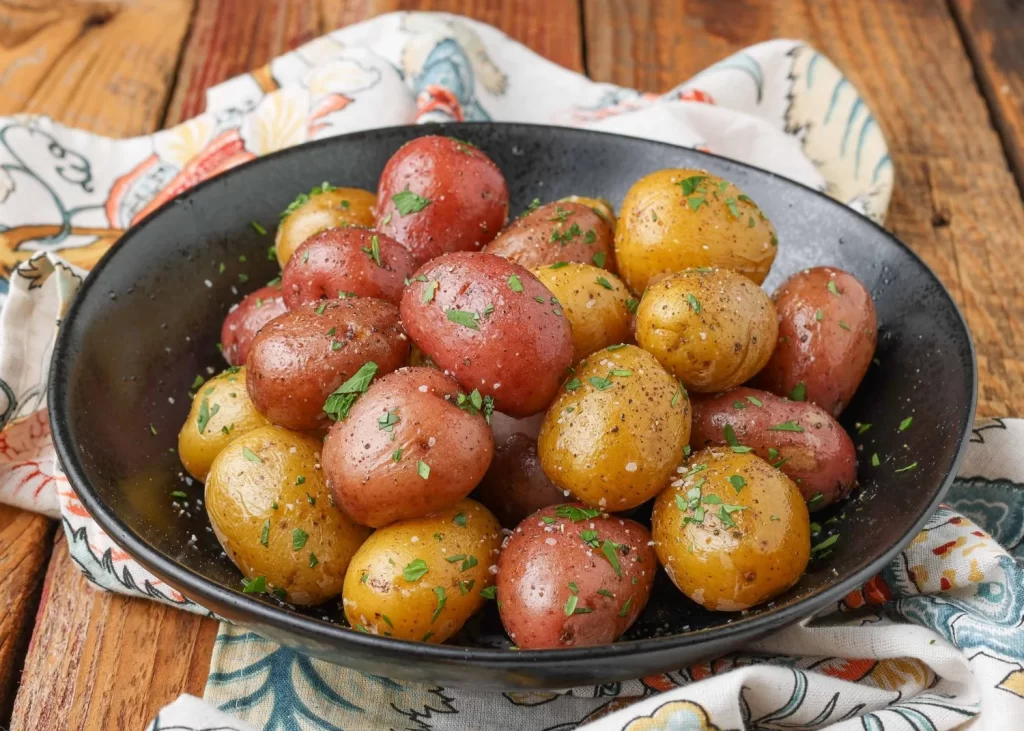
Not all potatoes are created equal — and the variety you choose will determine what dishes you can make best. Potatoes generally fall into three main types based on their texture:
Waxy Potatoes
Firm, moist, and great for salads or roasting because they hold their shape well after cooking.
- Popular varieties: Red Pontiac, Yukon Gold, Charlotte.
Floury (Starchy) Potatoes
Light and fluffy, these are ideal for mashing, baking, or frying.
- Popular varieties: Russet Burbank, King Edward, Maris Piper.
All-Purpose Potatoes
A good balance between waxy and starchy — suitable for most dishes.
- Popular varieties: Desiree, Norland, Kennebec.
Pro Tip: Always start with certified seed potatoes from a nursery or garden center. Avoid using grocery store potatoes — they’re often treated with sprout inhibitors and can carry diseases.
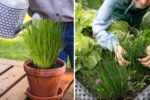
3. Preparing Your Seed Potatoes: “Chitting” for a Head Start
Before planting, you’ll want to pre-sprout your seed potatoes in a process called chitting. This encourages early growth and leads to a more abundant harvest.
Here’s how to chit your potatoes:
- Place the seed potatoes in an egg carton or tray with the “eyes” (the small dimples) facing upward.
- Set them in a cool, bright spot — around 60°F (15°C).
- After 2–3 weeks, you’ll see sturdy green sprouts forming.
- Once the sprouts are about an inch long, your potatoes are ready for planting.
This little step makes a big difference — your potatoes will sprout faster and establish stronger roots once planted.
4. Getting the Soil Ready: The Foundation of a Great Crop
Potatoes thrive in loose, well-drained, and slightly acidic soil with a pH between 5.0 and 6.5. If your soil is compacted or heavy with clay, consider building raised beds or using large containers.
To prepare the soil:
- Loosen it to a depth of about 10 inches.
- Mix in compost or well-rotted manure to boost nutrients.
- Avoid adding fresh manure right before planting — it can cause the potatoes to scab.
- Choose a sunny spot, as potatoes need at least six hours of sunlight each day.
Healthy soil leads to healthy plants — and healthier plants produce more flavorful potatoes.
5. Planting: Step-by-Step Guide to Starting Your Potato Patch
Once your soil is ready and your seed potatoes have sprouted, it’s time to plant!
For In-Ground Planting:
- Dig trenches about 6–8 inches deep and 2–3 feet apart.
- Place seed potatoes in the trench about 12 inches apart, with sprouts facing up.
- Cover with 4 inches of soil.
- As the plants grow, mound (or “hill”) more soil around the stems every few weeks until the mound is about 8 inches high.
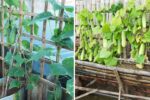
For Containers or Grow Bags:
- Fill the container with 4 inches of soil.
- Place 2–3 seed potatoes with sprouts up.
- Cover with another 4 inches of soil.
- As the plants grow, keep adding soil or compost until the container is full.
Container growing is perfect for small spaces, patios, or balconies — and it makes harvesting easy. Just tip the container over when it’s time to dig up your spuds!
6. Watering and Feeding: Keeping Your Potatoes Happy

Potatoes love consistent moisture, but too much water can cause rot.
Watering tips:
- Water deeply once or twice a week, depending on weather.
- Keep the soil evenly moist — not soggy.
- Water early in the day and avoid wetting the leaves to reduce disease risk.
Feeding tips:
- Use organic compost or seaweed fertilizer every 3–4 weeks during growth.
- Once the plants flower, stop feeding to direct energy into growing tubers instead of leaves.
7. The Art of Hilling: The Secret to Bigger Yields
Hilling is one of the most important steps in growing potatoes. As your plants grow, keep piling soil around the stems to create small mounds.
Why hilling matters:
- It protects growing tubers from sunlight (which turns them green and toxic).
- Encourages more tuber formation along the buried stem.
- Helps retain soil moisture and prevents weeds.
You’ll need to hill your potatoes two or three times during the growing season — starting when the plants are about 8 inches tall.
8. Common Potato Problems and How to Prevent Them
Every gardener faces pests or disease at some point, but most potato problems can be managed with good practices.
Common Pests:
- Colorado Potato Beetles: Pick them off by hand or use neem oil spray.
- Aphids: Rinse them off with a hose or use insecticidal soap.
- Wireworms: Rotate crops yearly to break their life cycle.
Common Diseases:
- Blight: Avoid overhead watering, plant in well-spaced rows for airflow, and remove infected leaves promptly.
- Scab: Keep soil slightly acidic and avoid using fresh manure.
Crop rotation — not planting potatoes in the same spot every year — helps prevent many soil-borne problems.

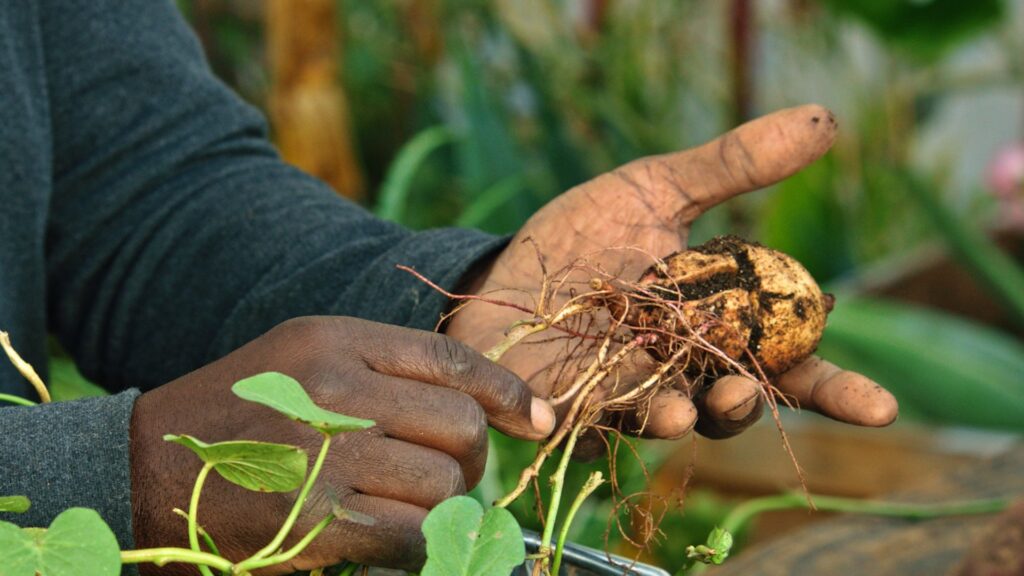
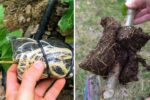
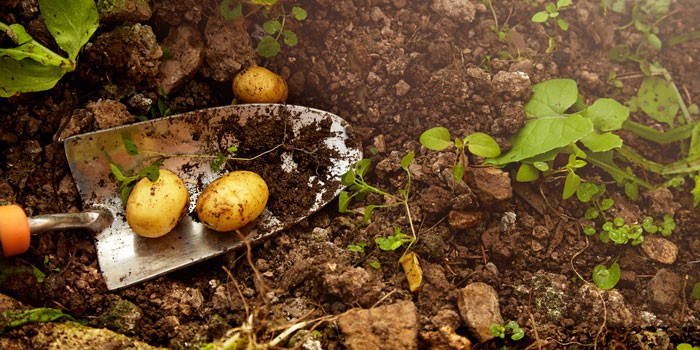
9. Harvesting: The Most Rewarding Part
After weeks of care, it’s finally time to enjoy the fruits (or rather, tubers) of your labor!
For New Potatoes:
- Harvest when plants start to flower (around 10 weeks).
- Gently dig up a few young potatoes without disturbing the plant.
For Mature Potatoes:
- Wait until the foliage dies back and turns yellow (around 18–20 weeks).
- Use a garden fork to lift the plants gently, starting from the edges.
Be gentle — freshly dug potatoes bruise easily. Lay them out to dry for a few hours before storing.
10. Storing Your Potatoes for Long-Term Freshness
Proper storage keeps your potatoes fresh for months.
How to store:
- Cure the potatoes in a dark, ventilated area for 10–14 days at around 50°F (10°C).
- Brush off soil (don’t wash them).
- Store in burlap sacks, baskets, or boxes in a cool, dark place (around 40°F or 4°C).
- Keep away from onions — they cause faster spoilage.
Stored correctly, your homegrown potatoes can last up to six months, ready for hearty homemade dishes all winter long.

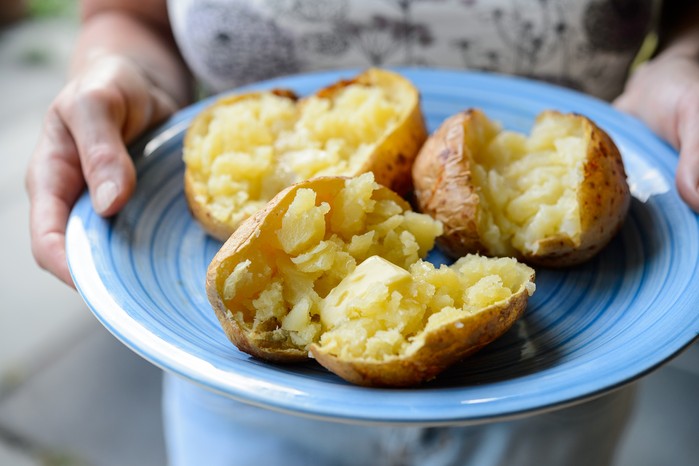
11. Turning Your Harvest Into Comforting Meals
Once your potatoes are ready, it’s time to let them shine in the kitchen. The beauty of homegrown potatoes is their versatility — they fit into almost any meal.
Here are some delicious ways to enjoy your harvest:
- Creamy Mashed Potatoes: Soft, buttery, and perfect with roasted veggies or gravy.
- Crispy Roasted Potatoes: Tossed with olive oil, rosemary, and garlic — simple perfection.
- Homemade Fries: Thick-cut or shoestring, golden brown, and crispy.
- Potato Soup: A warm bowl of creamy, hearty comfort.
- Potato Gratin: Layers of thinly sliced potatoes baked with cream and cheese — indulgent and irresistible.
Each dish tastes more satisfying when you know the main ingredient came from your own soil.
12. The Joy of Growing and Eating Your Own Food
Growing potatoes isn’t just about gardening — it’s about rediscovering the connection between the earth and your table. Watching tiny sprouts grow into leafy plants and finally uncovering the golden treasures beneath the soil is pure joy.
When you cook with your own homegrown potatoes, every bite tells a story — one of patience, care, and the simple magic of nature.
So grab a shovel, get your hands dirty, and start planting. Soon, you’ll be sitting down to a hearty meal of potatoes you grew yourself — rich in flavor, nourishment, and pride.