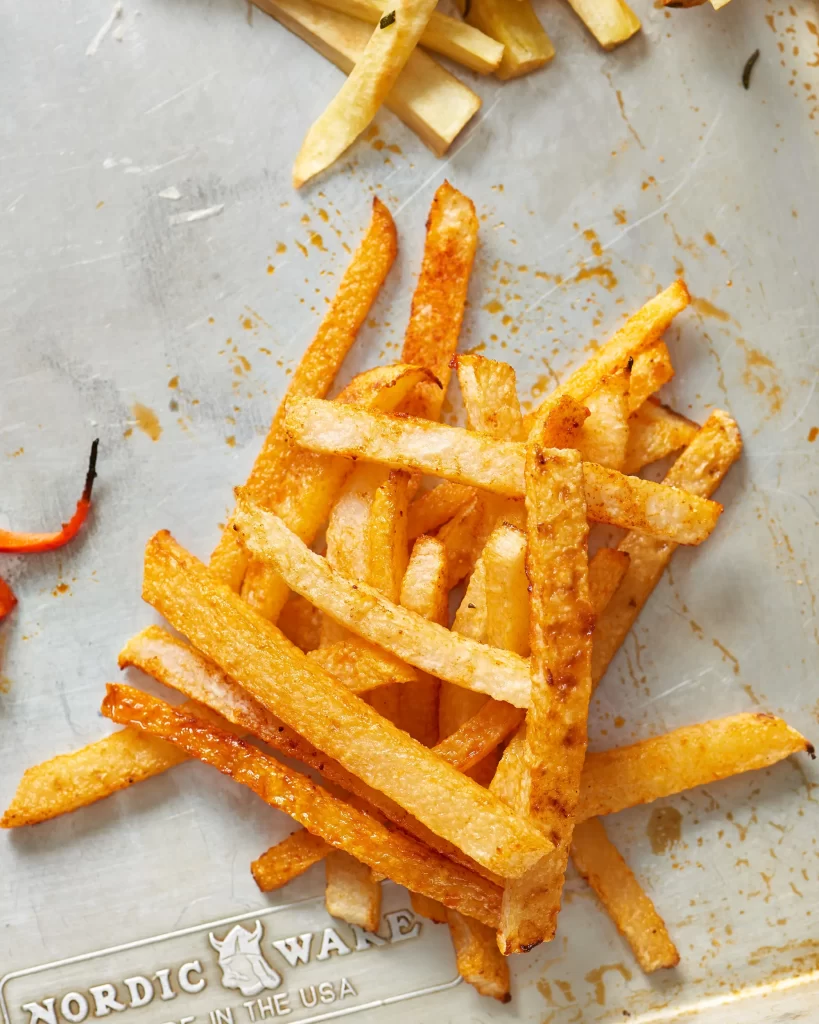
There’s something undeniably satisfying about a plate of crispy, golden veggie fries — especially when you know they were made from potatoes you grew yourself. Homegrown potatoes not only taste fresher but also give you the opportunity to choose the perfect varieties for texture, flavor, and nutrition. Whether you’re aiming for classic fries, sweet potato wedges, or baked potato sticks seasoned with herbs, growing your own potatoes in your backyard is easier than you might think. With the right techniques, soil preparation, and care, you can harvest a bounty of flavorful spuds ready to turn into homemade veggie fries that rival any restaurant.
This guide walks you through everything from planting to harvesting — and how to transform your crop into mouthwatering fries for every occasion.
Why Grow Your Own Potatoes?
Potatoes are one of the most rewarding and forgiving crops for home gardeners. They don’t require vast space, can thrive in containers or raised beds, and offer a surprisingly high yield from just a few seed tubers. Growing them yourself also lets you skip the chemicals and preservatives often found in store-bought potatoes, ensuring a fresher, more flavorful result.
Moreover, growing your own allows you to experiment with varieties that are not commonly available at grocery stores — such as Yukon Golds, French Fingerlings, or Red Norlands — each offering unique textures and tastes perfect for homemade veggie fries.
Choosing the Right Potato Variety for Fries
Not all potatoes are created equal when it comes to fries. The type you grow determines whether your fries turn out light and crispy or dense and tender. Here are a few of the best varieties to consider:
- Russet Potatoes: The classic choice for fries. Their high starch content and low moisture yield perfectly crispy fries with fluffy interiors.
- Yukon Gold: Slightly waxy with a buttery flavor, great for oven-baked fries or air fryer versions.
- Kennebec: A chef-favorite variety known for consistent texture and golden crispness when fried or baked.
- Red Norland: Ideal for those who prefer smaller, tender fries with a sweet undertone.
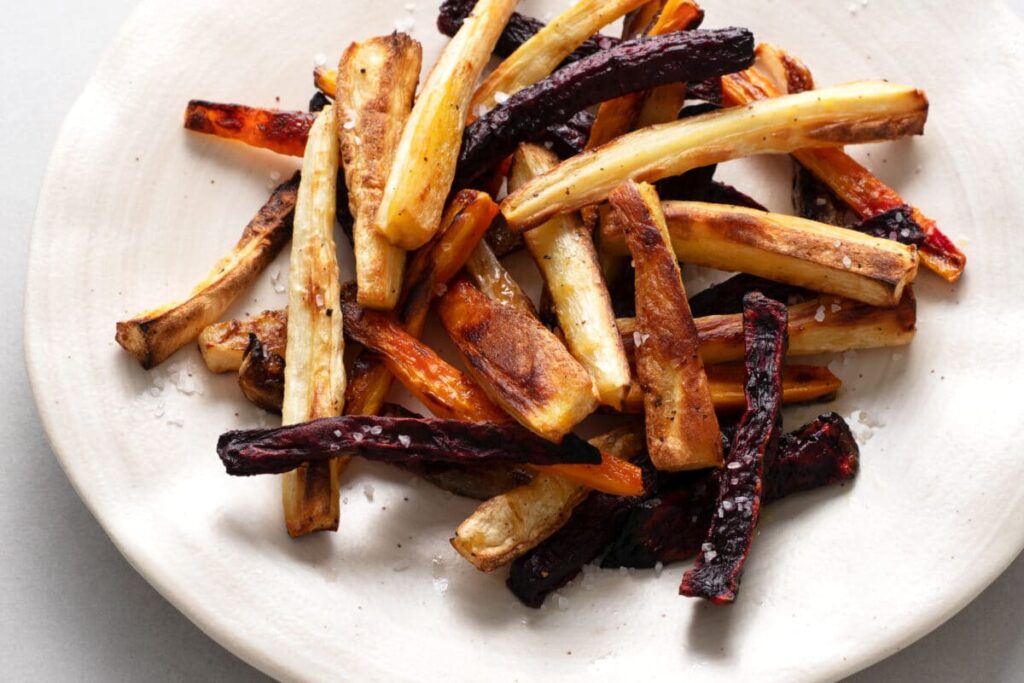
- Purple Majesty or All Blue: These add visual appeal to your plate and pack a punch of antioxidants.
Growing multiple varieties gives you versatility in your cooking — from thick-cut wedges to shoestring fries.
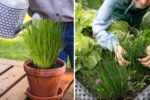
Preparing Your Garden or Containers
Potatoes thrive in loose, well-draining soil with plenty of organic matter. The key is to avoid heavy clay soils that can suffocate tubers.
1. Choose the right location:
Select a sunny spot that receives at least 6–8 hours of sunlight daily. Potatoes love warmth but dislike soggy conditions.
2. Prepare the soil:
Work in compost or aged manure to boost fertility. Aim for a soil pH of around 5.5–6.5 — slightly acidic conditions help prevent diseases like scab.
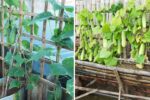
3. Container growing option:
If you’re short on space, use large grow bags, buckets, or raised beds. Containers at least 15 inches deep are perfect for potatoes, allowing you to “hill” soil as they grow.
Planting Your Potatoes
1. Get quality seed potatoes:
Always buy certified disease-free seed potatoes from a nursery. Avoid using supermarket potatoes, as they’re often treated to prevent sprouting.
2. Cut and cure:
If your seed potatoes are large, cut them into chunks — each with at least one “eye.” Let the pieces cure for a day or two before planting to prevent rotting.
3. Planting depth and spacing:
Plant the seed pieces 4–6 inches deep and about 12 inches apart, with rows spaced 2–3 feet apart. In containers, place 3–4 seed potatoes in each pot.
4. Watering:
Keep the soil evenly moist but never waterlogged. Consistent watering encourages even tuber development.
Caring for Potato Plants
Potatoes require minimal maintenance, but a few key practices can make a big difference in yield and quality.
1. Hilling:
As your plants grow, mound soil around the stems to protect developing tubers from sunlight (which causes them to turn green and bitter). Hill every few weeks until the mounds reach about 8 inches high.
2. Feeding:
Use a balanced organic fertilizer or compost tea every 3–4 weeks. Potatoes benefit from potassium-rich fertilizers, which help with tuber formation.
3. Pest control:
Watch out for pests like Colorado potato beetles and aphids. Handpick beetles or use neem oil as a natural deterrent. Rotate crops each season to prevent disease buildup.
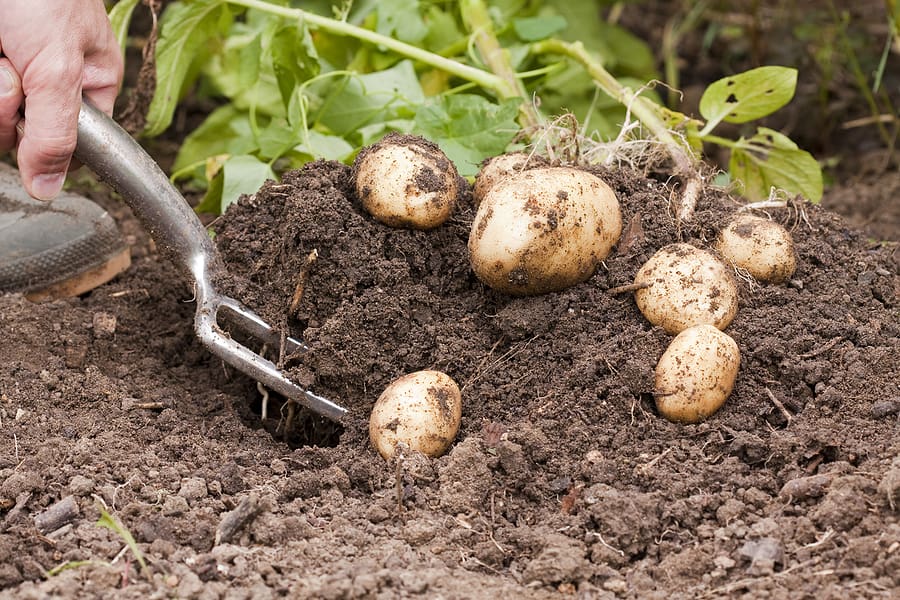
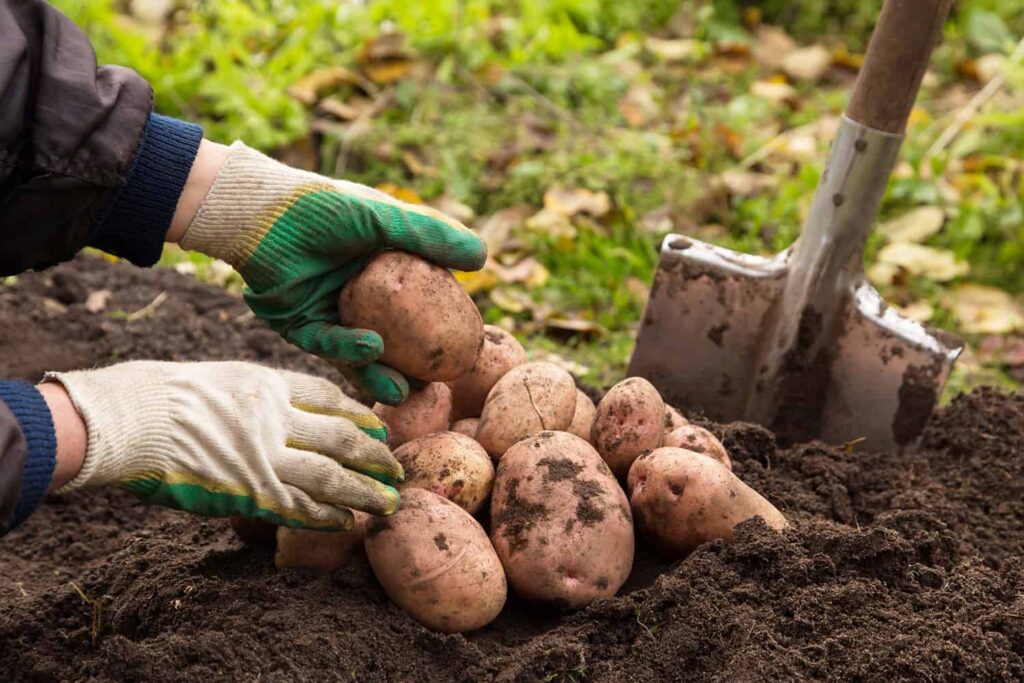
Harvesting Your Potatoes
Harvesting potatoes is like digging for treasure — each turn of the soil reveals plump, earthy gems ready to cook.
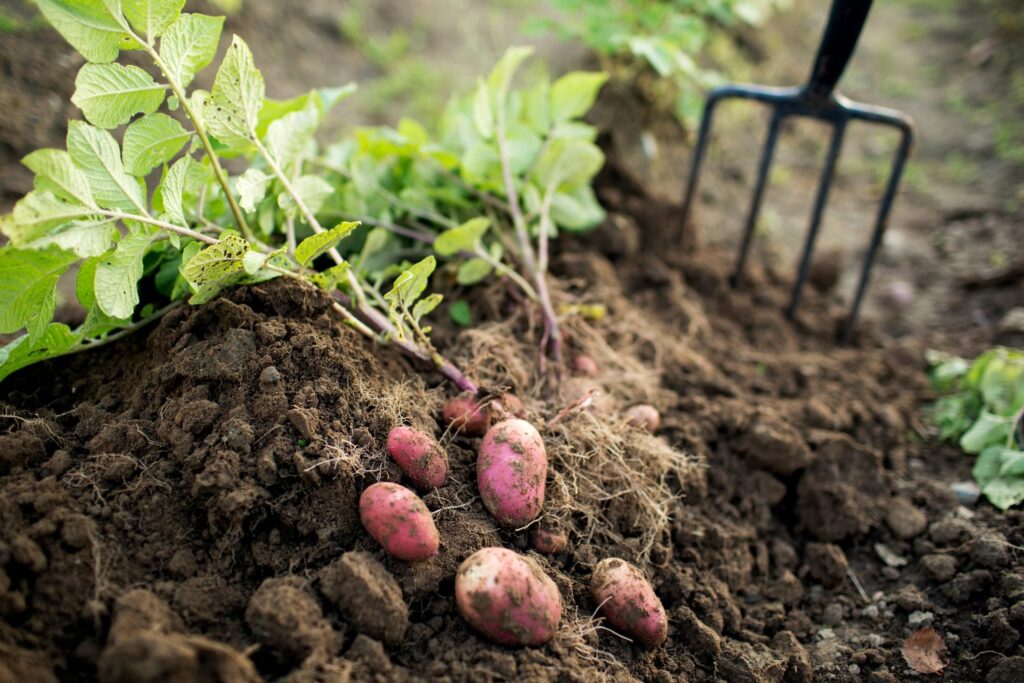
- For early harvest (new potatoes): Harvest 2–3 weeks after the plants flower. These are smaller, tender, and perfect for roasted or pan-fried veggie fries.
- For full-sized potatoes: Wait until the foliage turns yellow and begins to die back. Carefully dig around the plants with a fork, taking care not to damage the tubers.
- Curing: Allow your potatoes to cure in a cool, dark, well-ventilated space for 1–2 weeks. This toughens the skin for better storage.
Once cured, store them in a dark, dry place at around 45–50°F — away from onions, which can cause sprouting.

Turning Your Harvest into Veggie Fries
Now for the delicious part — transforming your backyard potatoes into crispy, golden fries.
1. Cut the potatoes:
Slice into your desired shape — thick wedges, thin sticks, or rustic cuts. Soak them in cold water for at least 30 minutes to remove excess starch.
2. Dry thoroughly:
Pat the potatoes completely dry before cooking. Moisture is the enemy of crispiness.
3. Season and cook:
- For classic fries: Toss in olive oil, sea salt, and pepper, then bake at 425°F for 25–35 minutes, flipping halfway through.
- For air fryer fries: Cook at 375°F for about 20 minutes, shaking occasionally.
- For extra crispiness: Parboil the potatoes for 5 minutes, dry them, then bake or fry.
4. Flavor ideas:
Experiment with flavors! Sprinkle with garlic powder, rosemary, paprika, or parmesan for a gourmet twist. For a plant-based version, try tossing in nutritional yeast or truffle salt.
Health Benefits of Homemade Veggie Fries
Homemade fries can actually be part of a balanced plant-based diet when prepared the right way. By baking or air-frying, you reduce oil content while retaining potassium, fiber, and vitamin C. Growing your own also ensures your potatoes are free from harmful pesticides and chemicals. Plus, using different colored potatoes (like purple or red) adds antioxidants and visual appeal to your meals.
Final Thoughts: From Soil to Snack
There’s something truly special about turning a humble backyard harvest into a plate of crispy, satisfying veggie fries. You’ll not only enjoy the farm-to-table experience but also reconnect with the joy of growing your own food. Every fry becomes more meaningful when you know it came from your own garden.
So this season, skip the grocery store and dig into the delicious rewards of homegrown potatoes. Whether you’re enjoying them solo with a dash of sea salt or pairing them with your favorite dipping sauces, your backyard veggie fries will always be a reminder that the best comfort foods start in the garden.