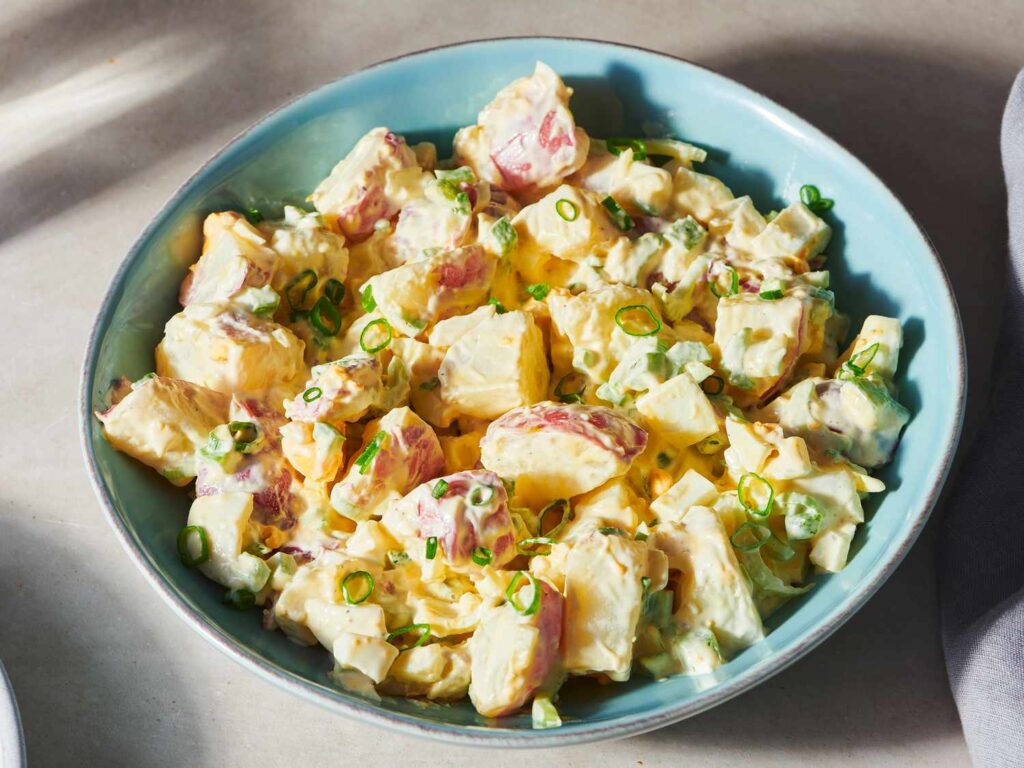
There’s nothing more timeless or comforting than a bowl of creamy, tangy American potato salad. Whether it’s served at a summer barbecue, family picnic, or Sunday lunch, this beloved dish brings everyone to the table. But imagine elevating this classic even further by making it with fresh, homegrown potatoes from your own backyard. Not only does it add unbeatable flavor, but it also gives you full control over the quality, freshness, and sustainability of your ingredients.
Growing potatoes may seem intimidating, but they’re surprisingly easy to cultivate — even for beginner gardeners. With just a little space, sunlight, and patience, you can harvest a bounty of tender, flavorful spuds that are perfect for potato salad. In this detailed guide, we’ll walk you through every step — from choosing the right potato varieties to planting, caring, harvesting, and finally transforming them into the perfect classic American potato salad.
Why Homegrown Potatoes Make Better Potato Salad

Store-bought potatoes can never quite match the flavor and texture of homegrown ones. Freshly dug potatoes have a delicate, earthy sweetness and a creamy interior that gives your salad a natural richness. When you grow your own, you can also select varieties that hold their shape well after boiling — a key factor for potato salad success.
Beyond flavor, growing your own potatoes ensures that you’re using pesticide-free produce and reducing your environmental footprint. Plus, there’s something deeply satisfying about crafting a homemade dish that truly comes “from garden to table.”
Choosing the Right Potato Variety for Salad
The first secret to a perfect potato salad lies in the type of potato you use. Not all potatoes are created equal — some become mushy when boiled, while others maintain their shape and creamy texture.
Here are the best varieties for making classic American potato salad:
- Yukon Gold: The gold standard for potato salads. Their buttery texture and medium starch content allow them to stay firm yet tender after cooking.
- Red Pontiac or Red Norland: These have a waxy texture, thin skins, and mild flavor, perfect for salads where you want the potatoes to hold their shape.
- Kennebec: Great all-around potato with a balanced flavor and smooth texture, ideal for both creamy and vinegar-based potato salads.
- Fingerlings (like French or Russian Banana): Their small, elongated shape and nutty flavor add a gourmet touch to any salad.
If you plan to make a variety of potato dishes, consider planting a mix of these — they’ll offer different flavors and textures for various recipes.
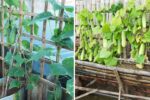
Preparing Your Garden or Containers
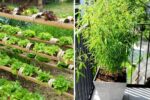
Potatoes are one of the easiest vegetables to grow, and they don’t demand much space. You can grow them in a traditional garden bed, a raised bed, or even large containers or grow bags.
1. Choose a sunny location:
Potatoes thrive in full sun — at least 6–8 hours of direct sunlight daily.
2. Prepare the soil:
They prefer loose, well-drained soil rich in organic matter. Work in compost or aged manure before planting. Avoid heavy clay soils, which can cause tubers to rot.
3. Check soil pH:
Potatoes do best in slightly acidic soil (pH 5.5–6.5). You can test this with a simple pH kit from your local garden store.
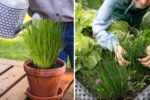
4. Container growing option:
If you’re short on space, use a 10–15-gallon grow bag or a large bucket with drainage holes. Potatoes grown in containers are easy to manage and harvest.
Planting Potatoes Step-by-Step
1. Select quality seed potatoes:
Always start with certified disease-free seed potatoes. These are small, untreated potatoes sold specifically for planting. Avoid grocery store potatoes, which are often treated to prevent sprouting.
2. Cut and cure:
If your seed potatoes are large, cut them into chunks about the size of a golf ball, ensuring each piece has at least one “eye” (the sprouting point). Let them cure for 2–3 days in a cool, dry place before planting to help seal the cuts.
3. Planting depth and spacing:
Plant the seed pieces 4–6 inches deep and about 12 inches apart in rows spaced 2–3 feet apart. In containers, plant 3–4 pieces per pot.
4. Watering:
Keep the soil consistently moist, but not soggy. Potatoes need about 1–2 inches of water per week. Mulching with straw or compost helps retain moisture and suppress weeds.
Caring for Your Potato Plants

1. Hilling:
As your potato plants grow (about 6–8 inches tall), gently mound soil or compost around the base of each plant. This process, known as “hilling,” keeps the developing tubers covered and prevents them from turning green and bitter from sunlight exposure. Repeat this every few weeks until the mound is about 8 inches high.
2. Feeding:
Potatoes benefit from a fertilizer high in potassium and phosphorus but low in nitrogen. Too much nitrogen leads to leafy growth and fewer tubers. Organic compost or seaweed fertilizer works wonderfully.
3. Pest management:
Watch for common pests like Colorado potato beetles and aphids. Remove beetles by hand or use neem oil as a natural deterrent. Crop rotation each season can help prevent soil-borne diseases.
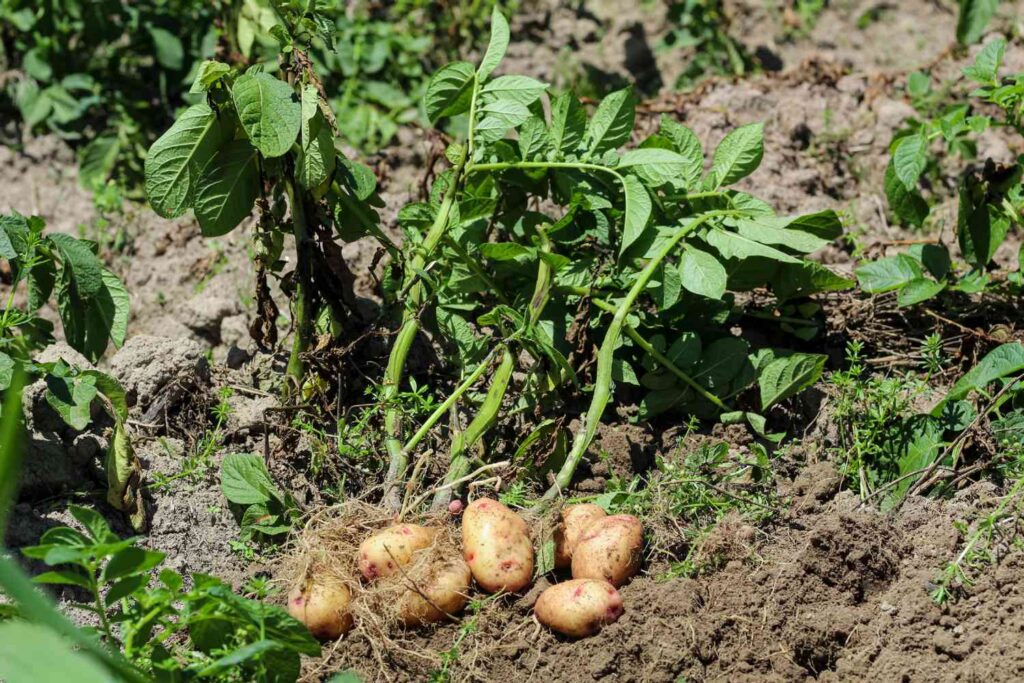
Harvesting Your Potatoes

Harvest time depends on whether you want new potatoes (small, tender ones) or fully mature ones.

- New potatoes: Harvest 2–3 weeks after flowering begins. These have thin skins and are perfect for warm potato salads.
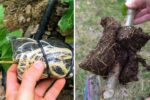
- Mature potatoes: Wait until the plant’s foliage turns yellow and begins to die back. Gently dig around the base using a garden fork, being careful not to bruise the tubers.
After harvesting, allow your potatoes to cure in a cool, dark, well-ventilated area for 1–2 weeks. This toughens their skin and extends shelf life.
Storage Tips
Store cured potatoes in a dark, dry, and well-ventilated area — ideally at 45–50°F. Avoid refrigerating raw potatoes, as cold temperatures can alter their flavor and sugar content. Also, don’t store them near onions; the gases onions emit can cause potatoes to sprout prematurely.
Turning Your Harvest into Classic American Potato Salad
Now comes the delicious reward — turning your homegrown potatoes into the ultimate creamy potato salad!
Ingredients:
- 2 pounds of homegrown potatoes (Yukon Gold or Red Norland)
- 1 cup mayonnaise (or Greek yogurt for a lighter version)
- 2 tablespoons yellow mustard
- 1 small red onion, finely chopped
- 2 celery stalks, diced
- 3 hard-boiled eggs, chopped
- 1 tablespoon white vinegar
- Salt and pepper to taste
- Paprika and fresh parsley for garnish
Instructions:
- Prepare the potatoes:
Scrub and wash your homegrown potatoes thoroughly. If the skins are thin and tender, you can leave them on for added texture and nutrition. Cut them into bite-sized cubes. - Boil until tender:
Place the cubes in a pot of salted water and bring to a gentle boil. Cook for 10–15 minutes, or until a fork pierces them easily without falling apart. - Cool and season:
Drain and let the potatoes cool slightly. While still warm, drizzle with white vinegar to add a subtle tang and help them absorb the dressing better. - Mix the dressing:
In a large bowl, combine mayonnaise, mustard, salt, pepper, and chopped celery and onion. - Combine everything:
Gently fold the potatoes into the dressing along with the chopped eggs. Be careful not to overmix — you want the potatoes to stay chunky. - Chill before serving:
Refrigerate for at least one hour before serving. Sprinkle paprika and fresh parsley on top for that classic finishing touch.
Health and Flavor Benefits
Homemade potato salad made with your own garden-grown potatoes is far healthier than store-bought versions. You can control the ingredients, adjust the salt and fat content, and use fresh, nutrient-rich produce. Potatoes are a great source of potassium, vitamin C, and fiber, especially when you leave the skins on.
Plus, homegrown varieties like Yukon Golds and Reds often have higher phytonutrient levels and better natural flavor — no additives or preservatives needed.
Final Thoughts: From Garden to Gathering
There’s a special kind of pride in serving a dish that you’ve truly created from the ground up — quite literally. Growing your own potatoes and turning them into a classic American potato salad connects you to a time-honored tradition of home cooking and sustainability.
With each bite, you’ll taste the difference — the freshness, the texture, and the satisfaction that only comes from growing your own food. So, grab your gardening gloves, plant those seed potatoes, and get ready to enjoy the most delicious, garden-fresh potato salad you’ve ever had.
Because when it comes to comfort food, nothing says “home” like a bowl of potato salad made from your very own backyard harvest.