Saving seeds from your current garden for next year is one of the most rewarding and cost-effective habits every gardener should adopt. Whether you grow vegetables, herbs, flowering plants, or ornamentals, storing seeds allows you to preserve your favorite varieties, maintain plant diversity, and strengthen your connection with your garden. But to get healthy seedlings next season, proper seed storage is essential.
Seeds are living embryos, and how you store them directly affects their germination rate. With the right techniques, seeds can remain viable for years. This guide walks you through everything you need to know—how to harvest, clean, dry, store, label, and maintain seeds so they stay fresh and ready for next season’s planting.
Why Saving Seeds Matters
Before diving into the storage methods, it’s helpful to understand why saving seeds is so valuable:
1. Cost-Effective Gardening
Seeds saved from your garden cost nothing and provide an abundant supply for next season.
2. Preserves Local Adaptation
Plants grown in your climate gradually adapt to your region’s conditions. Saving seeds ensures stronger, more resilient plants year after year.
3. Protects Heirloom Varieties
Heirloom seeds retain their characteristics. By saving and storing them, you help preserve plant diversity.
4. Encourages Sustainable Gardening
Saving seeds reduces the need for commercial packaging, transportation, and repeated purchases.
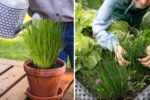
Step 1: Choose the Right Plants for Seed Saving
Not all plants produce seeds that grow true to type. Some are hybrids, which means their seeds may produce unpredictable or weaker plants.
Choose Open-Pollinated Plants
Seeds from open-pollinated or heirloom plants will grow into replicas of the parent plant.
Avoid Hybrid (F1) Varieties
Hybrid seeds often result in mixed traits or sterile seeds.
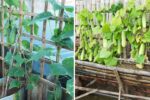
Select Healthy Parent Plants
Only save seeds from:
- Disease-free plants
- Strong, healthy specimens
- Plants with desirable traits (big size, good yield, taste, fragrance)
Choosing good genetics is the foundation of successful seed saving.
Step 2: Harvest Seeds at the Right Time
Timing is crucial. Seeds must be fully mature before harvesting; otherwise, they will not store well or germinate properly.
How to Know Seeds Are Ready
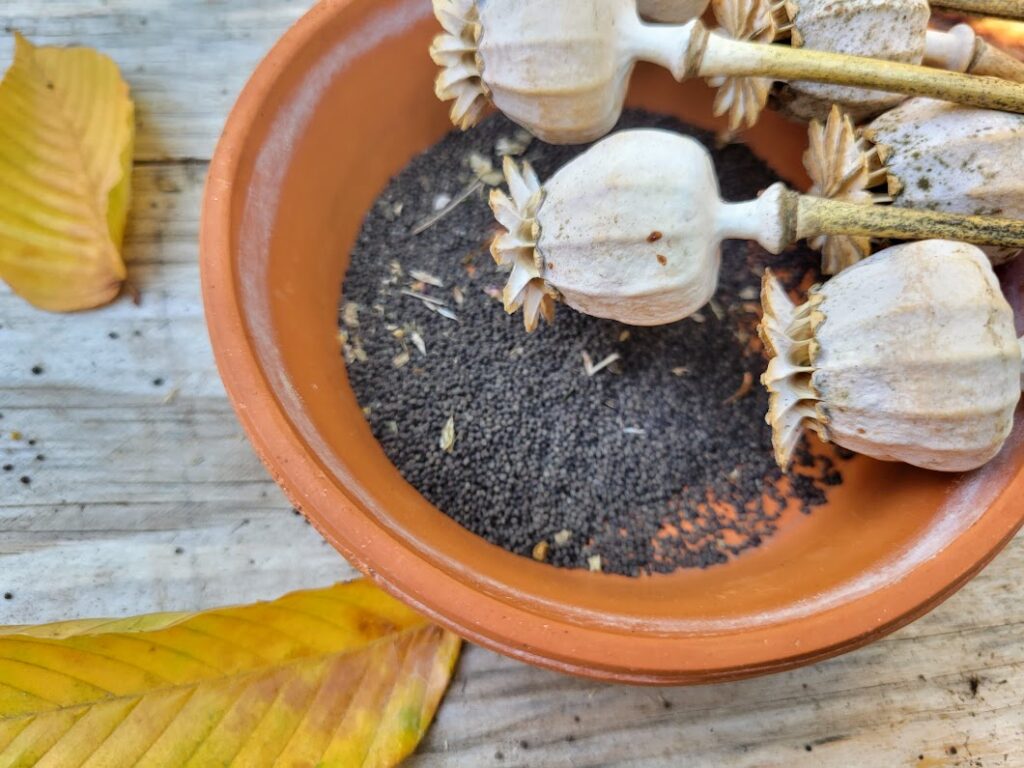
For dry seeds (beans, peas, coriander, marigold):
- Pods or flowers turn brown and crisp
- Seeds rattle inside pods
- Seeds become hard and change color
For wet seeds (tomato, cucumber, capsicum, pumpkin):
- Fruits should be overripe
- Skin begins to soften
- Seeds separate easily from pulp
Common Mistake: Harvesting Too Early
Immature seeds spoil faster, develop mold, or never sprout. Always wait for full maturity.
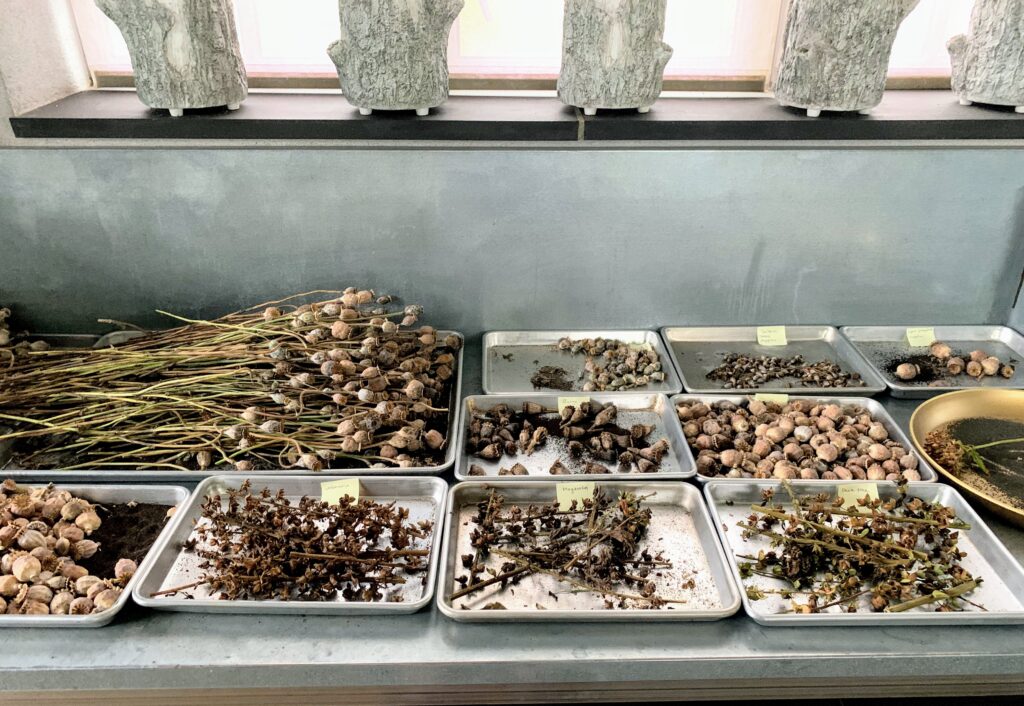
Step 3: Clean the Seeds Properly
Cleaning removes pulp, chaff, debris, and any moisture-retaining parts that can lead to rot during storage.
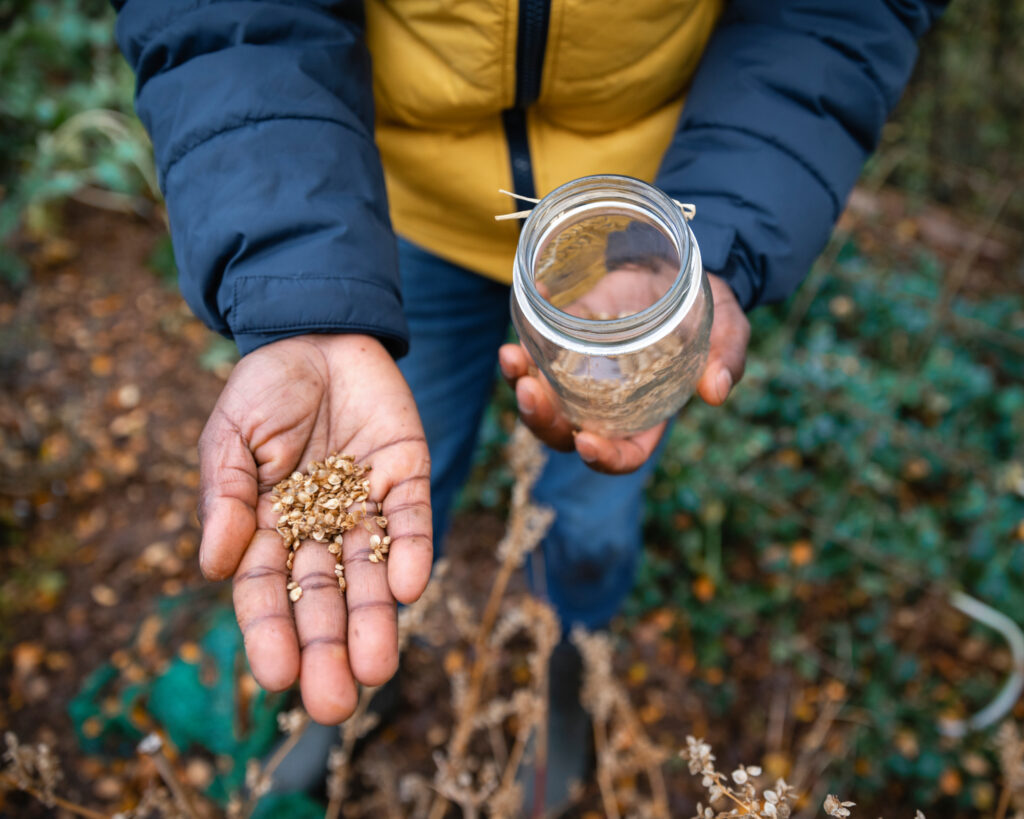
Cleaning Dry Seeds
- Remove pods, husks, or dried flower heads.
- Separate seeds by gently rubbing or blowing away chaff.
- Use a sieve if needed.
Cleaning Wet Seeds
Wet seeds often need fermentation to improve germination.
- Scoop seeds from the fruit.
- Place in a jar of water and leave for 24–48 hours.
- Viable seeds sink; discard floating ones.
- Rinse seeds thoroughly.
- Spread on a clean plate to dry.
This process is especially useful for tomatoes and cucumbers.
Step 4: Dry Seeds Thoroughly (Most Important Step)
Moisture is the biggest enemy of stored seeds. Even the slightest dampness can cause mold or premature sprouting. Proper drying extends seed life dramatically.
How to Dry Seeds Correctly
- Spread seeds in a single layer on paper towels, cardboard, or cloth.
- Keep in a well-ventilated room with low humidity.
- Avoid direct sunlight—it can damage embryos.
- Stir seeds daily to ensure even drying.
- Dry for 7–14 days depending on seed size.
How to Know Seeds Are Truly Dry
- Hard seeds should snap rather than bend.
- Large seeds like beans feel rock hard.
- Small seeds like basil feel papery.
If unsure—dry longer. It’s better to overdry than store them too soon.
Step 5: Choose the Best Storage Containers
The right container protects seeds from moisture, pests, and temperature fluctuations.
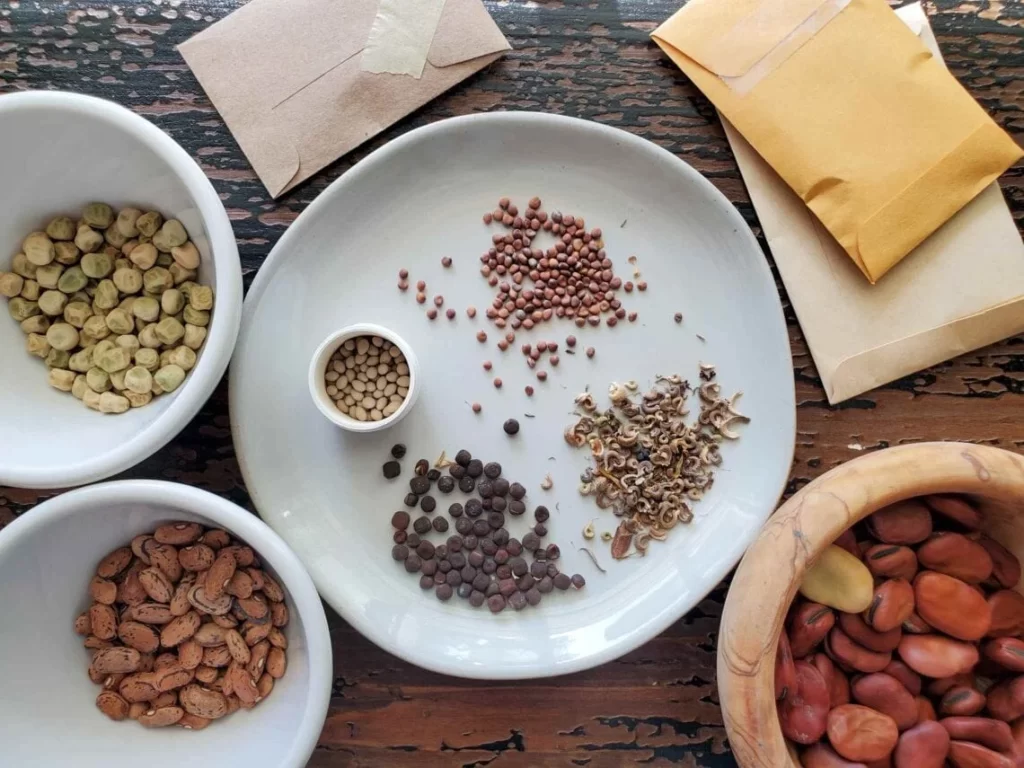
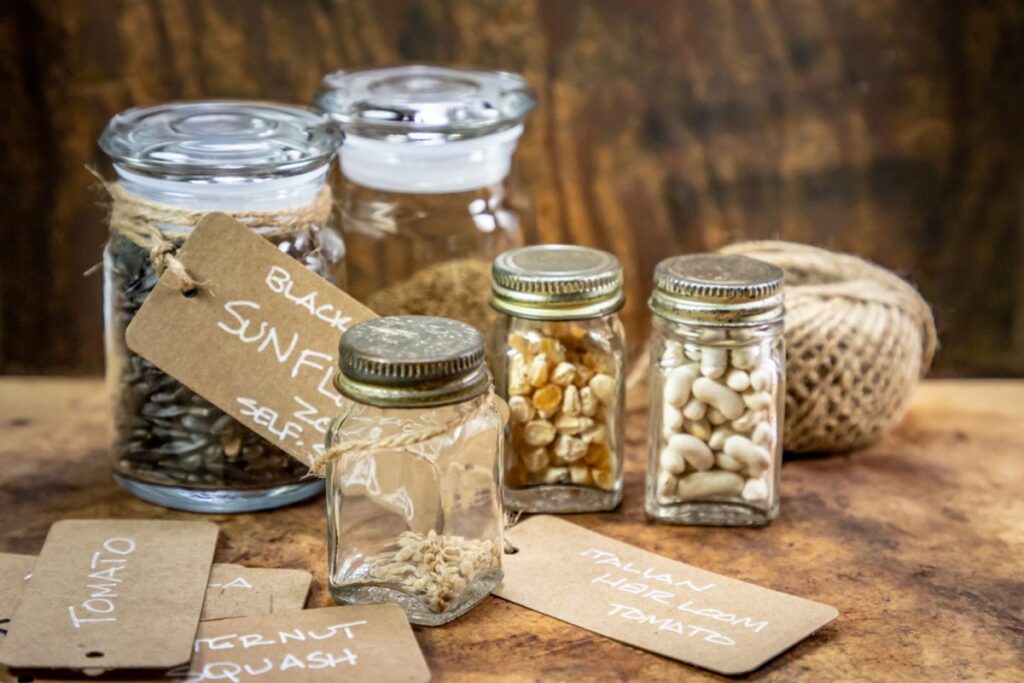
Best Container Options
- Paper envelopes (classic choice, breathable)
- Airtight glass jars (great for long-term storage)
- Ziplock bags (easy and compact)
- Tin boxes or metal containers
- Small plastic vials or pill bottles
Tip: Use Small Packets Inside Bigger Jars
Place seeds in labeled paper packets, then store several packets inside one airtight jar for added protection.
Avoid These Containers
- Unsealed cardboard boxes (attract moisture)
- Cloth bags (pests can chew through)
- Thin plastic containers that crack easily
Step 6: Label Everything Correctly
You may think you’ll remember which seeds are which—but you won’t. Good labeling ensures easy identification next year.
What to Write on Labels
- Plant name
- Variety or color
- Date of harvest
- Location in the garden
- Special notes (early bloomer, large fruit, disease-resistant)
Use waterproof ink to prevent fading over time.
Step 7: Store Seeds in the Right Environment
Temperature and humidity determine how long your seeds remain viable.
Best Storage Conditions
- Cool (ideally 5–15°C)
- Dark (inside a drawer, cupboard, or closet)
- Dry (humidity below 40%)
A dry and cool environment preserves seeds for years.
Where to Store Seeds
- A sealed jar placed in a refrigerator
- A cool, dark cupboard
- Inside airtight containers with silica gel packets
- In a pantry away from heat sources
Never Store Seeds In
- Kitchens near heat
- Bathrooms (high humidity)
- Areas with direct sunlight
- Plastic bags exposed to open air
Bonus Tip: Use Silica Gel or Rice Packs
To absorb humidity inside containers:
- Add 1–2 silica gel sachets
- Or create DIY moisture-absorbers using dry rice in a cloth pouch
These help maintain a dry environment and prevent mold.
How Long Do Stored Seeds Last?
Different seeds stay viable for different durations.
Long-lasting (4–6 years)
- Tomatoes
- Cucumbers
- Beans
- Peas
Medium shelf life (2–3 years)
- Spinach
- Carrots
- Lettuce
- Coriander
Short shelf life (1 year)
- Onion
- Parsley
- Basil
Even after their typical lifespan, many seeds will still sprout if stored well.
Testing Old Seeds for Viability
Before planting next season, check your seeds using a simple germination test:
- Place 10 seeds on a damp tissue.
- Fold it and place in a plastic bag.
- Keep in a warm place.
- Check after 5–7 days.
If 7 out of 10 seeds sprout, you have 70% viability—still usable.
Troubleshooting: Common Seed Storage Issues
1. Mold or Fungal Growth
Cause: Storing seeds before fully drying.
Fix: Discard moldy seeds. Dry properly next time.
2. Seeds Become Soft or Discolored
Cause: Moisture exposure.
Fix: Move to airtight containers with desiccants.
3. Pest Infestation
Cause: Loose storage or cloth bags.
Fix: Use sealed containers; freeze seeds for 48 hours to kill hidden insects.
4. Low Germination Next Year
Cause: Age, heat exposure, or humidity.
Fix: Improve storage conditions; choose hardy seeds.
Final Thoughts
Storing seeds for next season is a simple yet powerful gardening practice that deepens your connection with your plants and your land. With proper harvesting, cleaning, drying, and storing techniques, your seeds can remain viable for years—saving money, supporting sustainability, and ensuring a thriving garden each season.
Whether you’re a beginner or an experienced gardener, learning how to store seeds is an essential skill that makes gardening more personal and rewarding. Follow the steps in this guide, and you’ll always have a fresh batch of healthy seeds ready for your next planting season.