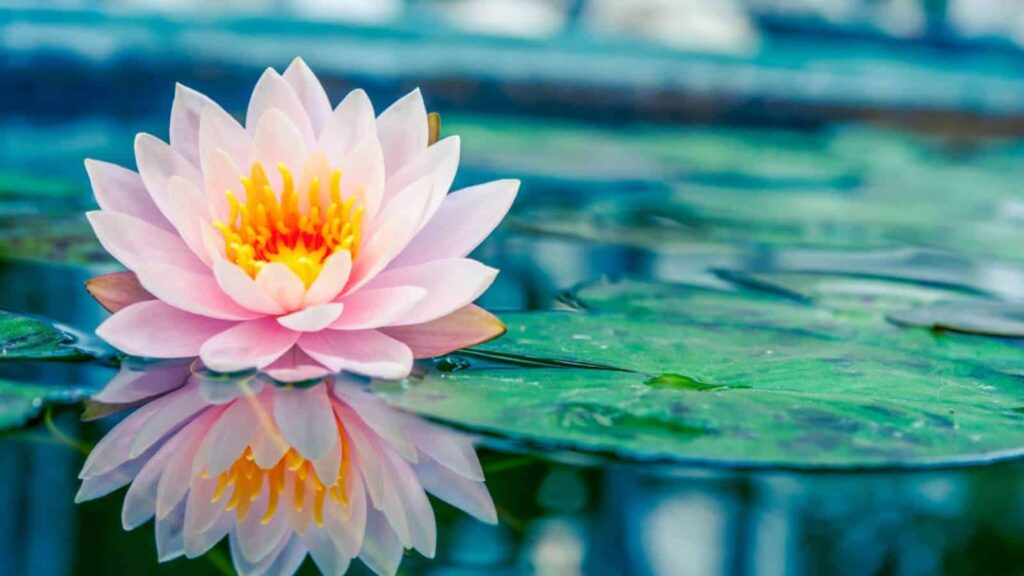
Water lilies are one of the most enchanting aquatic plants, known for their striking floating leaves and exquisite flowers. While many gardeners propagate water lilies through rhizomes, it is also possible to grow them from a single leaf—a method that is both fascinating and rewarding. Growing water lilies from leaves allows gardeners to experiment with propagation techniques and enjoy a lush aquatic garden with minimal effort. This guide provides full updates and step-by-step instructions to help beginners successfully grow water lilies from a leaf.
1. Why Grow Water Lily from Leaf?
Growing water lilies from leaves may seem unusual, but it offers several advantages:
- Unique propagation method: Provides a fun and educational gardening experience.
- Cost-effective: Leaf propagation reduces the need to buy whole plants or rhizomes.
- Quick experimentation: Allows gardeners to multiply plants from existing water lilies.
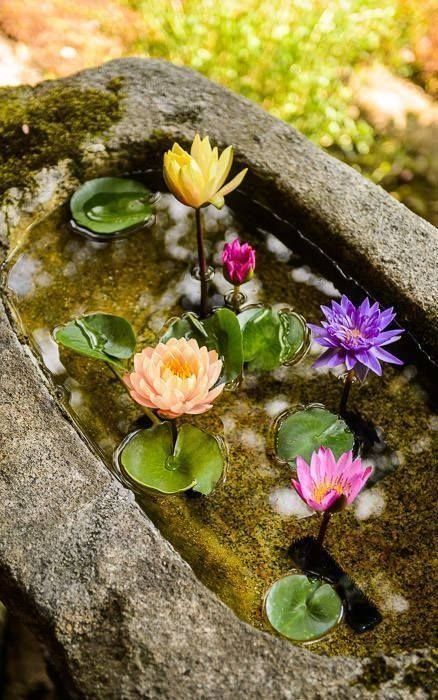
- Decorative benefits: Water lilies enhance ponds, aquariums, and water gardens with vibrant foliage and flowers.
This method is ideal for hobbyists, pond enthusiasts, and anyone who wants to explore creative ways to propagate aquatic plants.
2. Selecting the Right Water Lily Leaf

Choosing a healthy leaf is the first step for successful propagation:
- Mature leaves: Select fully grown, healthy leaves that are free from disease or damage.
- Variety: Both tropical and hardy water lilies can be propagated from leaves, though tropical varieties tend to respond faster.
- Timing: Take leaves during the growing season, typically spring or early summer, when the plant is actively growing.
Healthy leaves increase the chances of root development and successful plant growth.

3. Preparing the Leaf for Propagation
Proper preparation ensures the leaf can develop roots and new shoots:
- Cutting technique: Use a sharp, sterilized knife to cut the leaf along with a small portion of the petiole (leaf stem).
- Avoid injury: Handle the leaf gently to prevent bruising or tearing, as damage can reduce survival chances.
- Optional treatment: Some gardeners dip the cut end in a rooting hormone to stimulate root growth, though water lilies often root naturally.
Careful preparation ensures the leaf remains healthy during propagation.
4. Choosing the Right Container and Soil
Water lilies require specific conditions to root successfully from a leaf:
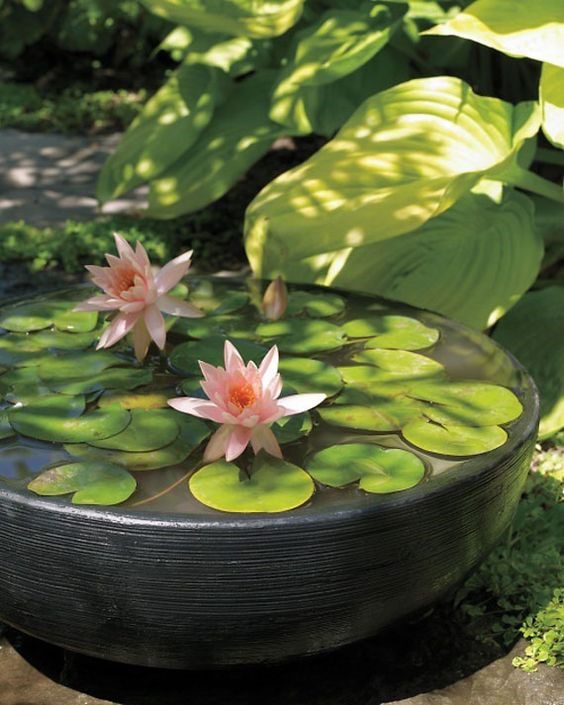
- Container: Use a shallow, wide container or small aquarium with a depth of 6–12 inches. Ensure it can hold water without leaking.
- Soil: Use heavy, loamy garden soil or aquatic planting medium. Avoid light potting soil, which floats and clouds water.
- Layering: Place a layer of soil at the bottom of the container, gently pressing it to hold the leaf in place.
A suitable container and soil provide stability and nutrients for root development.
5. Planting the Water Lily Leaf
Planting the leaf correctly is key for growth:
- Positioning: Lay the leaf horizontally on the soil surface with the cut end gently inserted into the soil.
- Water coverage: Slowly add water to cover the soil, keeping the leaf partially submerged. Ensure water level does not drown the leaf entirely.
- Weighting (optional): Place a small, clean stone over the leaf to hold it down, preventing floating while roots develop.
Correct positioning encourages root formation and new shoot growth.
6. Light and Temperature Requirements
Water lilies need proper light and warmth for leaf propagation to succeed:
- Light: Place the container in a sunny spot with 4–6 hours of direct sunlight daily. Insufficient light slows growth.
- Temperature: Maintain water temperatures of 20–30°C (68–86°F) for tropical water lilies. Hardy varieties can tolerate slightly cooler temperatures.
- Indoor care: For indoor propagation, use grow lights to provide consistent light and warmth.
Adequate light and warmth accelerate rooting and new growth from the leaf.
7. Watering and Care
Proper water management is crucial for leaf propagation:
- Water quality: Use clean, dechlorinated water. Rainwater or pond water is ideal.
- Water depth: Keep water shallow initially to allow the leaf to establish roots. Gradually increase water depth as the plant grows.
- Temperature maintenance: Avoid sudden drops in water temperature, as this can stress the leaf and inhibit rooting.
Balanced care ensures the leaf develops strong roots and shoots.

8. Root Development and Growth
Roots usually start developing within 2–4 weeks:
- Observation: Gently check for roots by lifting the leaf slightly. Do not disturb the plant excessively.
- New shoots: Look for small shoots emerging from the base of the leaf or petiole. These will develop into new leaves and eventually flowers.
- Patience: Root and shoot development can take several weeks to a few months, depending on variety and environmental conditions.
Healthy roots and shoots are the first step toward a thriving water lily plant.
9. Transplanting to a Pond or Larger Container
Once roots and shoots are established, transplant the new plant for optimal growth:
- Container preparation: Use a larger aquatic container or pond bed with sufficient depth for mature water lilies.
- Soil and placement: Use nutrient-rich soil and ensure the plant is stable. Gradually increase water depth as the plant grows.
- Sunlight: Place in a sunny location with at least 4–6 hours of sunlight per day.
Transplanting allows the water lily to grow to full maturity and produce flowers.
10. Fertilization for Healthy Growth
Nutrient-rich water and soil support vigorous growth and flowering:

- Aquatic fertilizer: Use slow-release or water-soluble aquatic fertilizers for optimal results.
- Frequency: Fertilize every 3–4 weeks during the growing season.
- Organic alternatives: Use composted aquatic plants or organic pellets for natural nutrition.
Proper fertilization encourages larger leaves, robust roots, and abundant blooms.
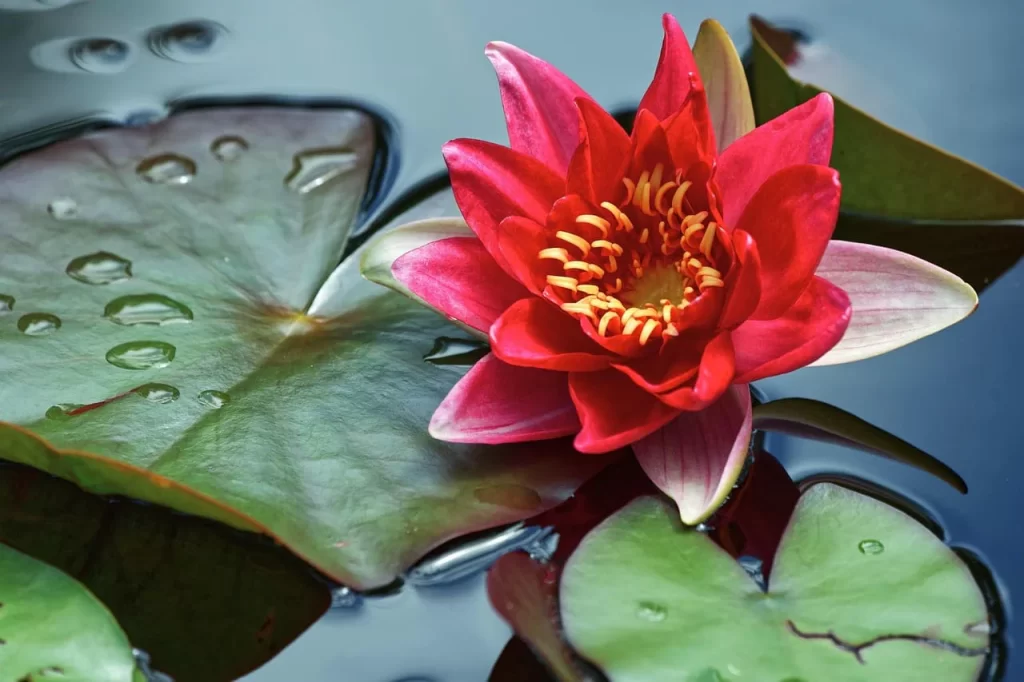
11. Flowering and Maintenance
Water lilies grown from leaves will eventually bloom with proper care:
- Blooming period: Tropical water lilies may bloom within 2–3 months, while hardy varieties take longer.
- Maintenance: Remove yellow or damaged leaves regularly to prevent decay in the water.
- Pest control: Watch for aphids or snails, which may feed on leaves. Treat with organic solutions if needed.
Routine care ensures a healthy, flowering water lily.
12. Tips for Beginners
- Choose healthy leaves: Avoid damaged or diseased leaves for better success.
- Use clean water: Prevent contamination that may hinder rooting.
- Patience is key: Leaf propagation takes longer than rhizome planting, but results are rewarding.
- Temperature consistency: Avoid exposing the leaf to extreme temperatures.
- Gradual acclimatization: Slowly transition new plants to deeper water or ponds.
Following these tips increases success rates and leads to beautiful, blooming water lilies.
13. Benefits of Growing Water Lily from Leaf
- Educational experience: Learn unique propagation techniques.
- Cost-effective: Multiply plants without purchasing new rhizomes.
- Decorative value: Enhance ponds, aquariums, and water gardens with lush leaves and vibrant flowers.
- Sustainable gardening: Propagation reduces the need for commercial plant purchases.
Leaf propagation is an innovative, rewarding, and visually pleasing gardening method.

Conclusion
Growing water lilies from a leaf is a fascinating and fulfilling way to propagate these enchanting aquatic plants. By selecting healthy leaves, preparing them carefully, providing suitable soil and containers, maintaining proper light, water, and temperature, and practicing patience, even beginners can successfully grow water lilies from leaves.
This complete guide with full updates ensures gardeners can enjoy the beauty, charm, and tranquility of water lilies, transforming any pond, container, or aquarium into a serene aquatic paradise. Start your water lily leaf propagation today and witness the magic of these stunning plants unfold!