Mushroom cultivation at home is a fascinating and rewarding hobby. Not only can you enjoy fresh, organic mushrooms, but growing them also allows you to explore the science of fungi and sustainable food production. One of the most important aspects of successful mushroom cultivation is a fruiting chamber, an environment where mushrooms can grow and develop their fruiting bodies efficiently.
In this guide, we’ll show you how to make an easy fruiting chamber at home and provide tips for growing mushrooms successfully.
Why Grow Mushrooms at Home?
Growing mushrooms at home has several advantages:
- Fresh and Organic: You control the growing conditions, ensuring no chemicals or pesticides.
- Cost-Effective: Mushrooms can be expensive in stores; growing at home saves money.
- Fast Growth: Many species, like oyster and shiitake mushrooms, grow rapidly in controlled conditions.
- Space-Saving: You don’t need a large garden; mushrooms thrive indoors in small spaces.
- Educational and Fun: Growing mushrooms teaches you about fungi biology and sustainable gardening.
A proper fruiting chamber maximizes growth and helps maintain optimal humidity, temperature, and airflow.
Step 1: Choosing the Right Mushroom Species
Some mushroom species are easier for beginners to grow at home:
- Oyster Mushrooms (Pleurotus spp.): Fast-growing, forgiving, and highly productive.
- Button Mushrooms (Agaricus bisporus): Common, easy to grow with compost-based substrates.
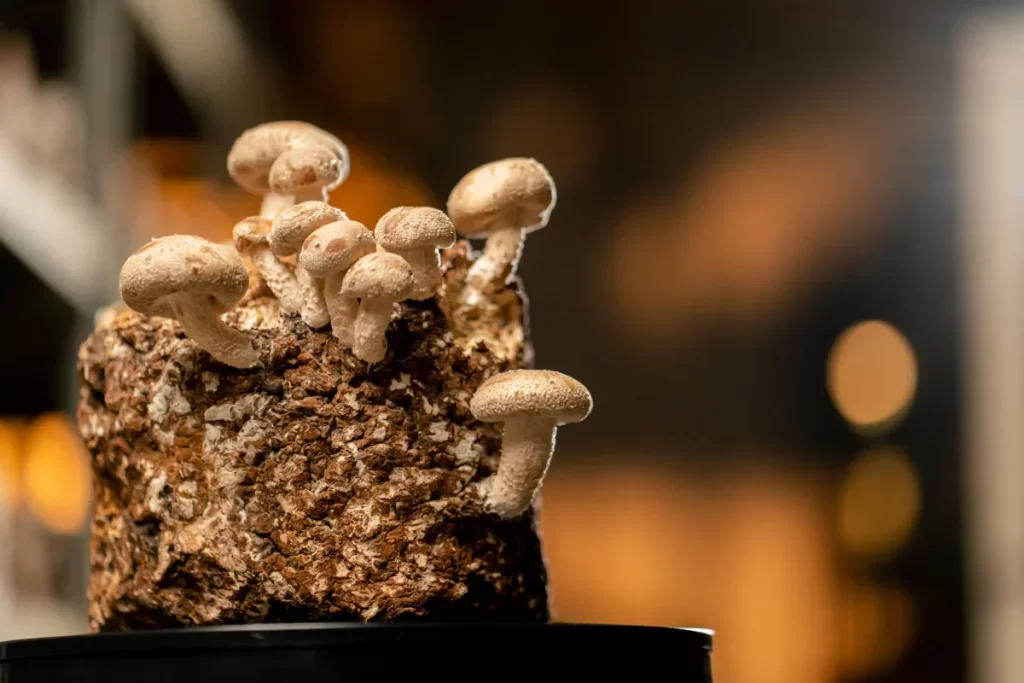
- Shiitake Mushrooms (Lentinula edodes): Grow well on wood logs or sawdust blocks.
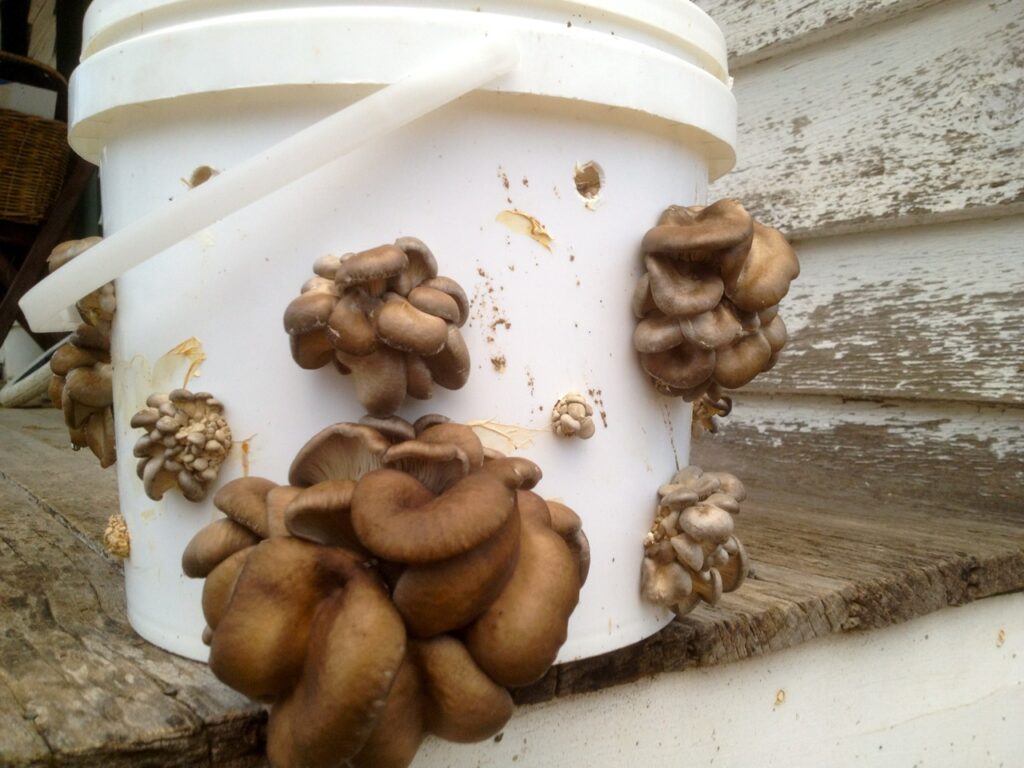
Oyster mushrooms are often recommended for beginners due to their rapid growth and adaptability to simple fruiting chambers.
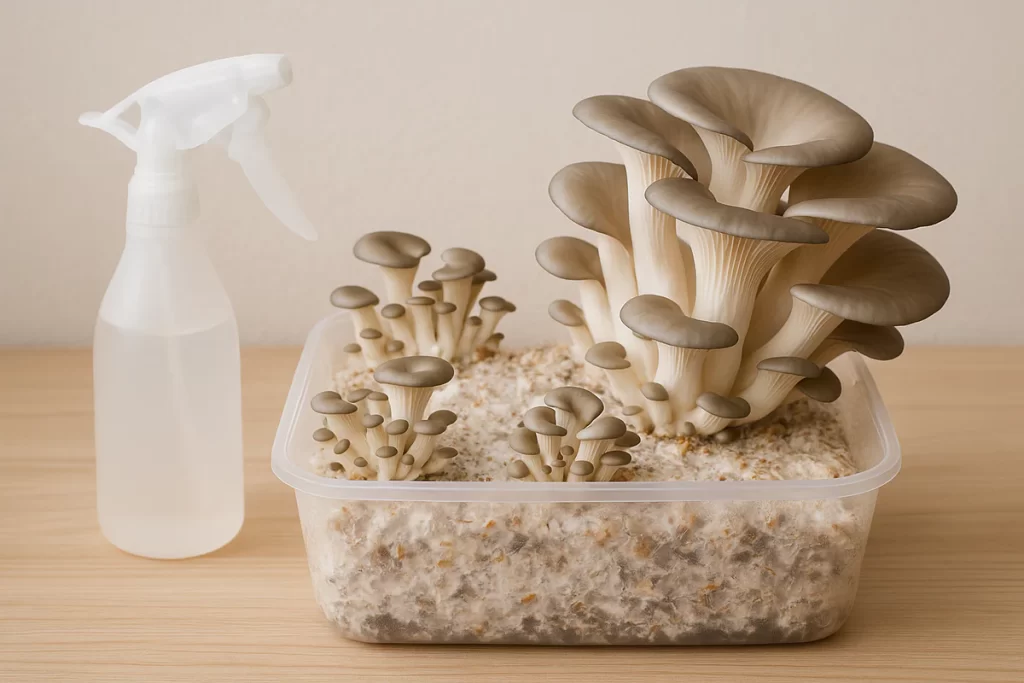
Step 2: Understanding the Fruiting Chamber
A fruiting chamber is a controlled environment that provides:
- Humidity: Mushrooms require 85–95% humidity to develop properly.
- Fresh Air Exchange: Carbon dioxide must be released to prevent stunted growth.
- Light: Indirect light encourages proper mushroom formation.
- Temperature Control: Ideal growth temperature varies by species (oyster mushrooms: 20–24°C, shiitake: 18–22°C).
A good fruiting chamber mimics the natural conditions of a forest floor, providing moisture and airflow while protecting mushrooms from contamination.
Step 3: Materials for a Simple Fruiting Chamber
You can create a fruiting chamber using inexpensive, easily available materials:
- A clear plastic storage box or large tote with a lid
- Perlite or vermiculite to retain humidity
- Spray bottle for misting
- Small fan or natural ventilation holes for fresh air
- Thermometer and hygrometer (optional, but helpful)
- Drill or sharp tool to make holes for air exchange
These materials create a low-cost, functional fruiting chamber suitable for indoor mushroom cultivation.
Step 4: Preparing the Fruiting Chamber
- Drill Air Holes: Drill or poke 10–20 small holes (1–2 cm) on all sides of the box for airflow.
- Layer the Substrate: Spread a 2–3 cm layer of damp perlite or vermiculite at the bottom to retain moisture.
- Moisture Check: Mist the perlite until it is damp but not waterlogged. This provides consistent humidity for mushroom growth.
- Position the Chamber: Place it in an area with indirect sunlight or under LED grow lights. Avoid direct sun, which can dry the substrate.
This setup ensures mushrooms have the right microclimate for fruiting.
Step 5: Preparing the Mushroom Substrate
The substrate is the medium where mushrooms grow. Common options include:
- Oat Straw: Pasteurized straw works well for oyster mushrooms.
- Coffee Grounds: Great for small indoor batches.
- Sawdust Blocks: Suitable for shiitake mushrooms.
- Compost or Manure-Based Substrates: Often used for button mushrooms.
Steps to prepare the substrate:
- Pasteurize: Heat straw or sawdust to kill competing fungi and bacteria.
- Cool Down: Let the substrate cool before inoculating with mushroom spawn.
- Inoculate: Mix mushroom spawn evenly into the substrate using clean hands or sterilized tools.
- Fill Containers: Place the inoculated substrate in plastic bags, trays, or jars.
Proper substrate preparation reduces contamination and encourages healthy mushroom growth.
Step 6: Introducing the Substrate to the Fruiting Chamber
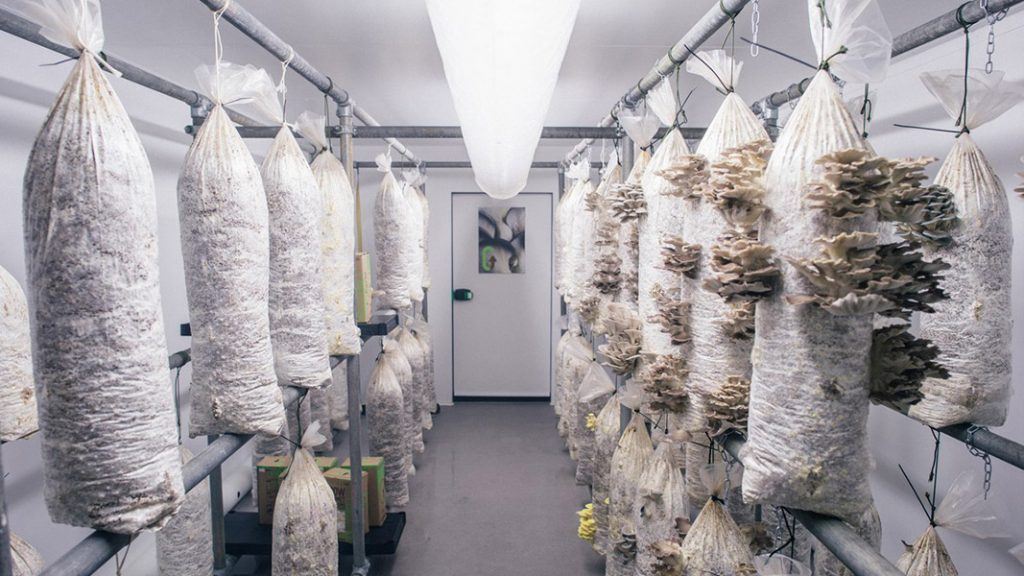
- Transfer Substrate: Place inoculated containers or bags inside the fruiting chamber on a raised platform to avoid contact with perlite.
- Humidity Maintenance: Mist the chamber walls and substrate lightly 1–2 times per day to maintain high humidity.
- Air Exchange: Open the lid or fan gently once or twice a day to release excess carbon dioxide.
Consistent care ensures mushrooms form strong, healthy fruiting bodies.
Step 7: Providing Optimal Light and Temperature
Mushrooms need indirect light to guide their growth. Place your fruiting chamber near a bright window or use low-intensity LED lights. Avoid direct sunlight, which can dry the substrate and damage the mushrooms.
Temperature management is also important:
- Oyster Mushrooms: 20–24°C (68–75°F)
- Shiitake Mushrooms: 18–22°C (64–72°F)
- Button Mushrooms: 16–20°C (60–68°F)
Using a thermometer and hygrometer helps monitor the chamber conditions accurately.
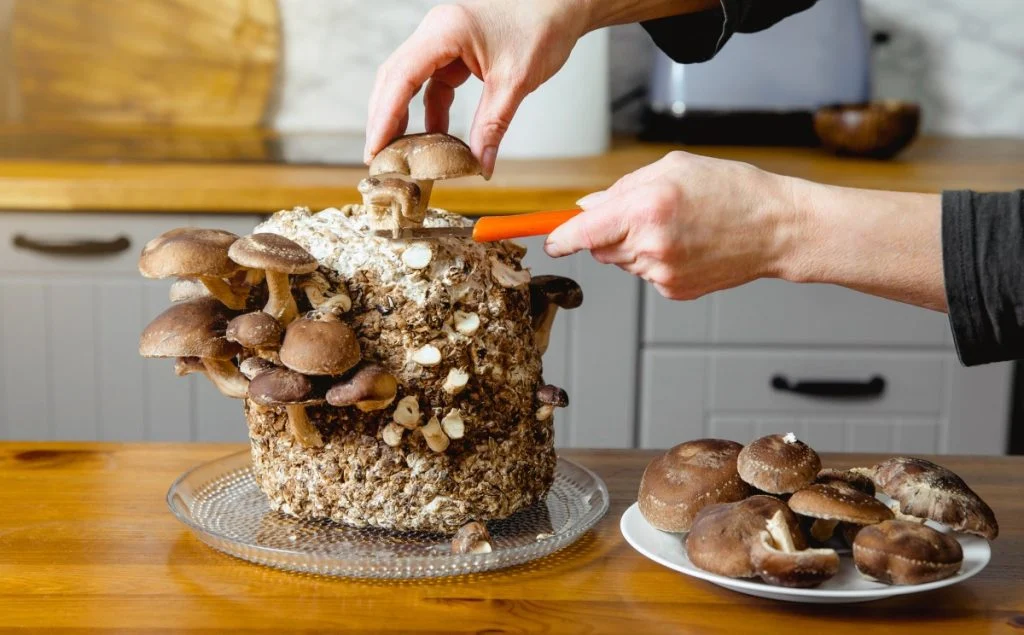
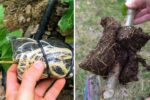
Step 8: Fruiting and Harvesting
- Pin Formation: Tiny mushroom pins appear after 5–10 days in favorable conditions.
- Growth: Pins grow into mature mushrooms within 5–7 days.
- Harvest Timing: Harvest mushrooms just before caps flatten completely to ensure maximum flavor.
- Harvest Technique: Twist or cut mushrooms gently at the base to avoid disturbing the substrate.
Regular monitoring ensures timely harvests and maximizes yield.
Step 9: Maintaining the Fruiting Chamber
- Humidity: Keep perlite damp and mist as needed.
- Cleanliness: Remove old or decaying mushrooms promptly.
- Ventilation: Ensure proper airflow to prevent mold and stunted growth.
- Multiple Flushes: After the first harvest, continue misting and maintaining conditions. Many substrates produce multiple flushes of mushrooms over several weeks.
Proper maintenance extends the productive life of your fruiting chamber.

Step 10: Tips for Successful Mushroom Cultivation
- Sterile Practices: Always use clean hands and tools to reduce contamination.
- Patience: Mushroom growth is faster than plants, but initial substrate colonization can take 2–3 weeks.
- Experiment: Try different substrates and species to discover what works best for your space.
- Monitor Moisture: Mushrooms require consistent moisture, but avoid waterlogging.
- Document Progress: Keep notes on growth, harvest times, and conditions to improve future crops.
Following these tips ensures a productive, easy-to-maintain mushroom fruiting chamber at home.
Conclusion
Creating an easy fruiting chamber at home is the key to successful mushroom cultivation. With minimal materials, proper humidity, airflow, and substrate preparation, anyone can grow fresh mushrooms indoors.
Whether you’re growing oyster mushrooms on straw, shiitake on sawdust blocks, or experimenting with coffee grounds, the principles remain the same: maintain high humidity, provide indirect light, ensure fresh air exchange, and monitor temperature.
By following these steps, you can enjoy fresh, organic mushrooms year-round, explore sustainable food production, and even make mushroom cultivation a rewarding hobby. Start today, build your fruiting chamber, and watch your first batch of delicious mushrooms grow!