There’s something uniquely comforting about biting into a perfectly baked potato skin — crisp on the outside, soft on the inside, and loaded with melty cheese, sautéed veggies, and fresh herbs. Now imagine that every ingredient on your plate, including the star of the dish — the potato — came from your very own backyard garden. Growing your own potatoes not only gives you fresher, tastier ingredients but also connects you to the entire farm-to-table experience in a deeply satisfying way.
In this article, we’ll explore everything you need to know about growing potatoes at home, from selecting the right varieties to harvesting them for your next batch of stuffed skins. You’ll also find tips for making the ultimate cheesy, veggie-packed potato skins that’ll impress any guest — or simply make your weeknight dinner extra special.
Why Grow Your Own Potatoes?

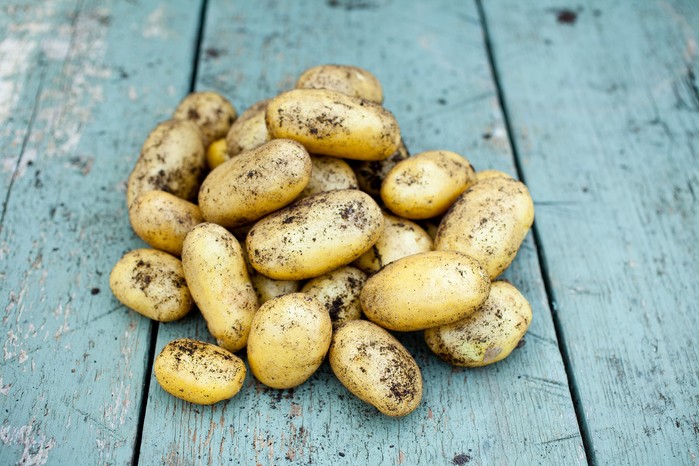
Homegrown potatoes are a gardener’s secret treasure. They’re easy to cultivate, don’t demand much space, and reward you with abundant yields in just a few months. Unlike store-bought varieties, which are often treated with sprout inhibitors and lose flavor over time, freshly dug potatoes have an earthy sweetness and creamy texture that elevate any dish.
Additionally, growing potatoes at home allows you to choose the perfect varieties for your favorite recipes. Some are ideal for fluffy mashed potatoes, others for crispy fries — and for stuffed potato skins, you’ll want potatoes that bake up firm but tender, with skins that can hold all your favorite toppings.
Choosing the Best Potato Varieties for Stuffed Skins
When it comes to stuffed potato skins, texture is everything. You want a potato that holds its shape when baked but still offers a soft interior that pairs beautifully with cheesy fillings. Here are some of the best options:
- Russet Potatoes – The classic choice for baking, Russets have thick skins and a fluffy, starchy interior. Their sturdy shells make them perfect for stuffing and crisping up in the oven.
- Yukon Gold Potatoes – These have a slightly buttery flavor and a creamier texture. They’re ideal if you prefer a richer, more tender bite.
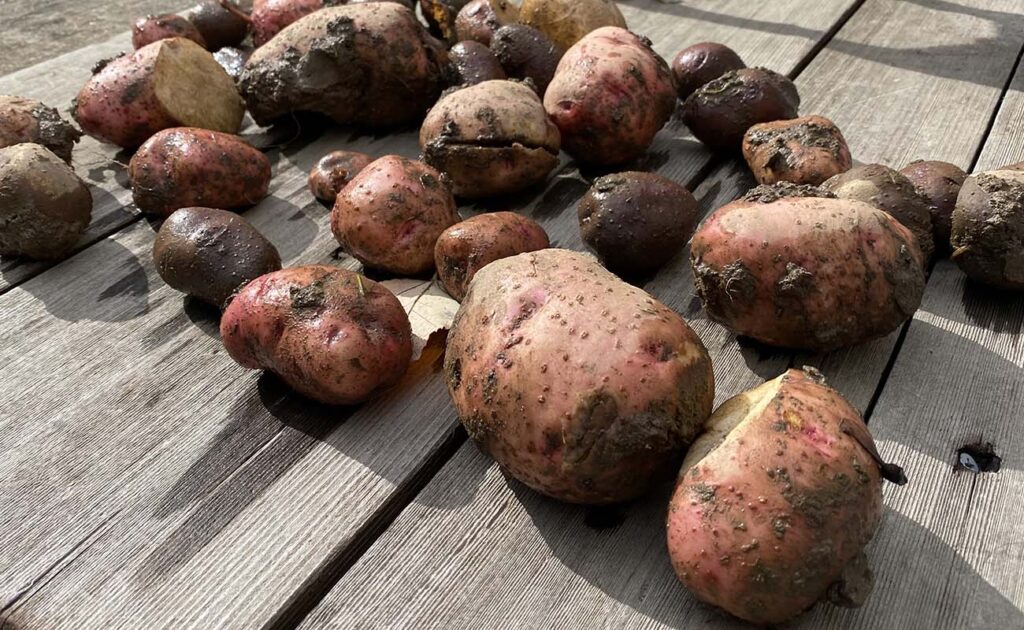
- Red Potatoes – With their thin skins and firm texture, red potatoes make excellent bite-sized stuffed skins for appetizers.
- Kennebec Potatoes – Known for their versatility, they crisp beautifully while maintaining a creamy interior.
For best results, mix it up! Growing a few different types gives you a range of flavors and textures for experimenting in the kitchen.
Getting Started: Planting Your Potatoes
Growing potatoes is easier than you might think. Here’s a step-by-step guide to help you start your potato patch.
1. Prepare Your Seed Potatoes
Start with certified seed potatoes from a garden center — these are disease-free and sprout readily. A few weeks before planting, place them in a bright, cool spot to encourage sprouting (“chitting”). Once they develop short green sprouts, they’re ready to plant.
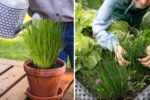
Cut large seed potatoes into pieces, each with at least two “eyes” (the small dimples on the skin where sprouts grow). Let the cut pieces dry for a day or two to prevent rotting.
2. Choose the Right Location
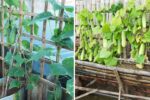
Potatoes love sunlight, so pick a spot that gets at least six hours of direct light daily. The soil should be loose, well-drained, and rich in organic matter. Avoid heavy clay soils that can suffocate tubers.
3. Planting Time
Potatoes thrive in cool weather, so plant them in early spring or late fall, depending on your region. Dig trenches about 6–8 inches deep and space seed pieces about 12 inches apart. Cover them with 3–4 inches of soil initially, and as the plants grow, mound more soil around the stems — this “hilling” process encourages more tuber formation.
Caring for Your Potato Plants
Potatoes are fairly low-maintenance, but consistent care ensures a healthy, productive crop.
- Watering: Keep the soil evenly moist but not soggy. Inconsistent watering can cause cracking or misshapen tubers.
- Mulching: Apply straw or compost mulch around plants to retain moisture and prevent weeds.
- Fertilizing: Potatoes appreciate nutrient-rich soil. Use a balanced, organic fertilizer or compost tea every few weeks. Avoid too much nitrogen, which encourages leafy growth at the expense of tubers.
- Pest Management: Watch out for potato beetles and aphids. Handpick beetles or use neem oil as a natural deterrent. Rotating crops each year helps prevent soil-borne diseases.
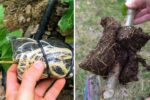
Harvesting and Storing Your Homegrown Potatoes
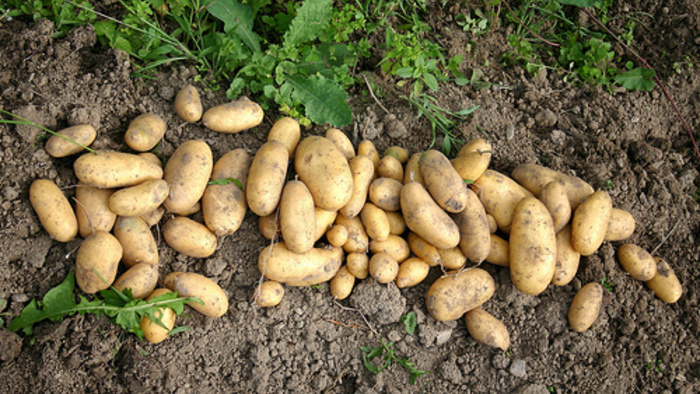
When the plants start to flower, you can gently dig around the base and harvest “new potatoes” — small, tender ones perfect for roasting or salads. For full-sized potatoes ideal for baking and stuffing, wait until the foliage turns yellow and dies back. Carefully lift the tubers using a garden fork, let them air-dry for a few hours, and store them in a cool, dark place.
Properly cured potatoes can last for several months, giving you fresh ingredients for your favorite dishes all year long.
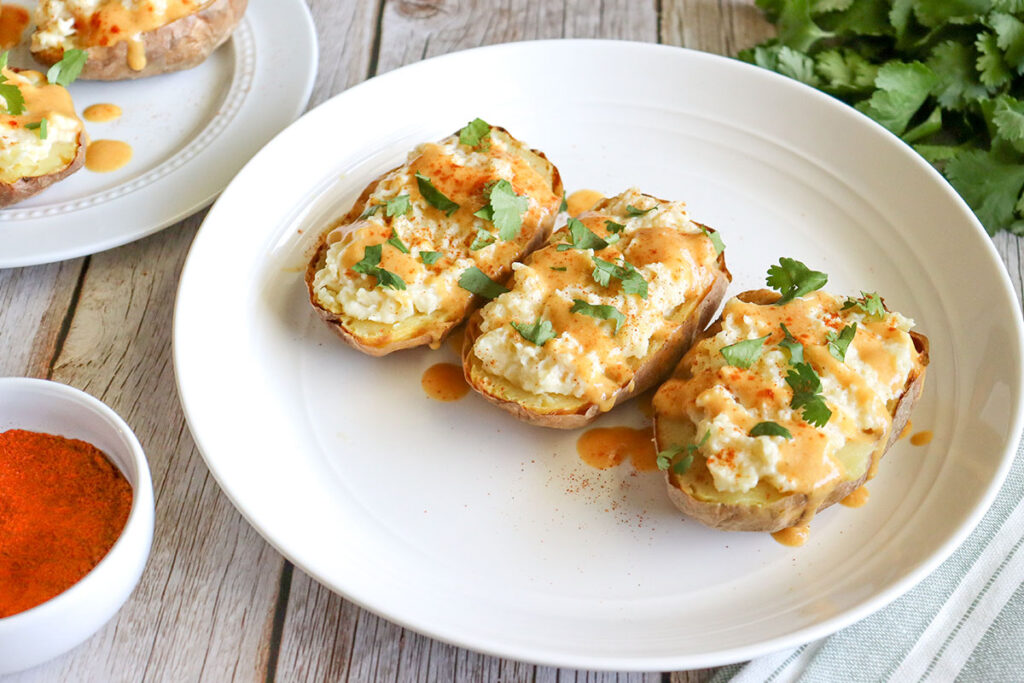
From Garden to Oven: Making Stuffed Potato Skins
Once your potatoes are ready, it’s time to transform them into the ultimate comfort food.
Ingredients:
- 4–6 medium-sized homegrown potatoes (Russet or Yukon Gold)
- 1 cup shredded cheese (cheddar, mozzarella, or a blend)
- 1 cup chopped vegetables (bell peppers, onions, spinach, corn, or mushrooms)
- 2 tablespoons olive oil or butter
- Salt, pepper, and herbs to taste
- Optional toppings: sour cream, chives, or crumbled feta for a vegetarian twist
Instructions:
- Bake the Potatoes: Scrub and pierce the potatoes with a fork. Bake at 400°F (200°C) for about 45–60 minutes until tender.
- Scoop Out the Centers: Let them cool slightly, then slice in half lengthwise. Carefully scoop out the flesh, leaving about ¼ inch of potato attached to the skin. Save the scooped flesh for mashed potatoes or soup.
- Prepare the Filling: Sauté your chosen vegetables in olive oil or butter until tender. Add salt, pepper, and herbs. Mix in half the cheese.
- Stuff and Bake: Fill each potato skin with the veggie-cheese mixture. Sprinkle the remaining cheese on top and bake for another 10–15 minutes until golden and crispy.
- Garnish and Serve: Top with fresh herbs, a dollop of sour cream, or even guacamole for a plant-based twist.
Creative Variations
The beauty of stuffed potato skins lies in their versatility. Try these ideas for different flavor profiles:

- Mediterranean Style: Use olives, sun-dried tomatoes, feta, and oregano.
- Mexican-Inspired: Fill with black beans, corn, jalapeños, and melted Monterey Jack cheese.
- Breakfast Edition: Add scrambled eggs, spinach, and cheese for a hearty start to your day.
Final Thoughts
Growing your own potatoes for stuffed skins is more than just a gardening project — it’s an invitation to bring freshness, flavor, and sustainability into your kitchen. Each bite of those crispy, cheesy skins carries the satisfaction of having nurtured something from soil to table.
So the next time you plan a cozy dinner, skip the store-bought spuds and dig into your own backyard bounty. With a little effort and care, your garden-grown potatoes will make every meal — especially those irresistible stuffed skins — taste like home.